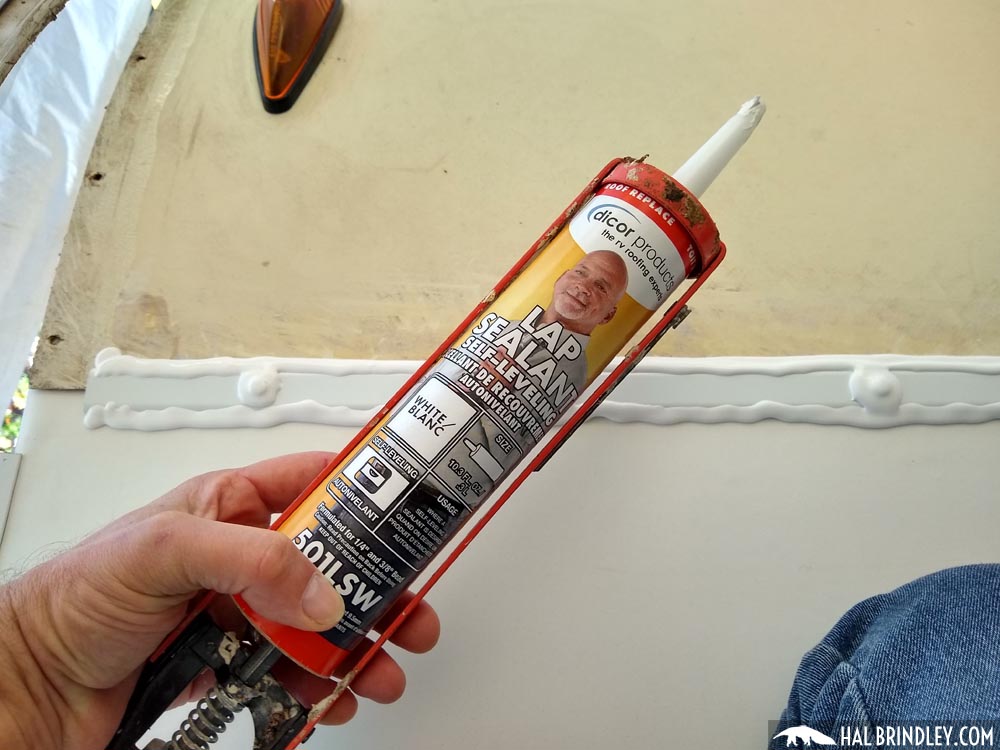
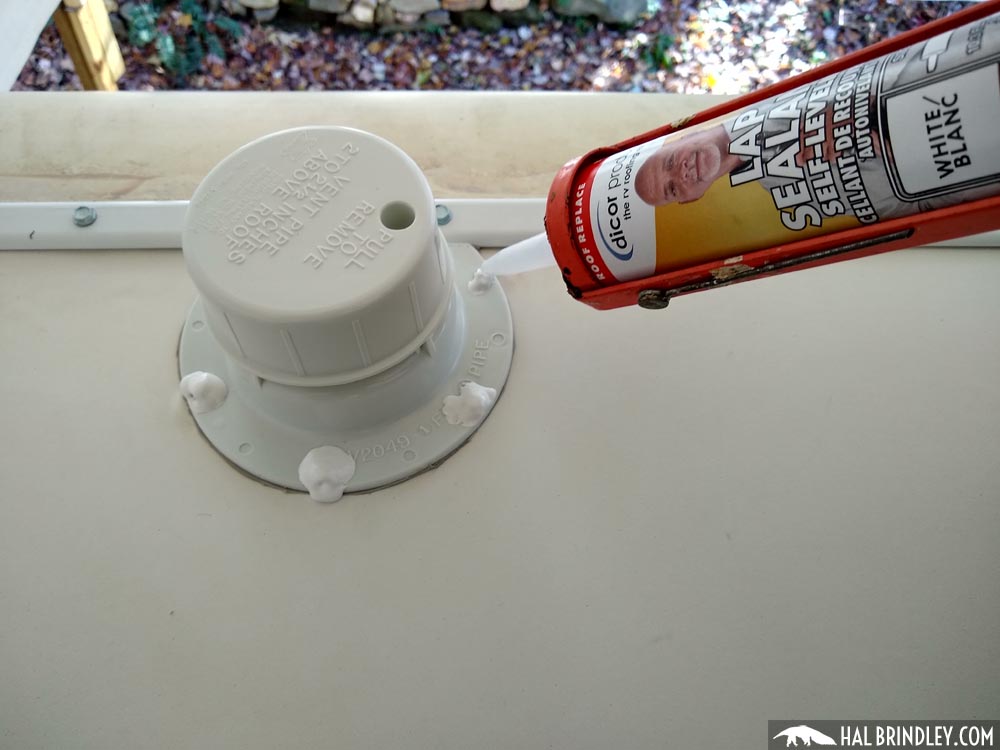
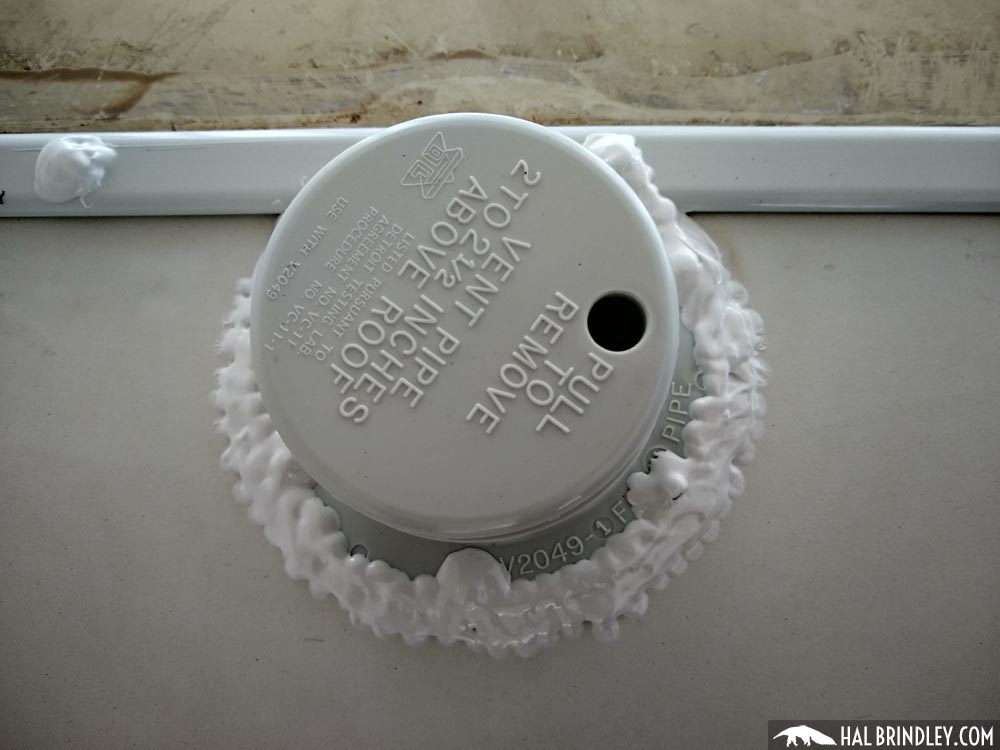
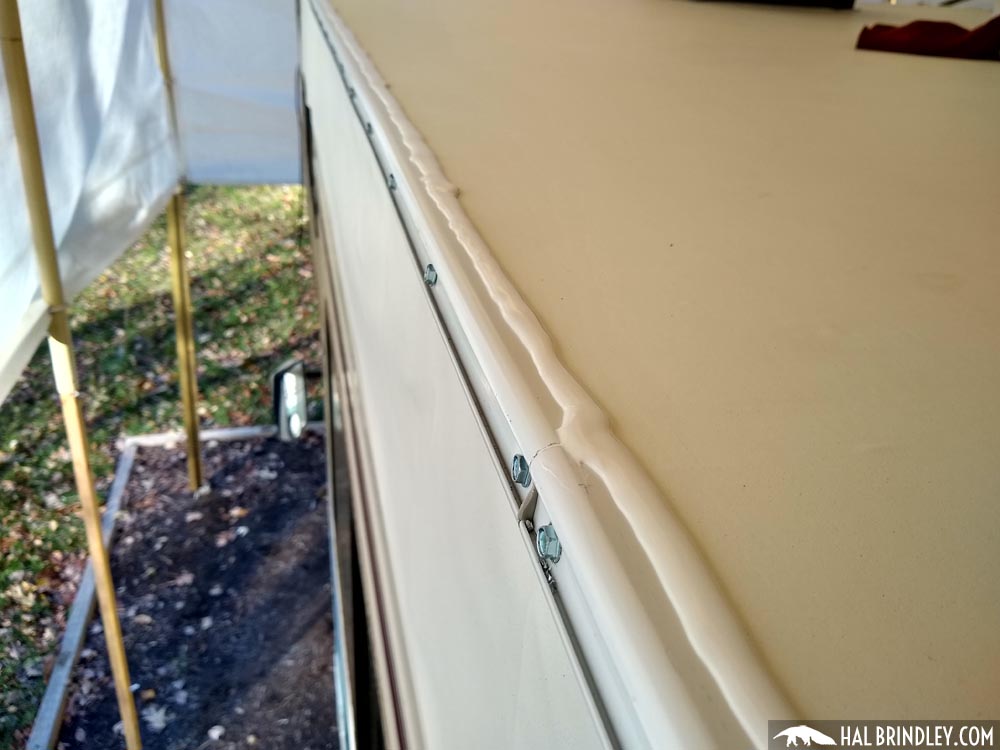
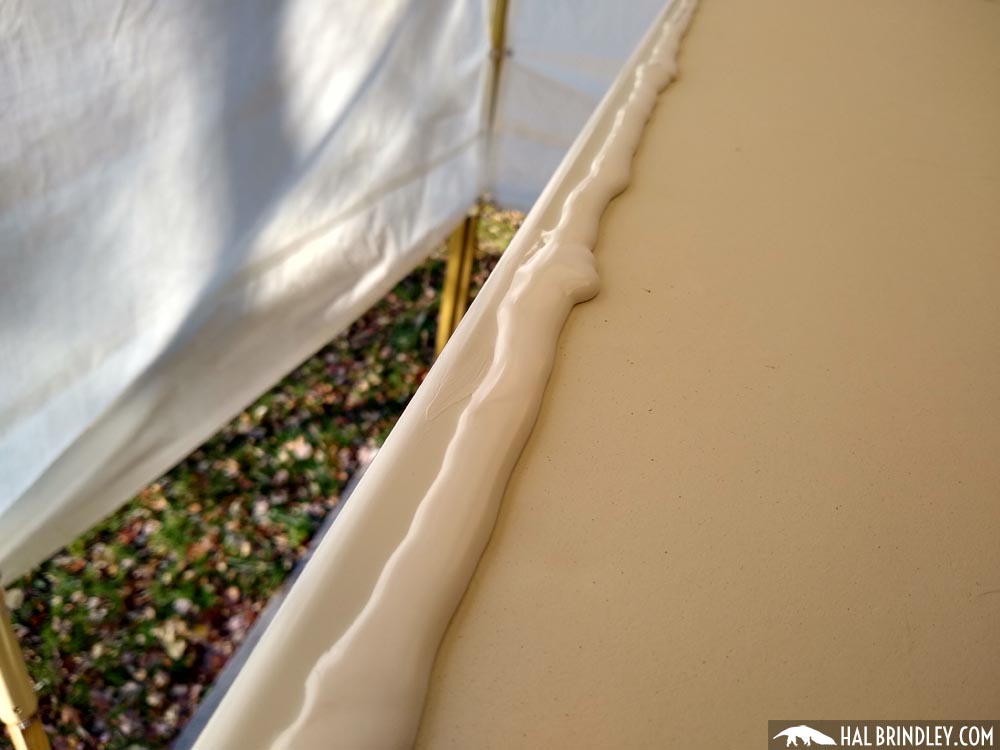
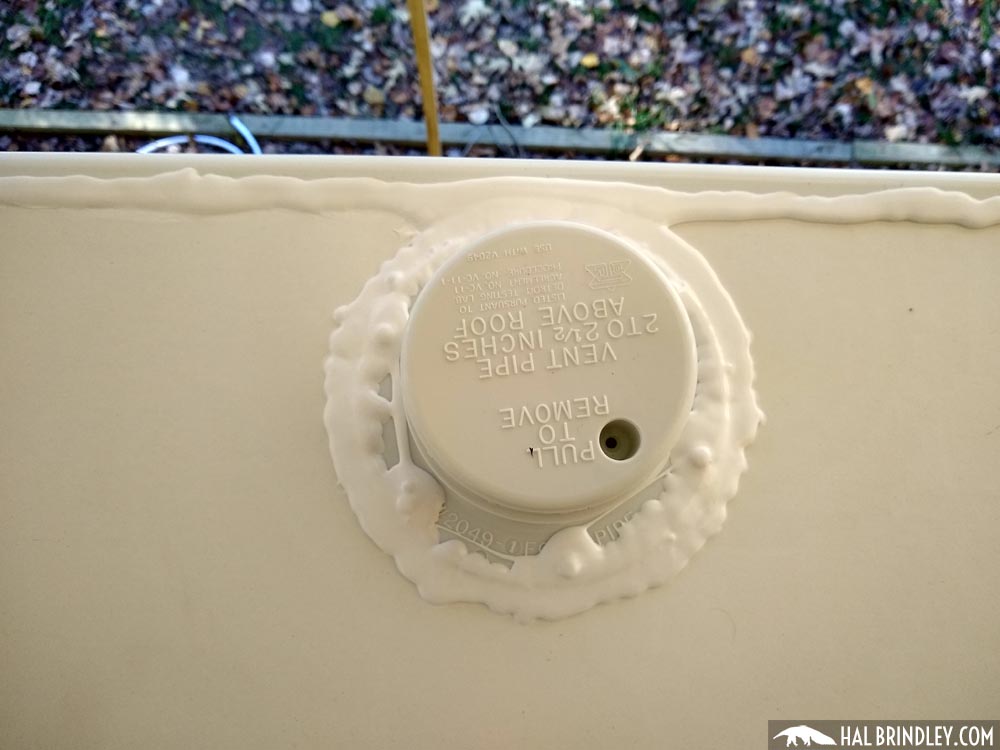
Welcome to my RV Renovation Series! In the previous step I installed a Fantastic Fan roof vent . Now I need to apply Dicor Lap Sealant to all the roof trim pieces and to the remaining roof fixtures.

WARNING: This is really just a rough draft of the post, a collection of photos (possibly with captions). I’ll be on the road for a few months and won’t have time to complete these posts until after, but for those of you who’ve written and want to see the rest of the project, hopefully this is better than nothing. Thanks for your patience until then!

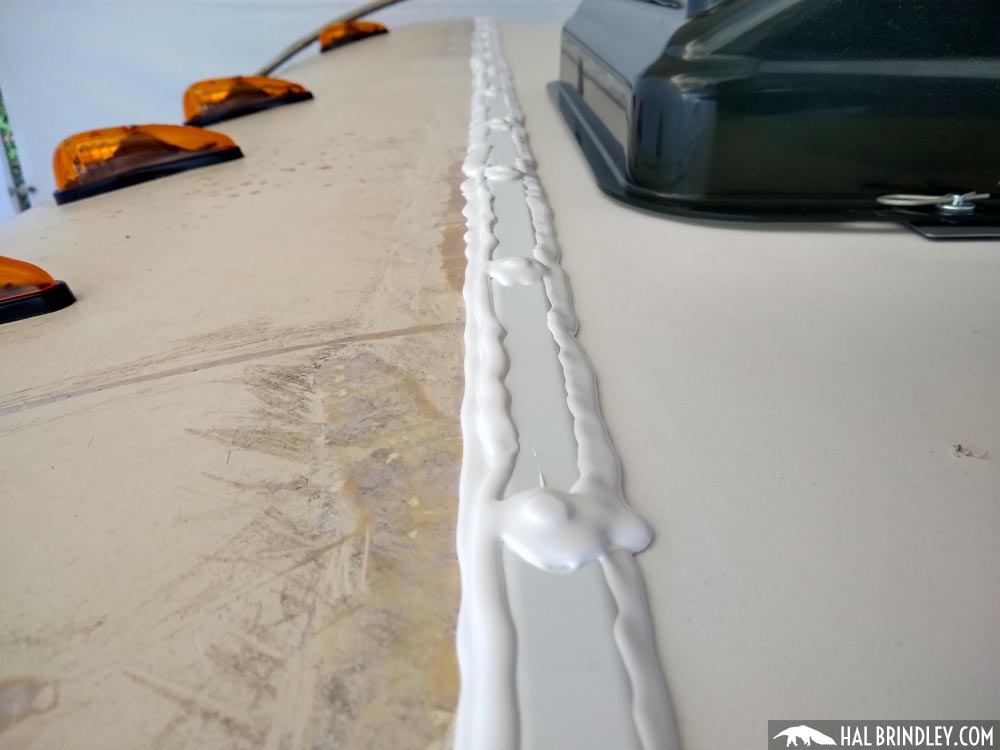
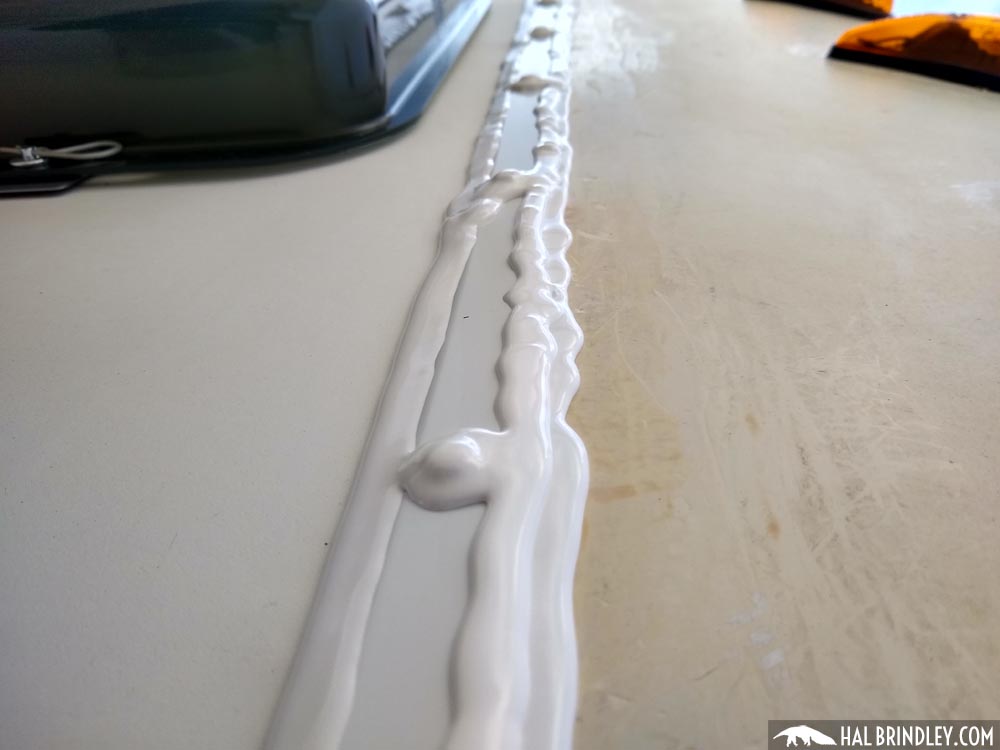
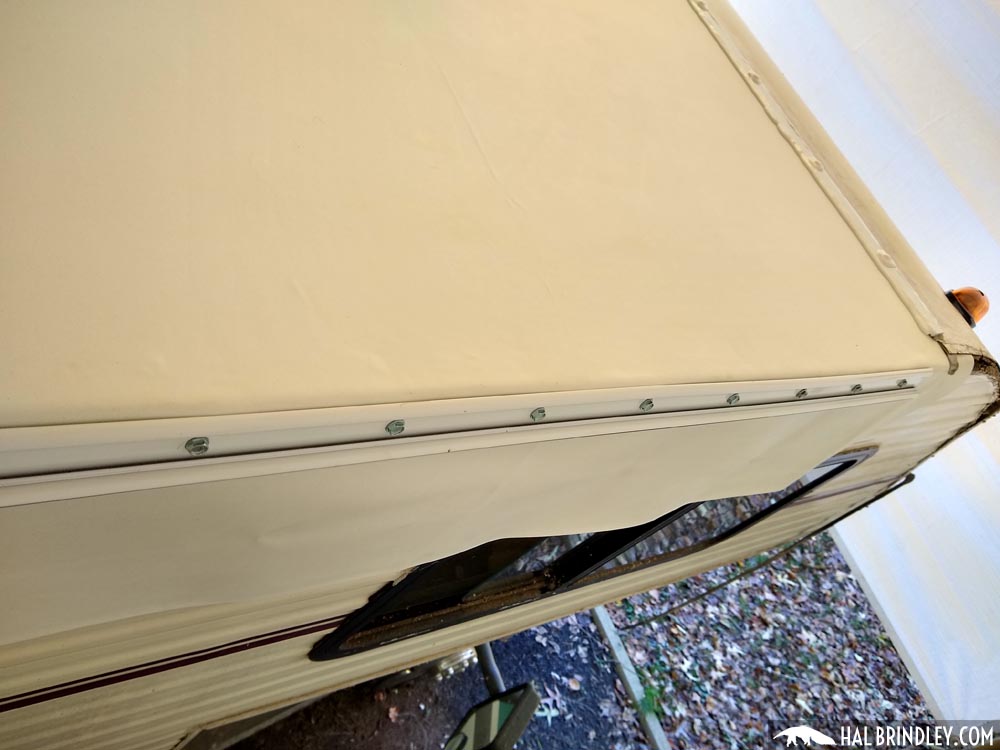
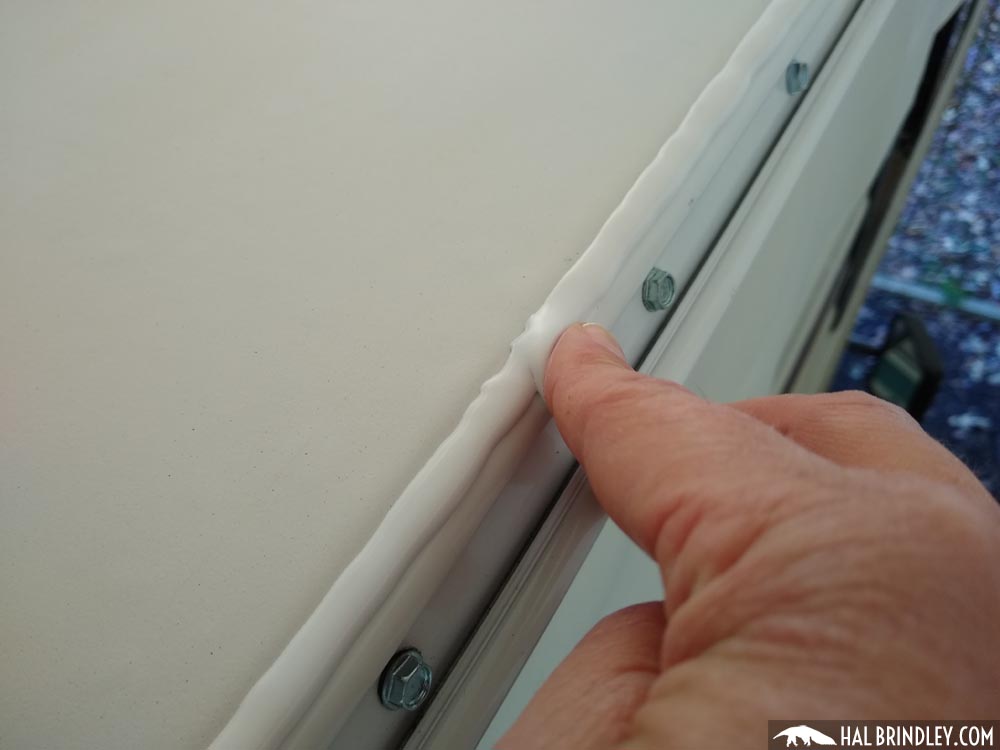
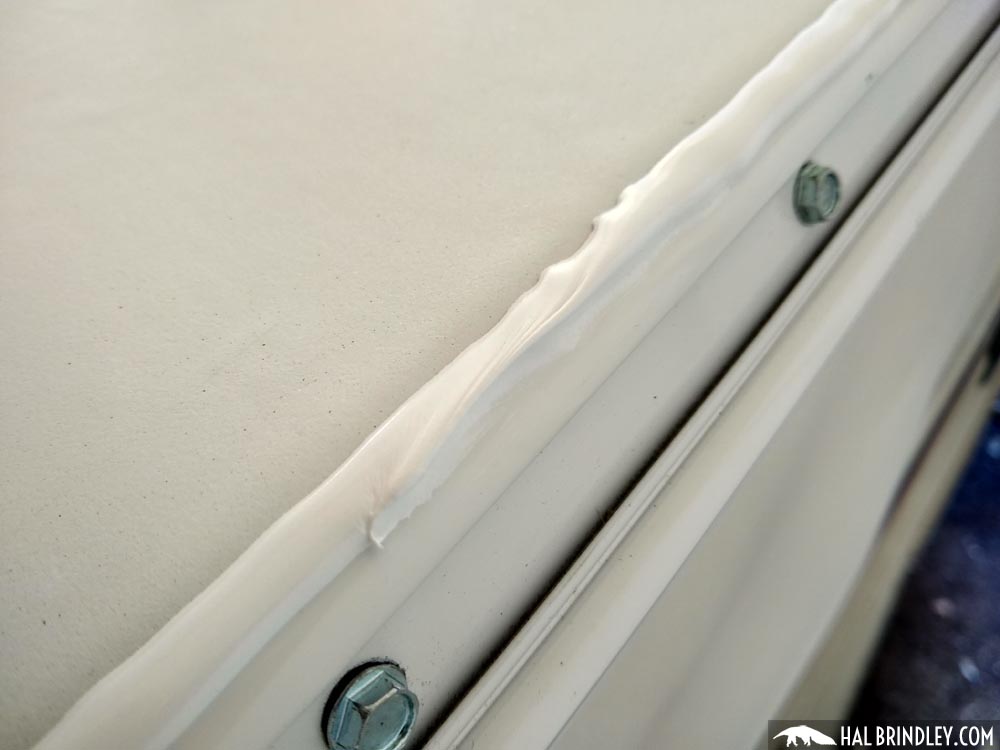
Next I need to reattach all the curved trim on the transitions.

  1. Hi Hal, how long did the roof process take you from start to finish (water tight roof with all accessories attached), and about how many hours a day did you work on it? I am actually about to start this project on my 21’ TT with 2 weeks off to focus on completely tackling it… not sure if I am being realistic though! I am pretty handy so I am not worried about troubleshooting things that come up, just worried about time (and wasting any)! Your photos and descriptions of process are currently my bible as I get into the mind-space needed to begin next week!

    1. Hi Sharon, I spent about 10 days working about 4-5 hrs a day? I spread out the work over a much longer period so it’s hard to say exactly. But if I did it all back to back that would be my guess. I’m sorry I haven’t finished the text on my last set of pages!

    2. Hi from Australia, Hal. Your description and photos helped me enormously in tackling a 2metre replacement of ply substrate (I put in 2 layers) and epdm membrane. This was the full width at the rear of my 2003 Winnebago, after the previous owner ignored water getting under the membrane near the rear skylights and sitting there for years! So a huge Thank You. As a matter of interest, I also cut out delaminated fibreglass and ply substrate down each side of the Winnie, again at the rear (about 1m), because the water had found its way off the roof and down the side walls. Here though, I opted for the newer “composite panel” sheets instead of fibreglass. This is what motorhomes are now being skinned with, so I thought “why not?”. The result is highly satisfying- impervious to moisture or rust, and a nice clean finish. I’ll have clean up the rest of the vehicle to make the repair sections each side look less obvious – but that’s a nice problem.
      Best wishes, John Hall.

  2. Hi, Hal. I am repairing a rotted spot on roof over driver’s side. We repaired 1/2 half of a damaged roof some years ago. No rubber membrane. It is all plywood.
    I coated it with rubber paint, used lap seal, etc. Was this an appropriate use of materials? Rubber paint on plywood? I have never had confidence that this was proper way to seal the wood. Epoxy better? An old ripple in the plywoid to deal with from first initial application.
    Thanks for any ideas.

    1. Hi Linda,
      Honestly I have no idea how durable or watertight rubber paint on plywood might be, but I’d assume it would frequent upkeep or re-application. Rubber membranes aren’t fool-proof (they rip) but as long as they’re intact they’re fairly maintenance free!

  3. I appreciate you taking the time to text or dl all the pics. I consider myself to be competent on repairs and somewhat of a handyman but these RVs are a completely different animal. Your info helped and is much appreciated. Ty

Your email address will not be published. Required fields are marked *