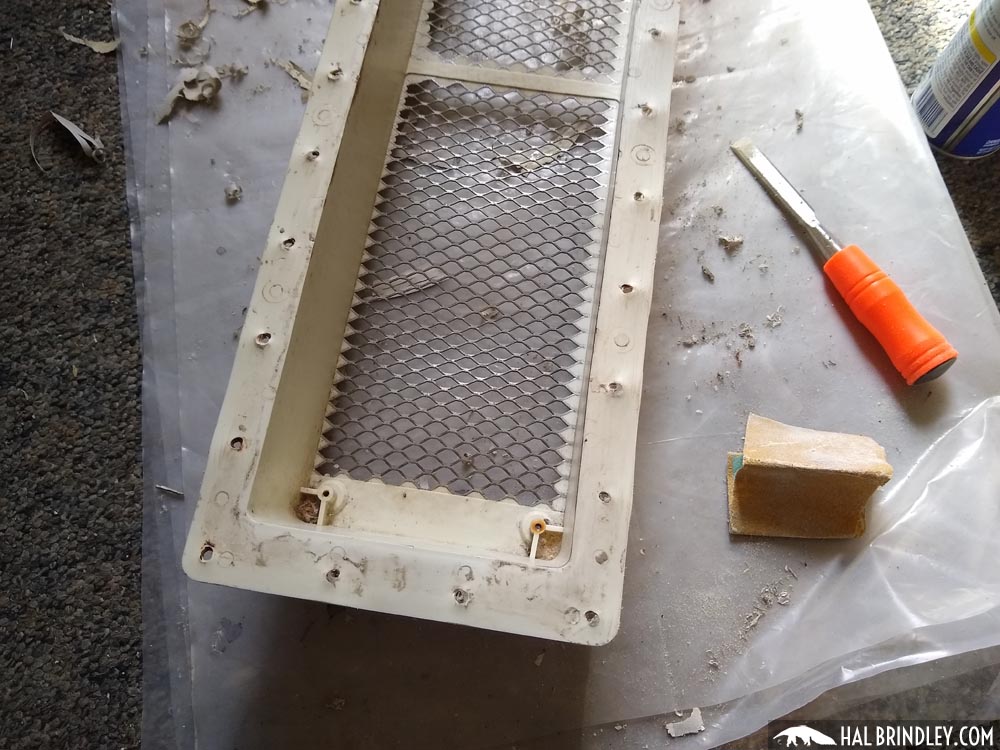
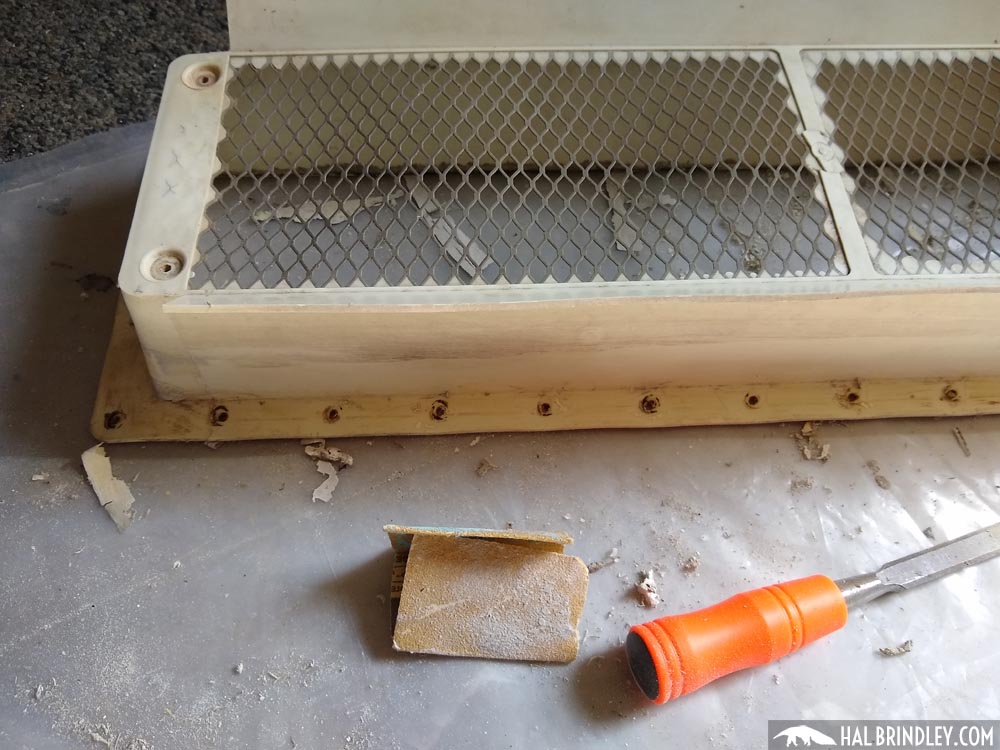
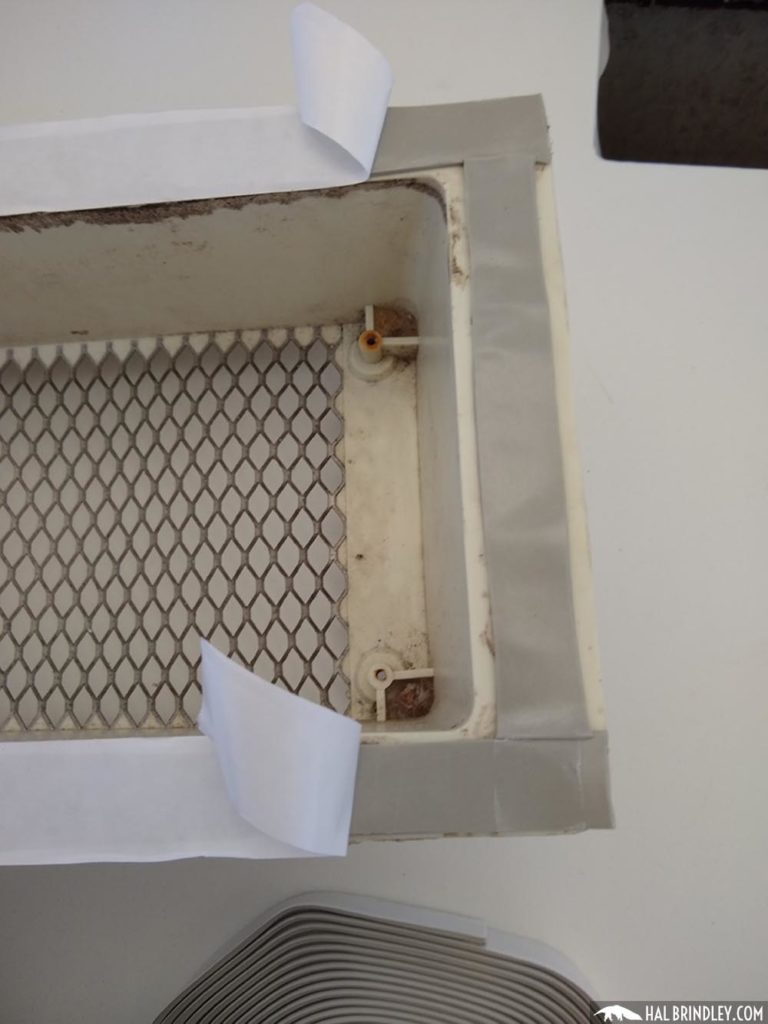
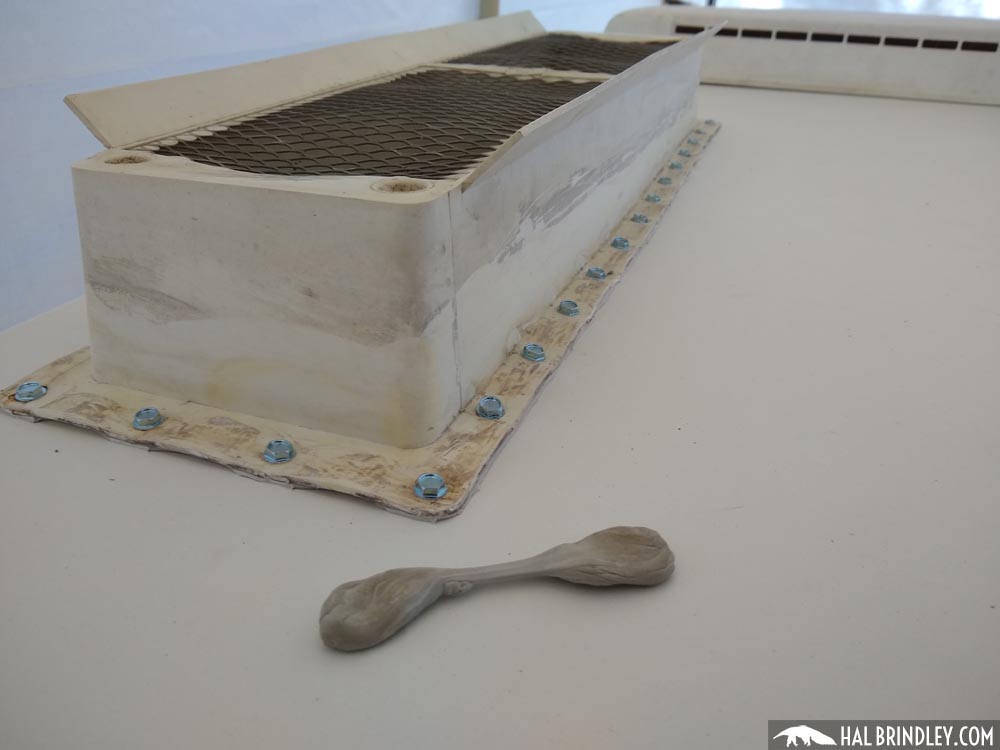
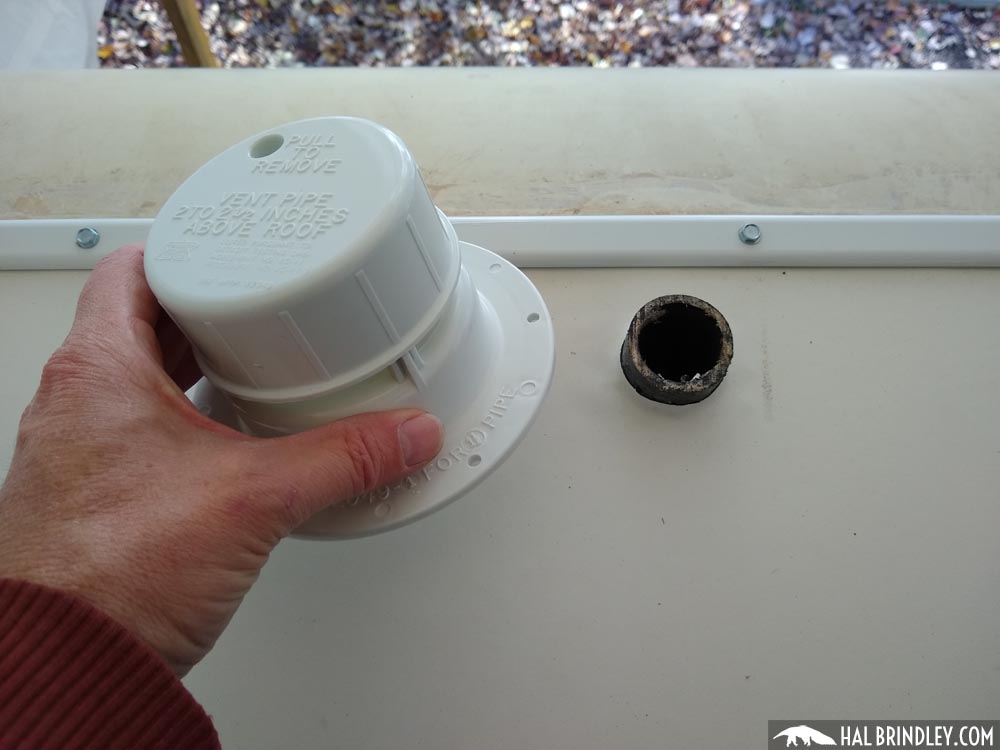
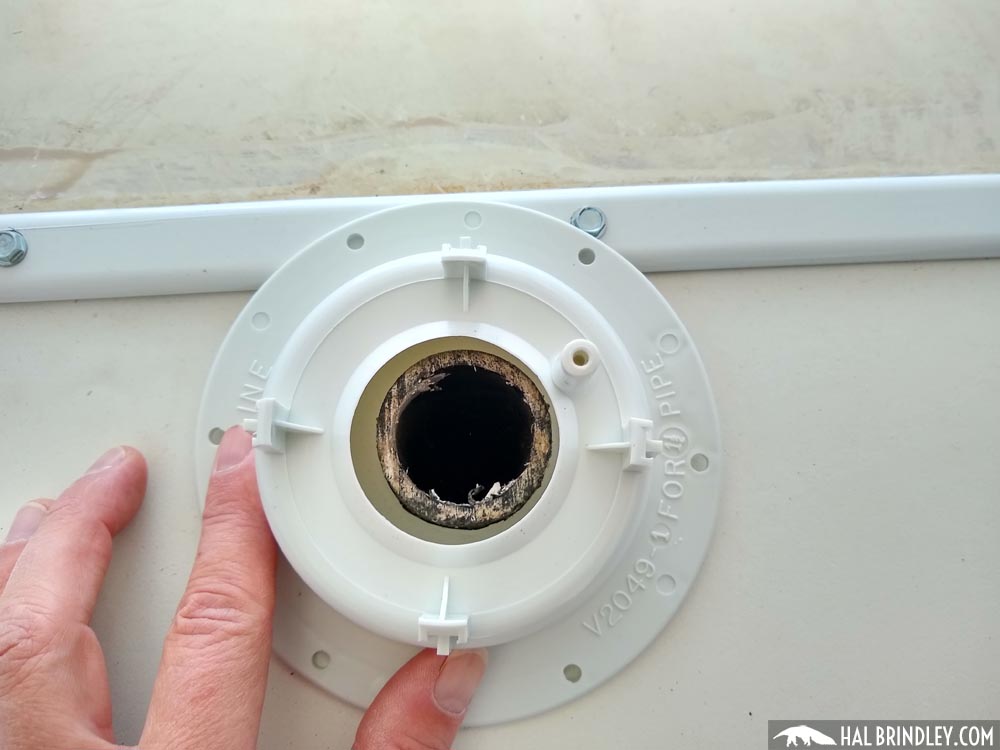
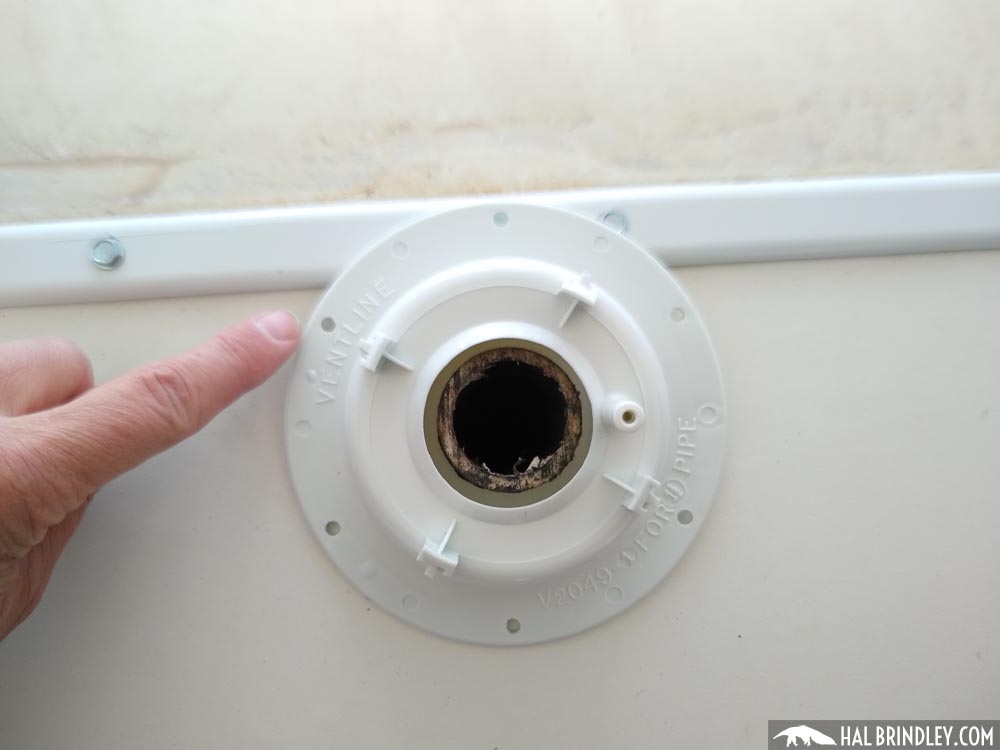
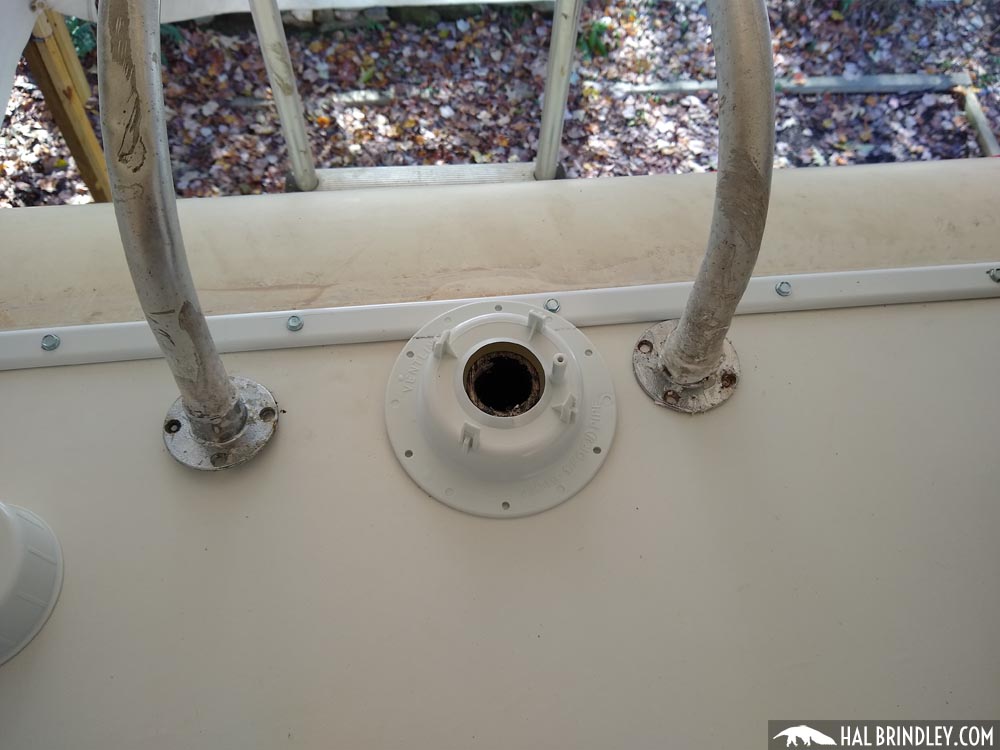
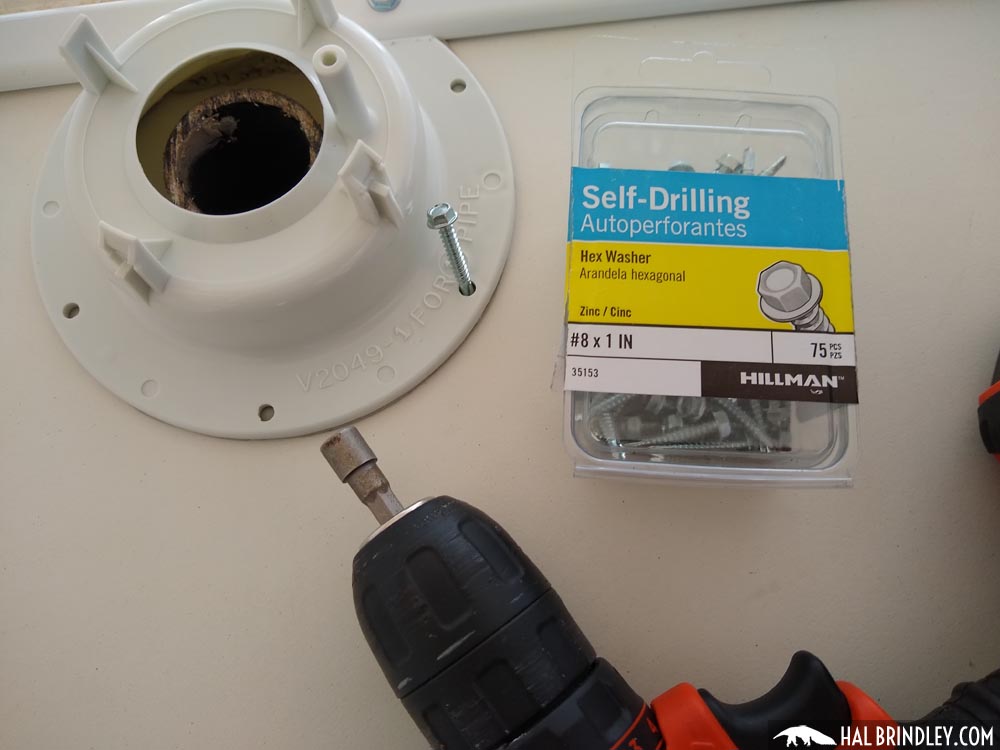
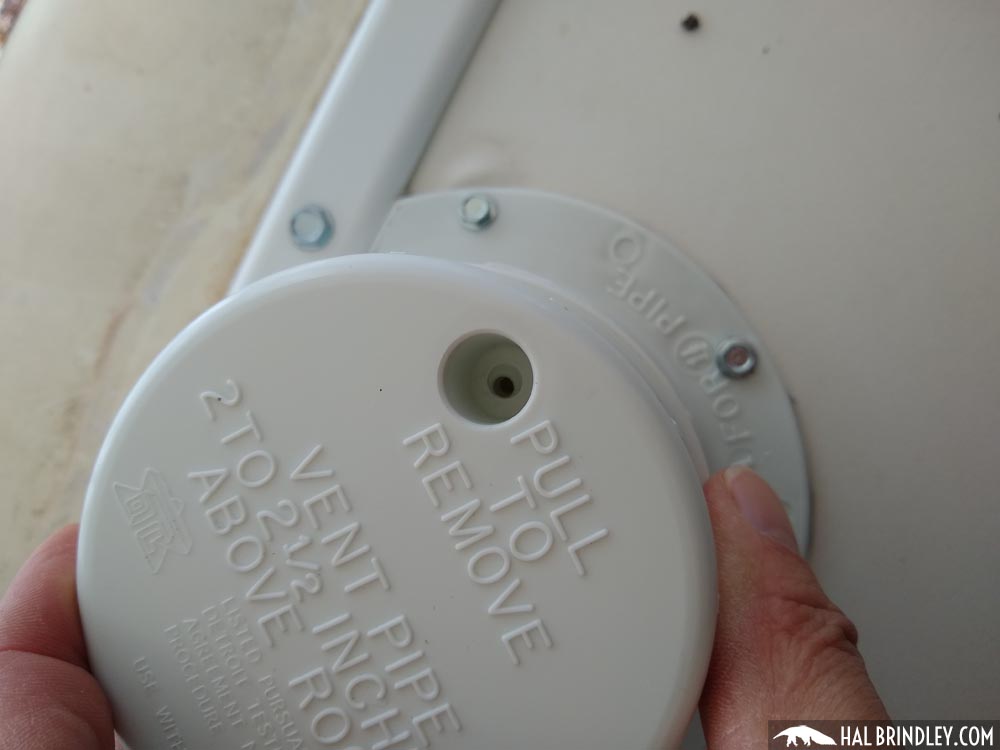
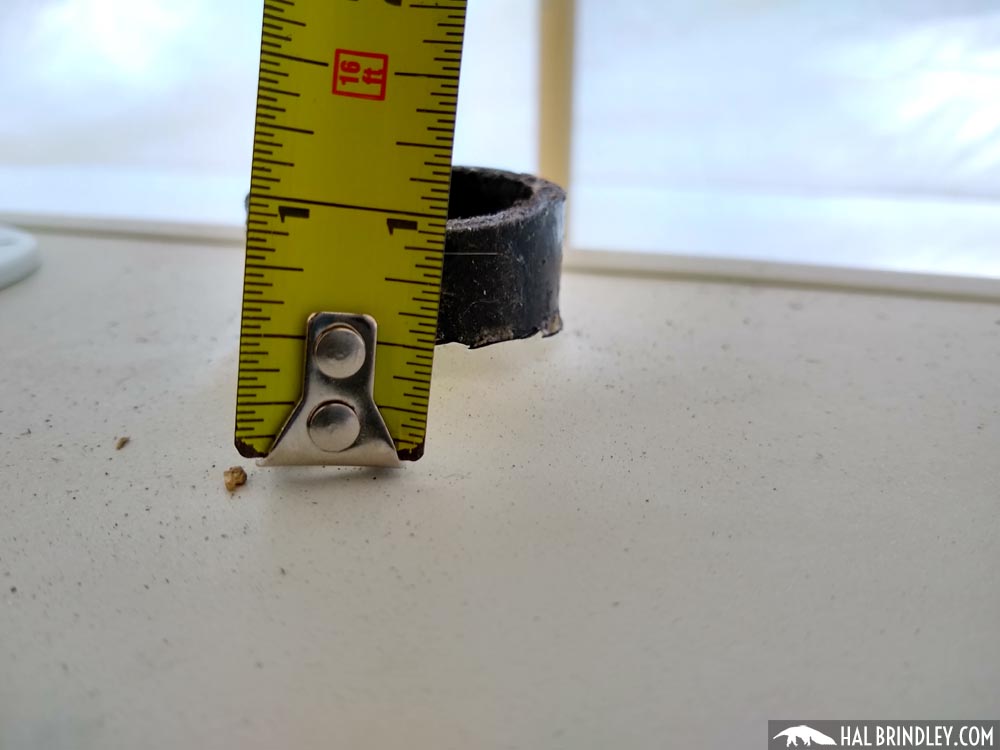
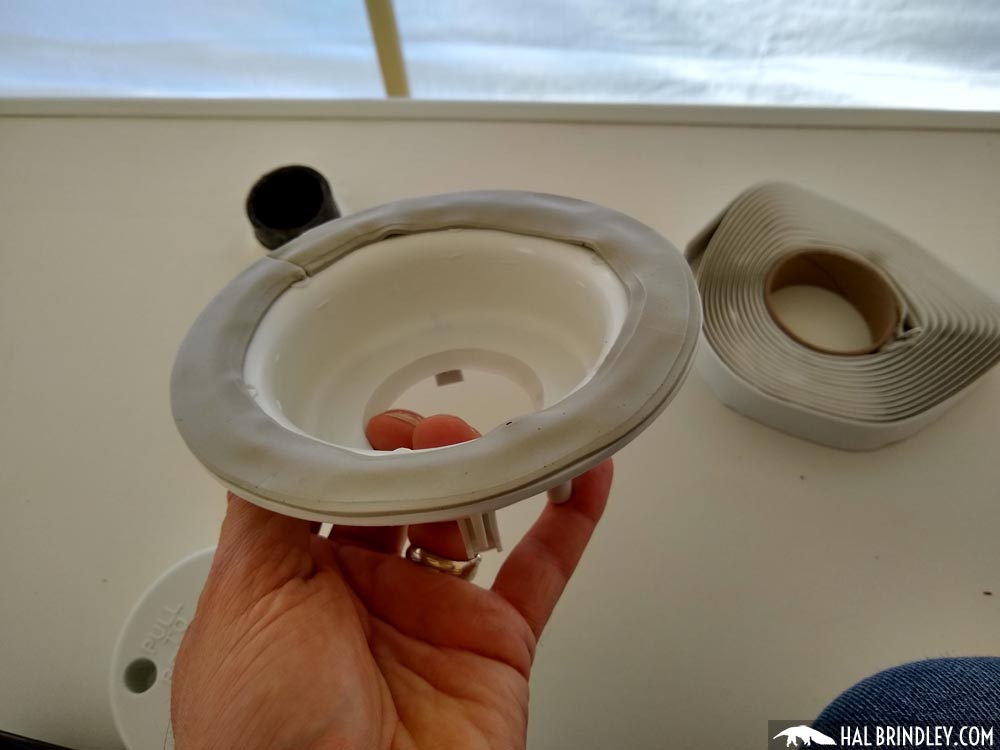
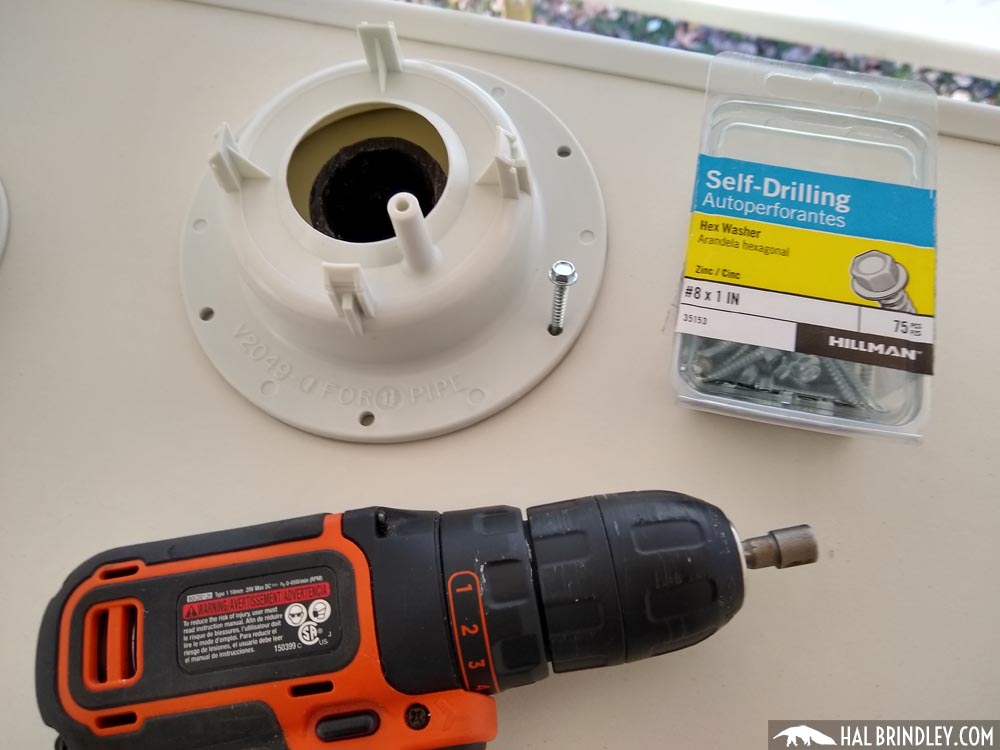
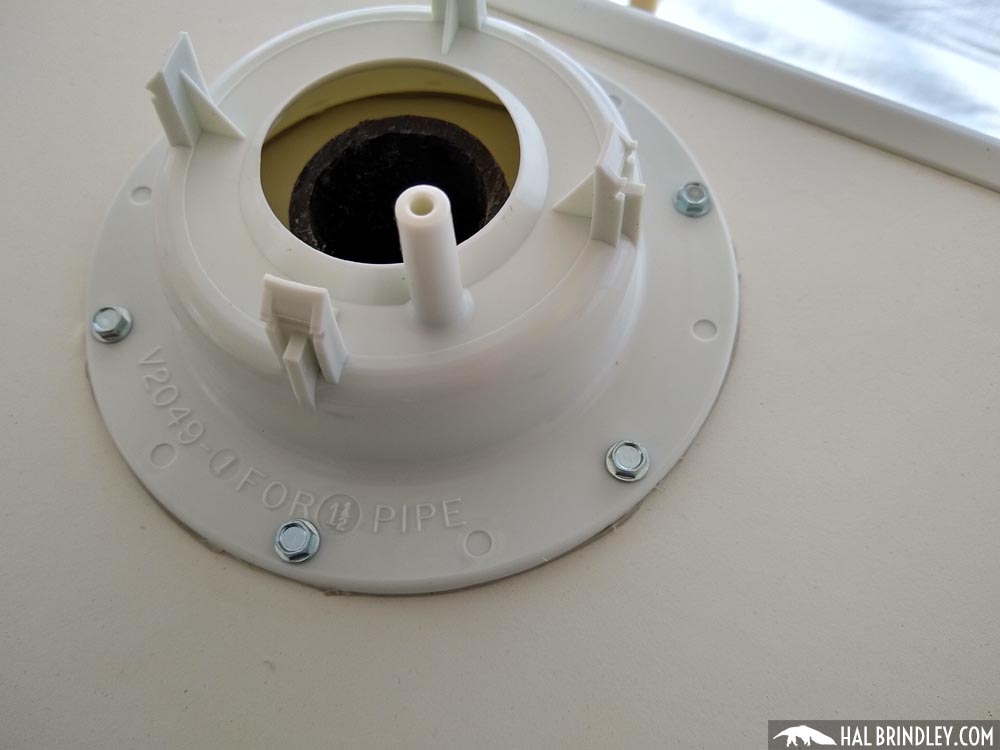
Welcome to my RV Renovation Series! In the previous step I installed all the roof trim . Now it’s time to reinstall the roof-top fixtures including the vent caps, and the refrigerator vent. (I’ll install the rear vent fan and the front vent fan afterward). I’ve chosen not to reinstall the TV antenna or the radio antenna because I want as few accessories on the roof as possible for the moment. (I might add the radio antenna later.) And I’ve covered over the AC opening with plywood because I intend to install a mini-split unit mounted on the back of the RV. So let’s install some vent covers!
WARNING: This is really just a rough draft of the post, a collection of photos (possibly with captions). I’ll be on the road for a few months and won’t have time to complete these posts until after, but for those of you who’ve written and want to see the rest of the project, hopefully this is better than nothing. Thanks for your patience until then!


Next I’ll be installing a FanTastic Vent Fan Model 1250 in the bathroom.