Welcome to my RV Renovation Series! I’m on step 5 of replacing the roof of my ’93 Fleetwood Jamboree Searcher motorhome. In the last step I removed the roof trim molding from three sides of the roof. But in order to remove the fourth one, I need to remove the RV awning as well. That’s because the mounting brackets overlap the roof, and the trim molding that holds down this side of the rubber roof is also the awning rail that anchors the awning fabric to the camper. Note: If you were simply removing your awning to replace it or doing an awning repair (and not repairing the roof) you wouldn’t have to actually remove this rail. (See “Head’s Up” in description below.) Let’s get to it!
Removing an RV Awning & Removing the Roof Deck
Steps Covered Today:
- Support the Awning
- Remove the Mounting Brackets
- Remove the Awning Rail & Awning
- Slide Awning Rail off the Awning
- Expose the Rear Edge of the Roof Decking
- Expose the Front Edge of the Roof Decking
- Remove the Roof Decking Plywood Substrate
Tools Used Today:
- see tool list at the beginning of part one of this post.
Support the Awning
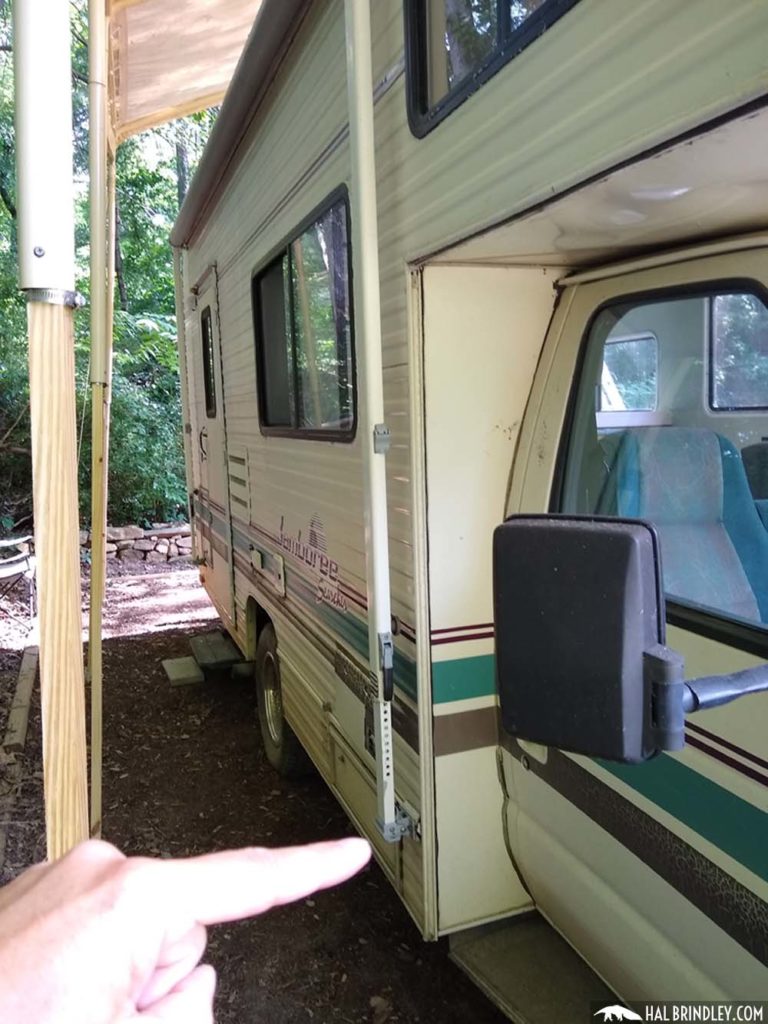
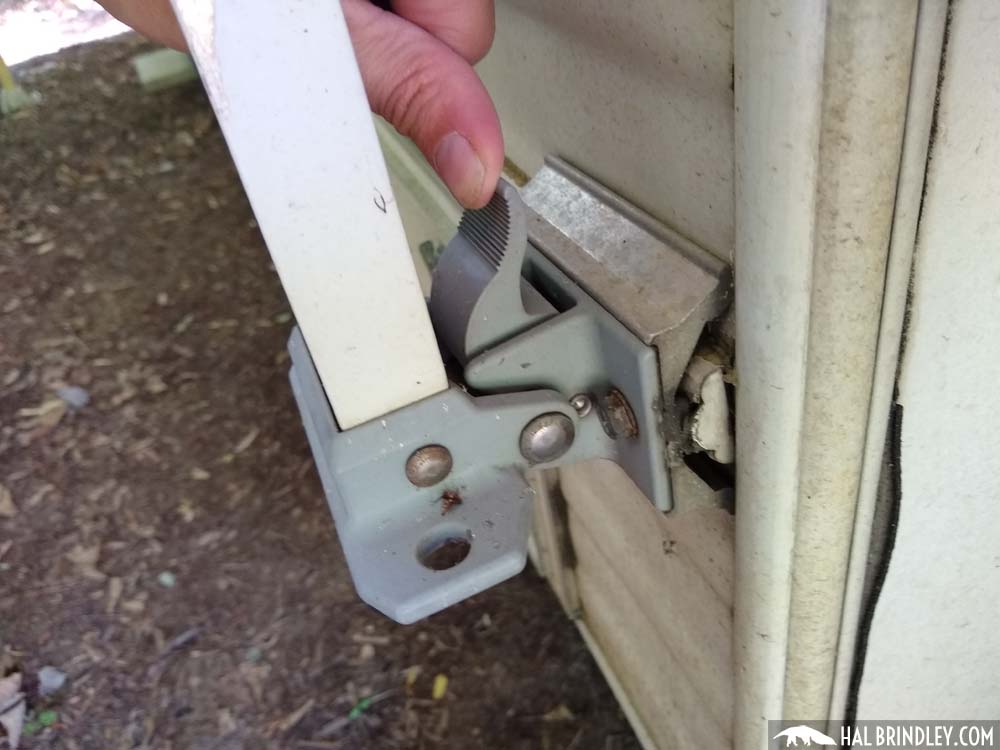
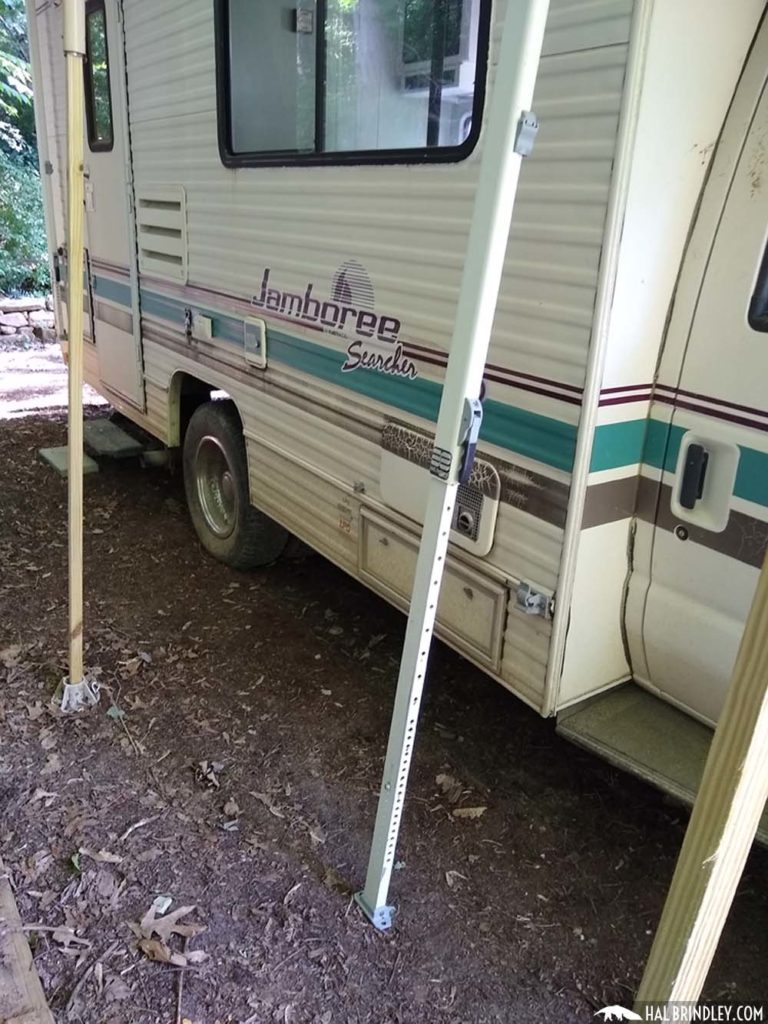
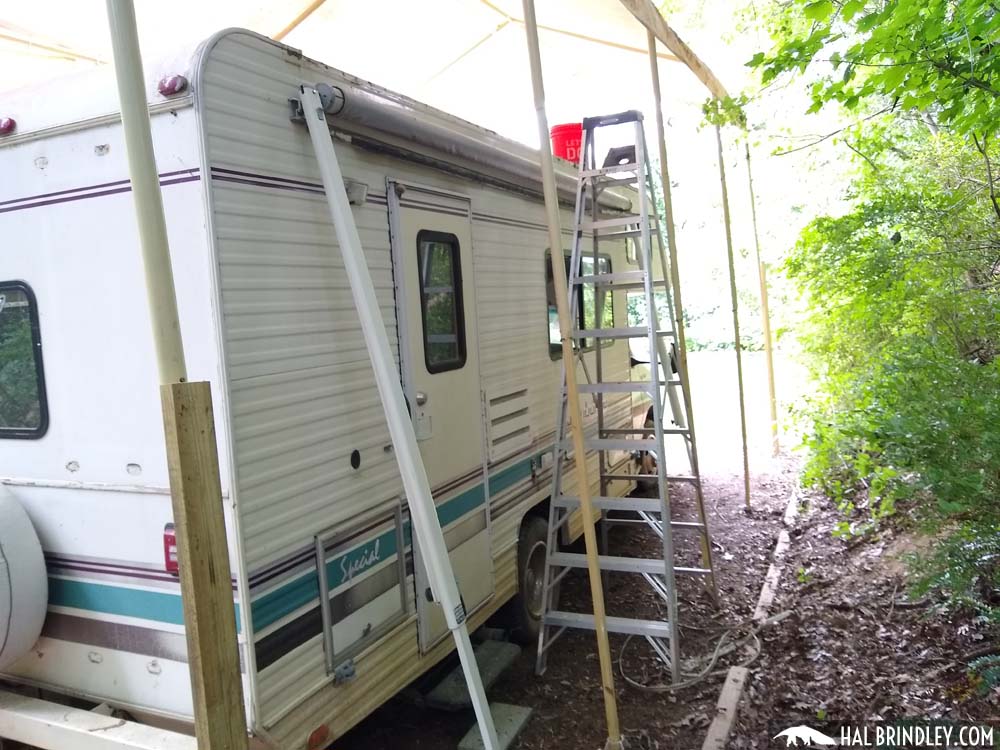
Awnings are heavy so the first thing I had to do was support its weight while I remove the mounting brackets. The easiest way to do that was to unclip the feet of the awning legs and extend them out at an angle to the ground.
Remove the Mounting Brackets
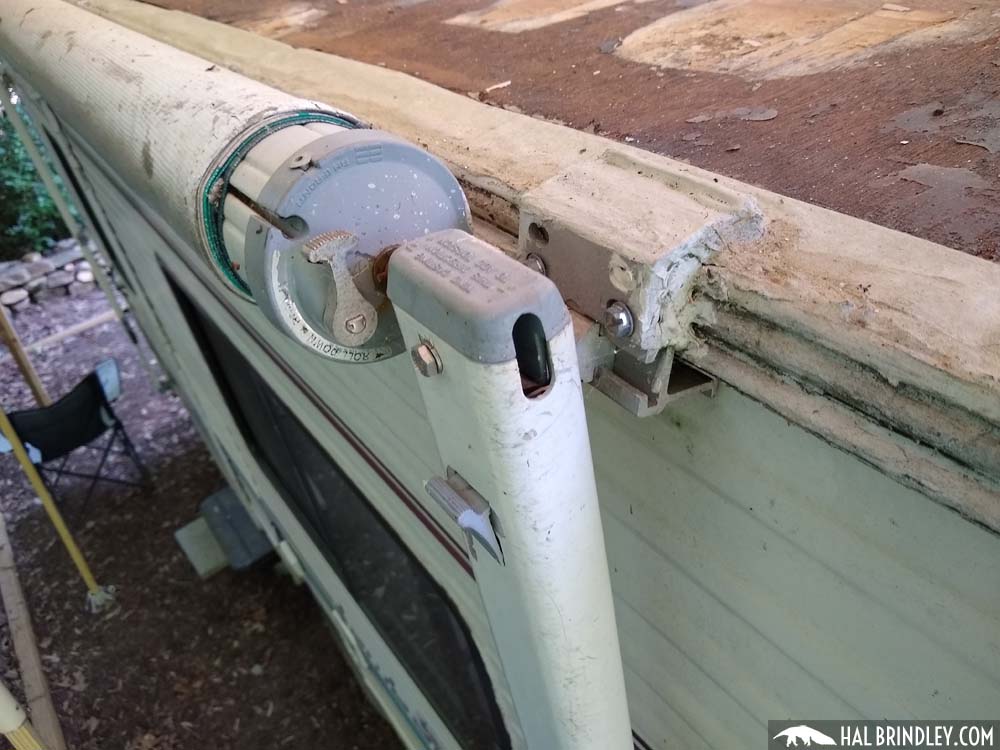
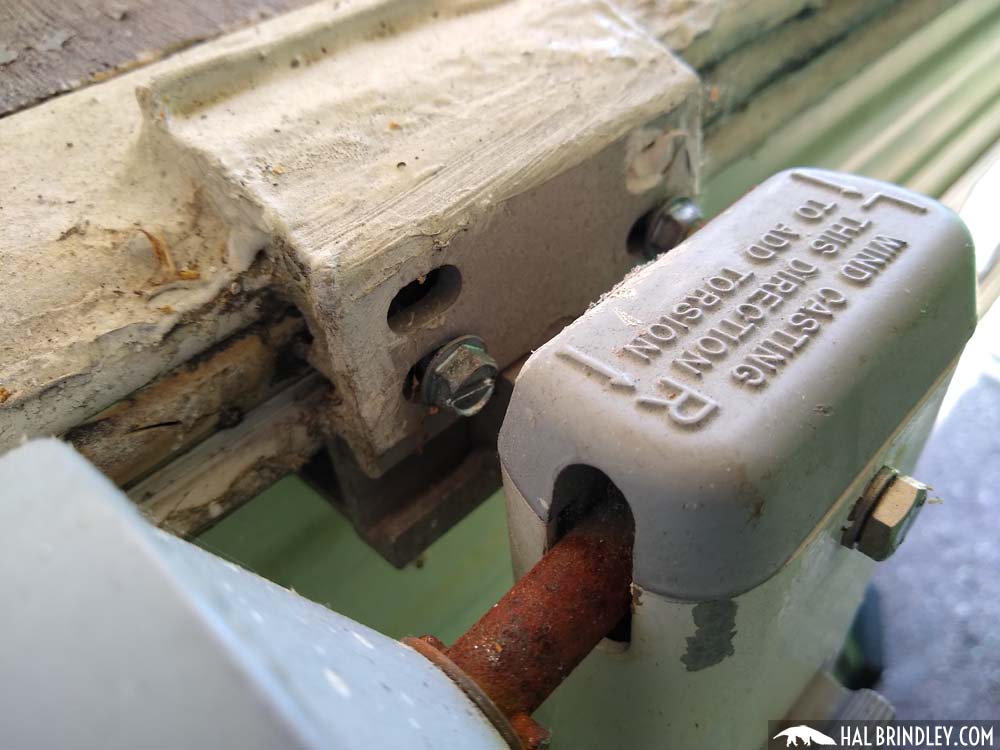
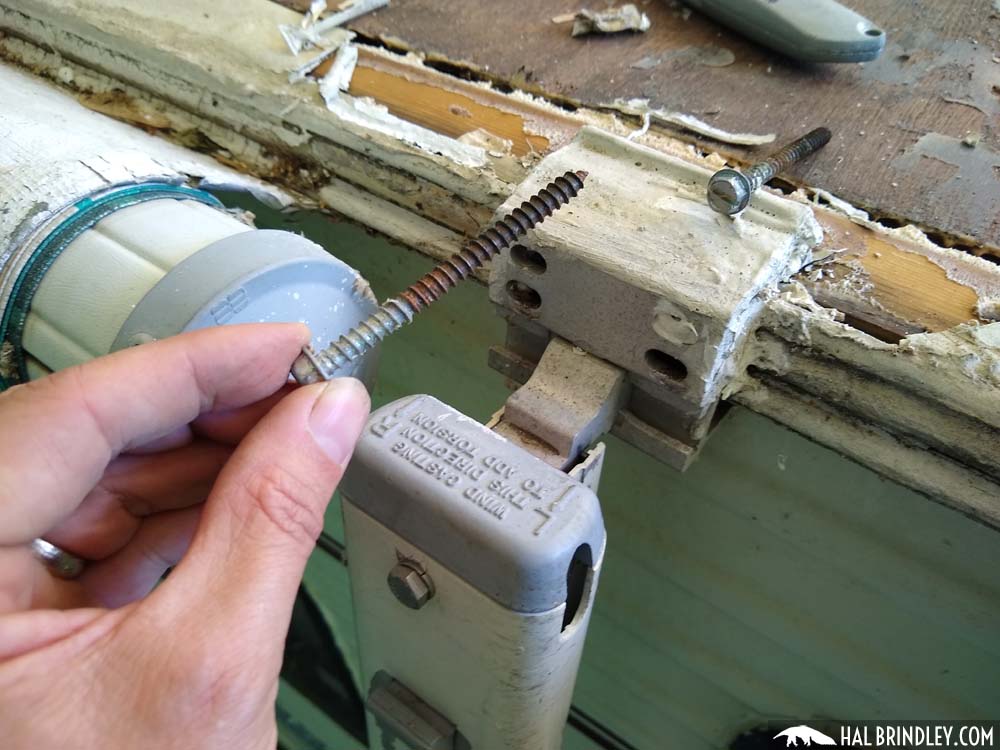
Here’s a detail of how the awning mounting brackets are bolted into the side of the camper. You’ll also notice how the bracket is hooked on top of the trim molding that holds down the fiberglass panel in the back corner. That’s why the awning needs to come off first before the final steps of this post (exposing the front and back edges of the roof decking). I used my 10-foot step ladder to do this work.
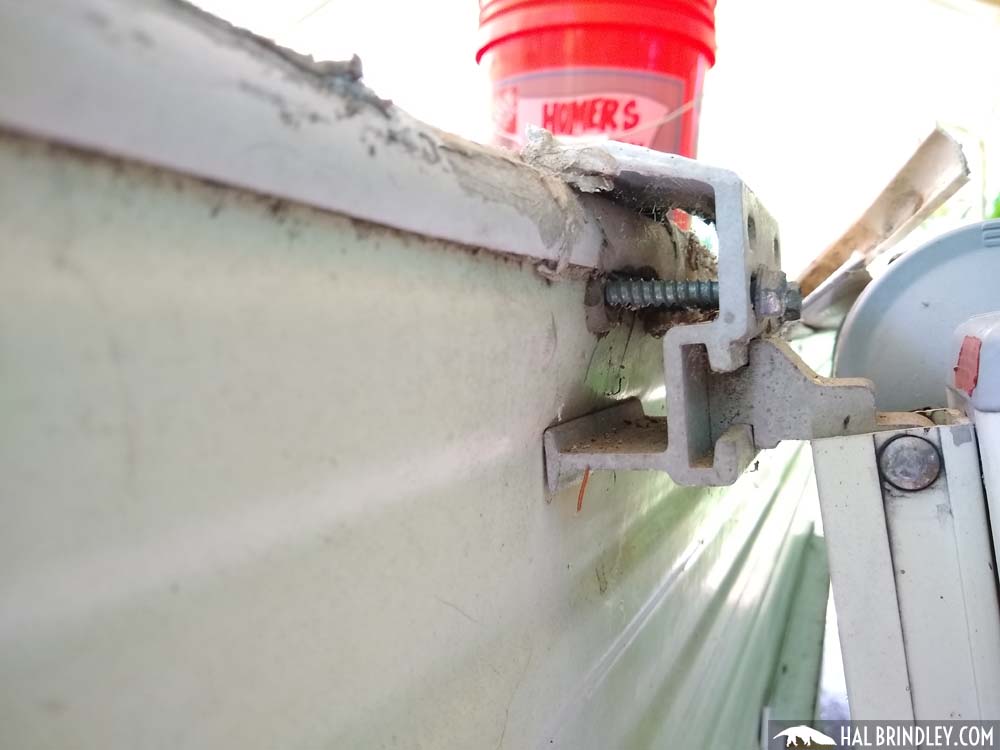
I didn’t actually have to do this step until the awning was on the ground but I noticed this set screw here holding the awning canvas into the awning rail (there’s another at the right end of the awning.) I went ahead and unscrewed it. You’ll also notice I started to pull out the vinyl insert that covers the screw heads in the awning rail.
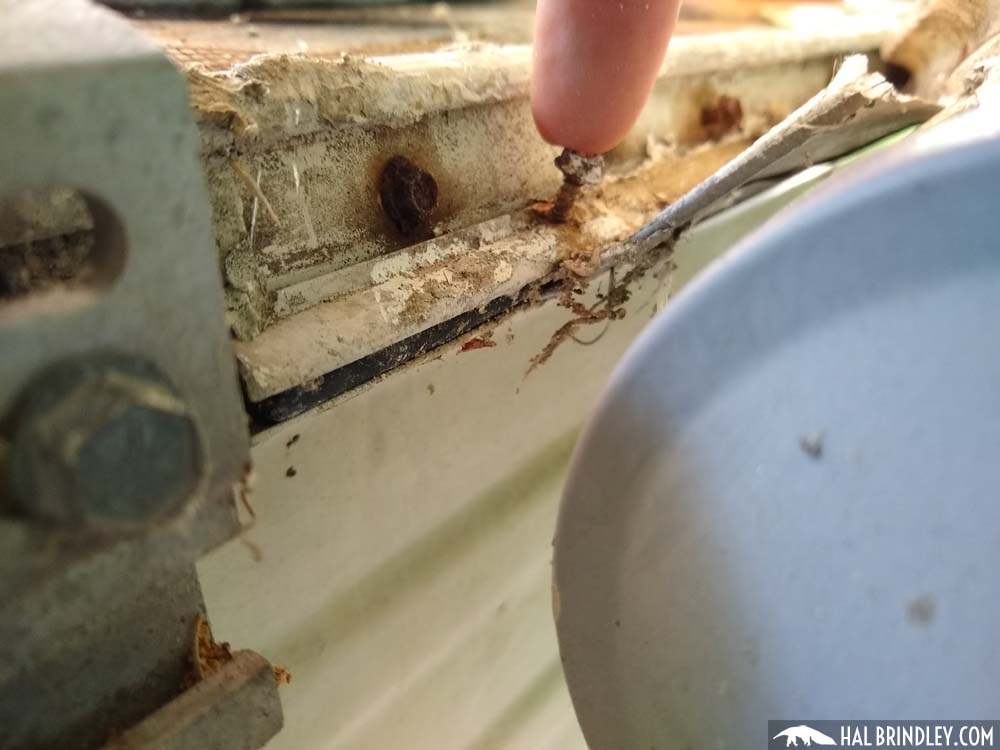
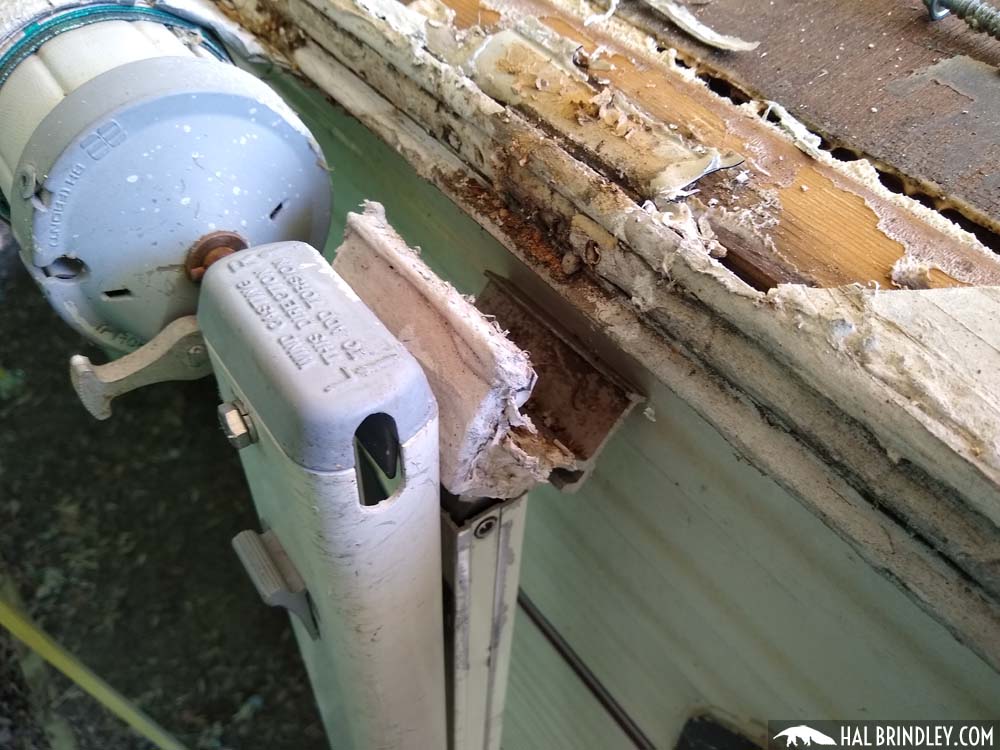
Grab the right size socket from your ratchet set and unscrew the bolts. These are long, heavy-duty lag screws. Once both screws are removed, simply pull back on the bracket.
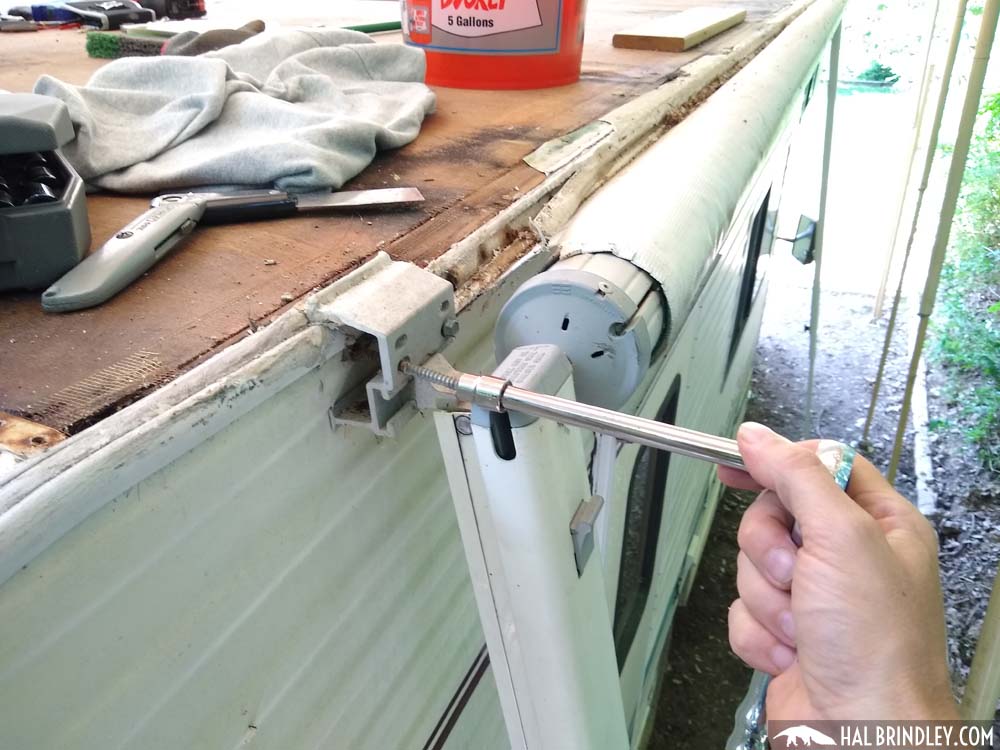
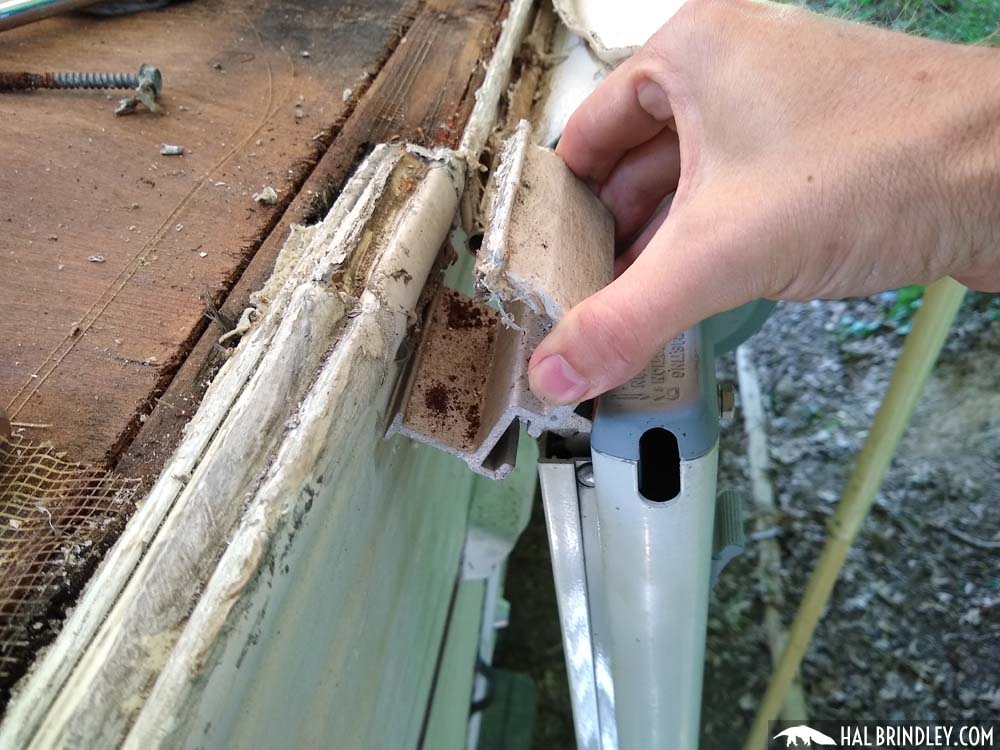
I found I couldn’t reach the lag screws on the other end because the leg was blocking them. So I just pulled the leg and awning away from the camper while unscrewing the lag screws. This is kind of pain, so it might be easier to just lower the legs a bit.

Remove the Awning Rail & Awning
Once the mounting brackets are detached, it’s time to remove the awning rail. Remember, the awning rail is basically just like a regular piece of aluminum roof edge trim molding except that at the bottom edge there is a circular track with a slot in it. The back edge of the awning canvas slides into this track. To replace the roof, this awning bar needs to be removed.
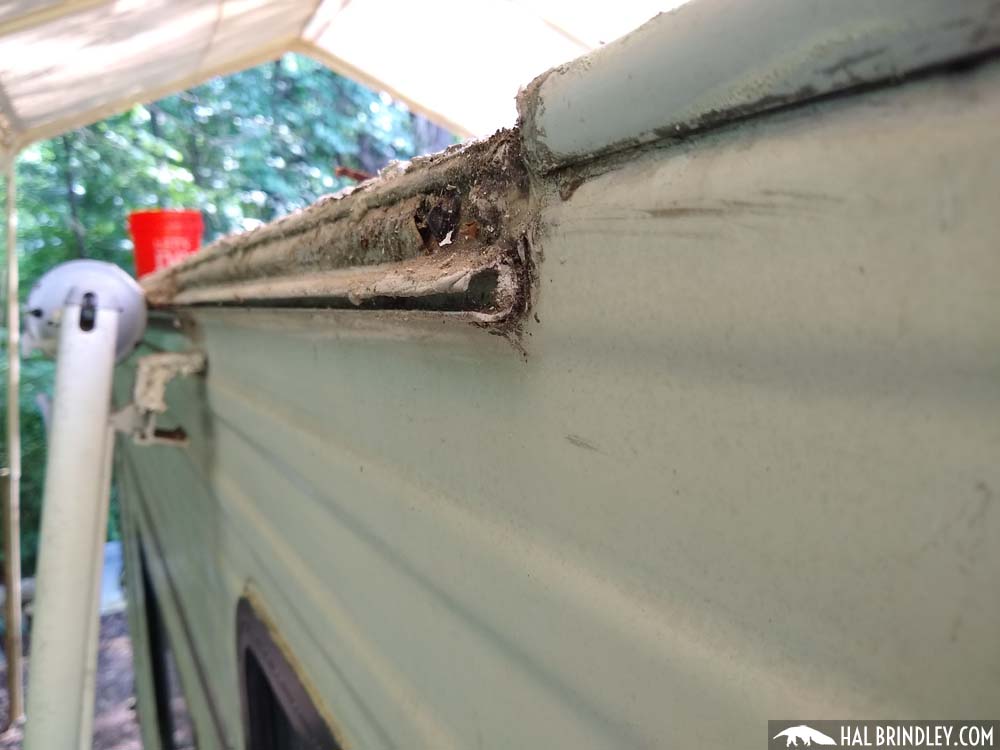
Heads up! If you’re just replacing your awning and not repairing the whole roof like me, then you wouldn’t need to remove the awning rail. You’d simply remove the two retaining screws (see the 8th photo below this one, that keep the awning from sliding sideways in the track) and then slide the entire awning sideways until it slides completely out of the rail. You would need two people for this job, one holding up each leg, to walk it sideways.
Since I’m replacing the entire rubber roof, I’m going to remove the awning rail and the awning in one piece, because it’s much easier than sliding the heavy awning sideways while it’s still attached! But in order to remove the awning rail, I need to lower the awning a little bit to access the screw heads. So next I raised the legs a few notches to drop the awning low enough that I could reach the awning rail easily.


Now it’s just like removing the side trim molding on the other side of the camper. Pull out the vinyl insert that covers the screw heads (you may have to cut the end with a utility knife if it is tucked under the rail) and then just yank it out.
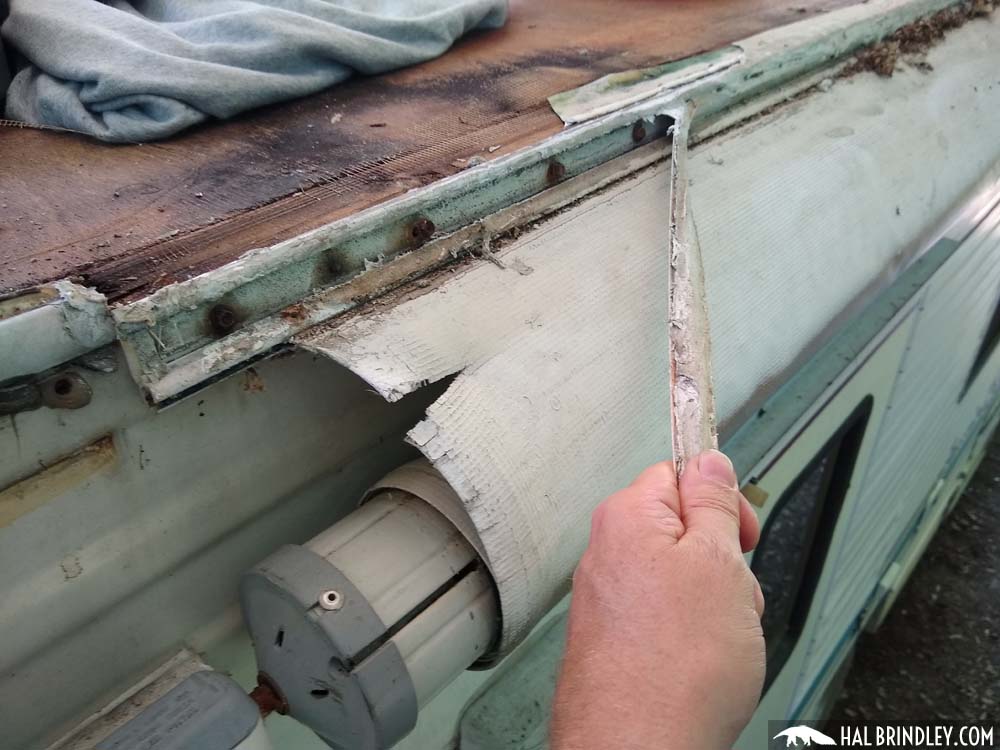
Once the vinyl screw cover insert was out I removed the screws with a cordless drill and the socket head from my ratchet screwdriver set. This went pretty quickly.
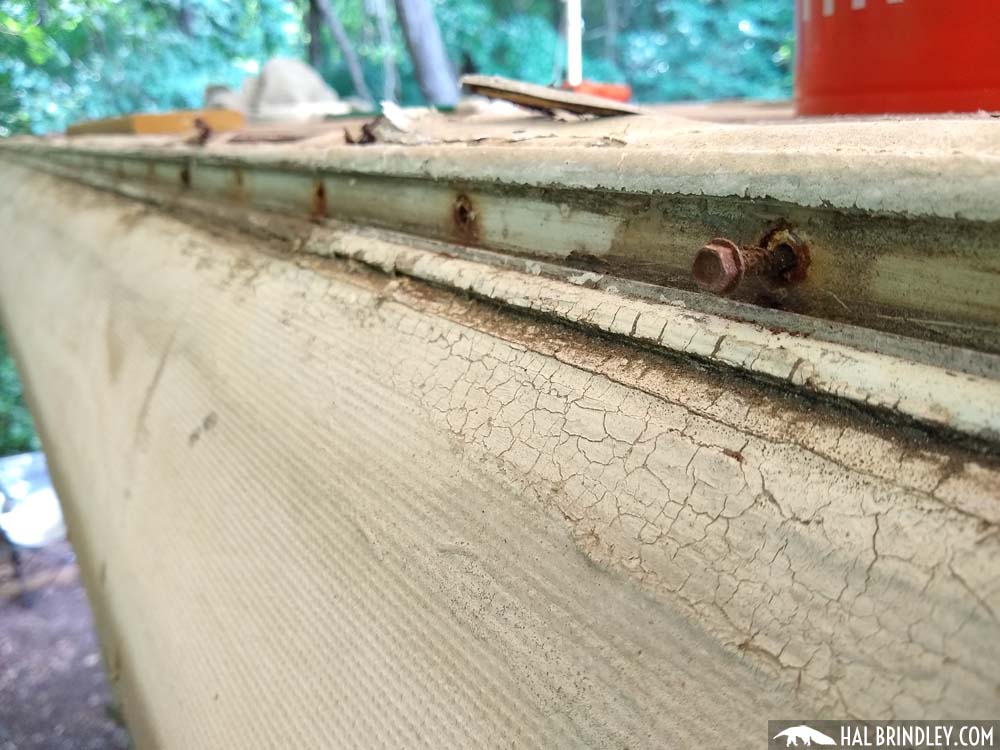
Once the screws were out I started prying up the awning rail. (There will be some butyl tape or putty sticking it to the rubber beneath.)
HEADS UP! Once I started to pry off the awning rail, the whole thing suddenly snapped off and rolled up into the awning like a window blind. Not a big deal but it scared the crap out of me. Just know it’s coming!
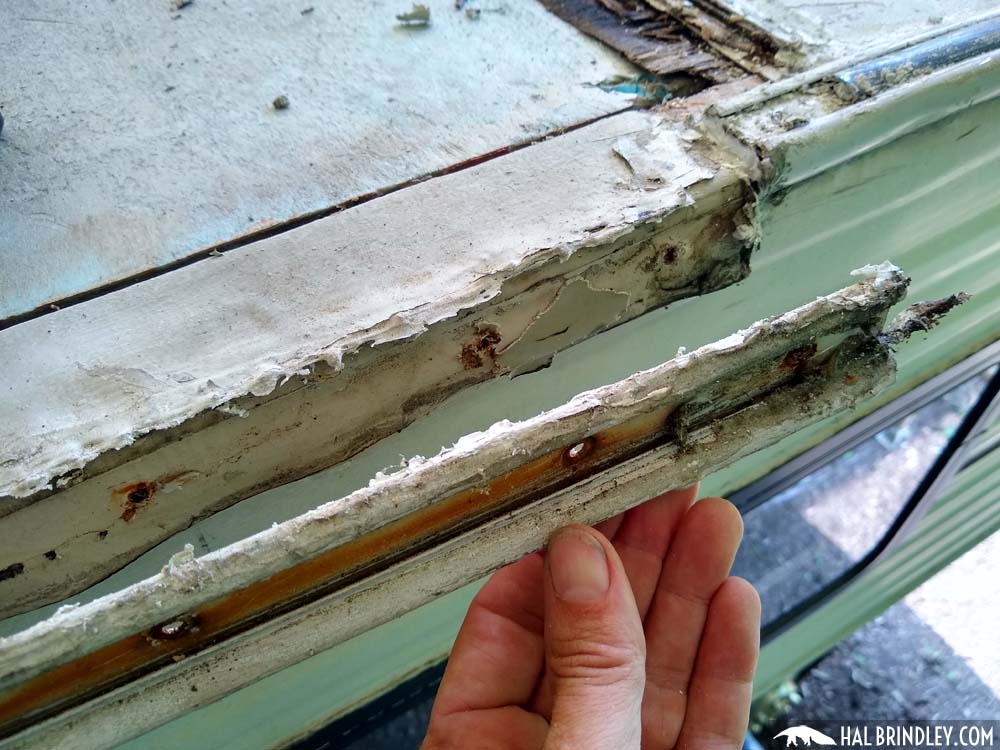
Slide Awning Rail off the Awning
Now the awning is free and ready to lower to the ground. This thing is heavy so if you’re working alone like me then lower it the ground little by little by walking the legs away from the camper on each side one by one until you can lay it on the ground. Then I flipped the legs back up and out of the way against the camper.
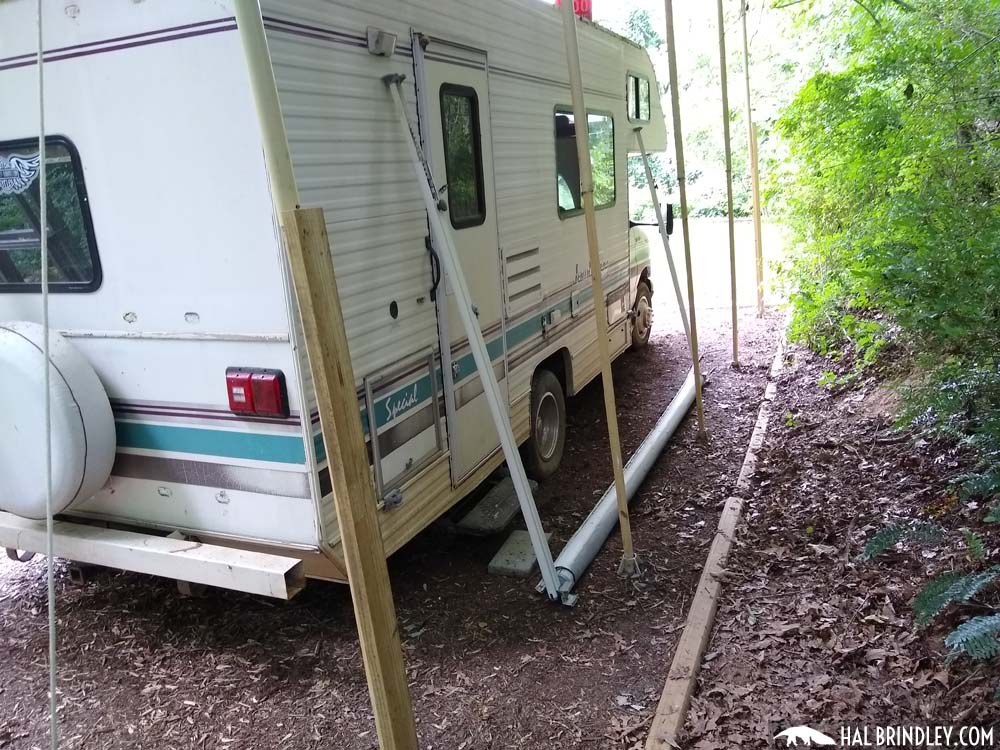
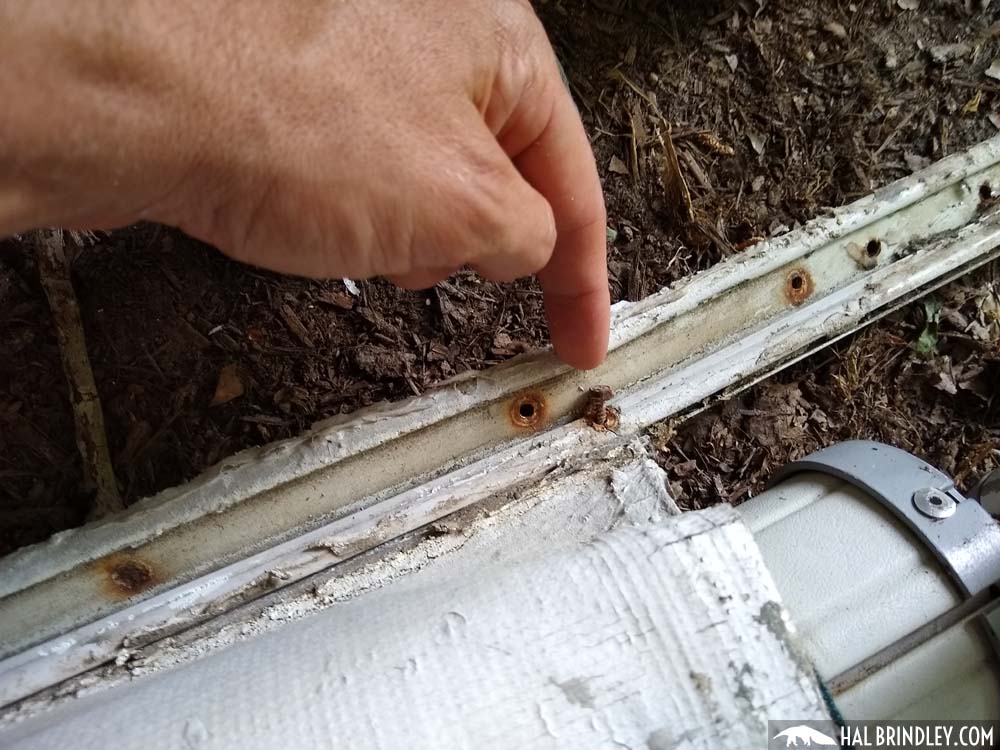
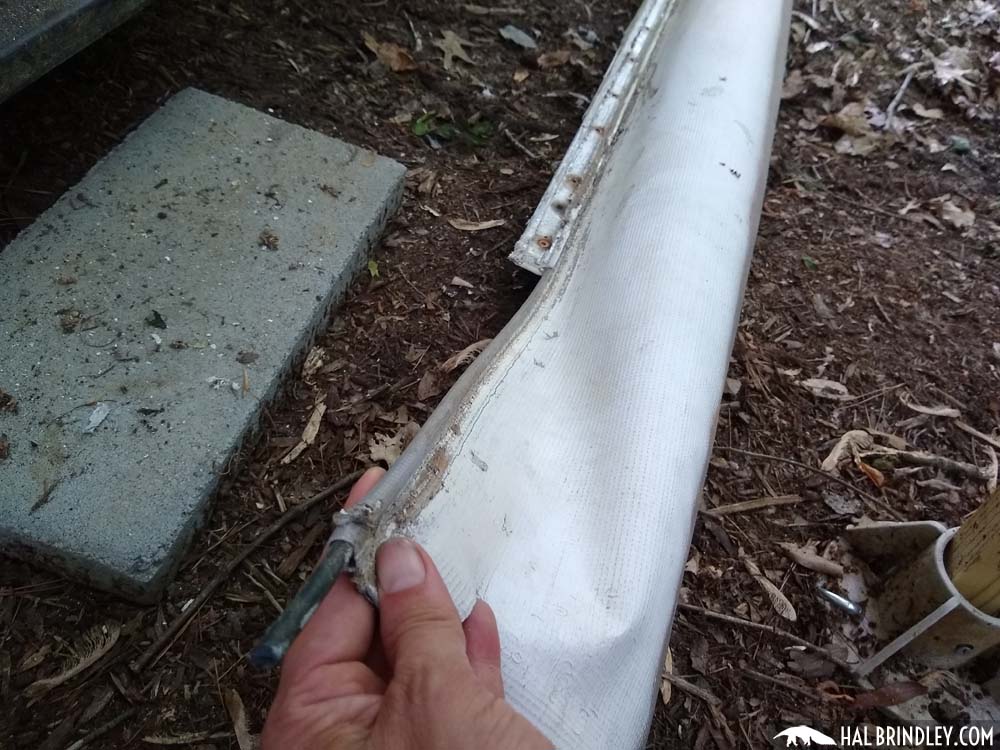
Once the awning was on the ground I removed the little set screw at the right end of the awning, (I removed the one at the left end earlier.) These screws keep the awning canvas from sliding in the rail. Once they’re removed the rail just slides right off the canvas by sliding the whole rail to one side.

Expose the Rear Edge of the RV Roof Decking
Woo hoo! The awning is off! The last step before I can remove the old roof decking is to expose the ends of it where the fiberglass panels overlap it at the front and back of the camper. These panels only overlap the roof decking by an inch or two, but you still have to go to the trouble of lifting them up if you want to replace the entire roof decking substrate (1/8 inch luan plywood in my case.) So I started with the back and the first thing I noticed was some rusty old staples holding down the edge of the fiberglass. I pried them out as best I could.

The next thing holding down the rv fiberglass siding panels is the corner trim molding shown here. It has a vinyl screw cover strip inserted, so again I just pried up the vinyl insert and pulled out enough so I could unscrew some screw heads.
HEADS UP! I didn’t remove this entire piece of corner trim molding (it runs all the way to the bottom of the camper) because I only need to lift the edge of the fiberglass. However I may end up removing it later if I need to replace the luan plywood beneath this fiberglass transition.
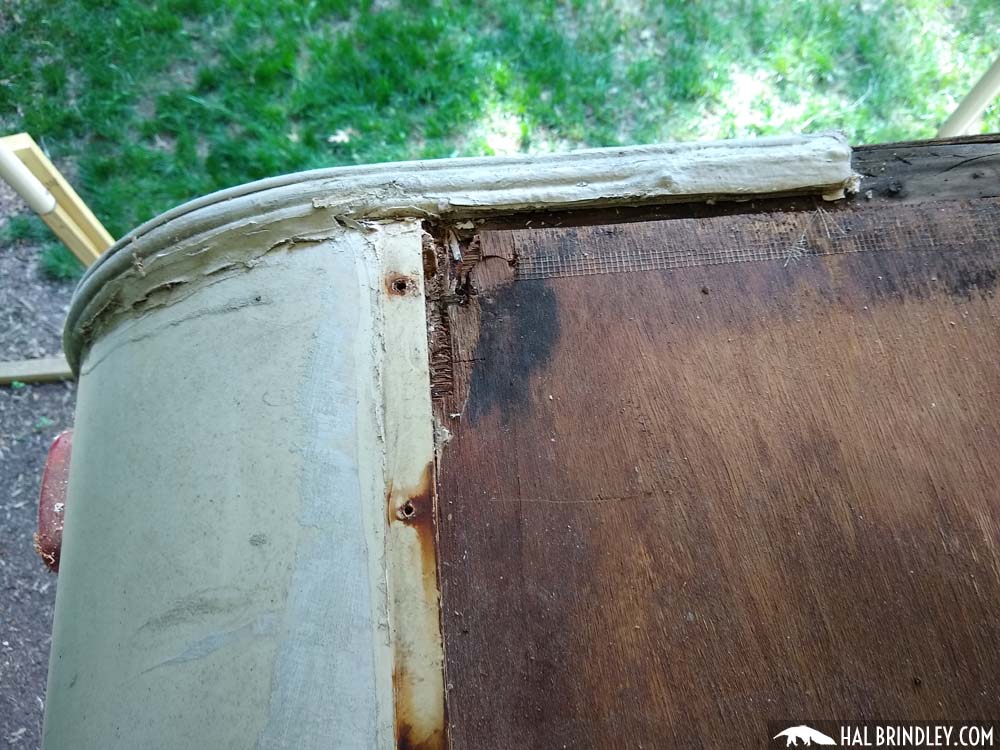
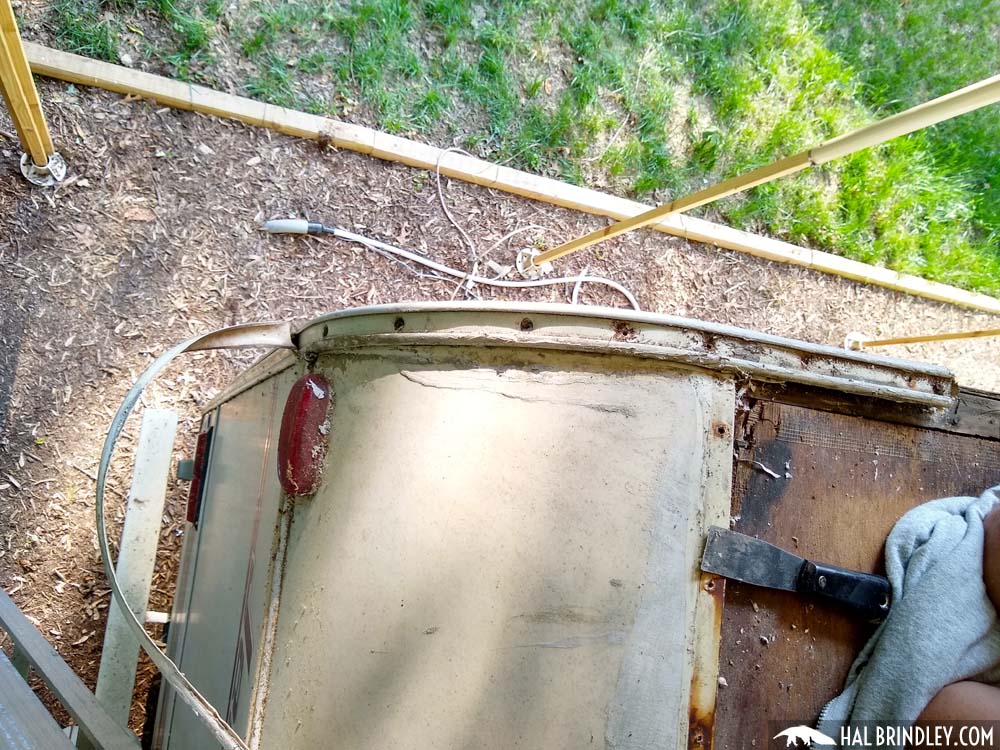
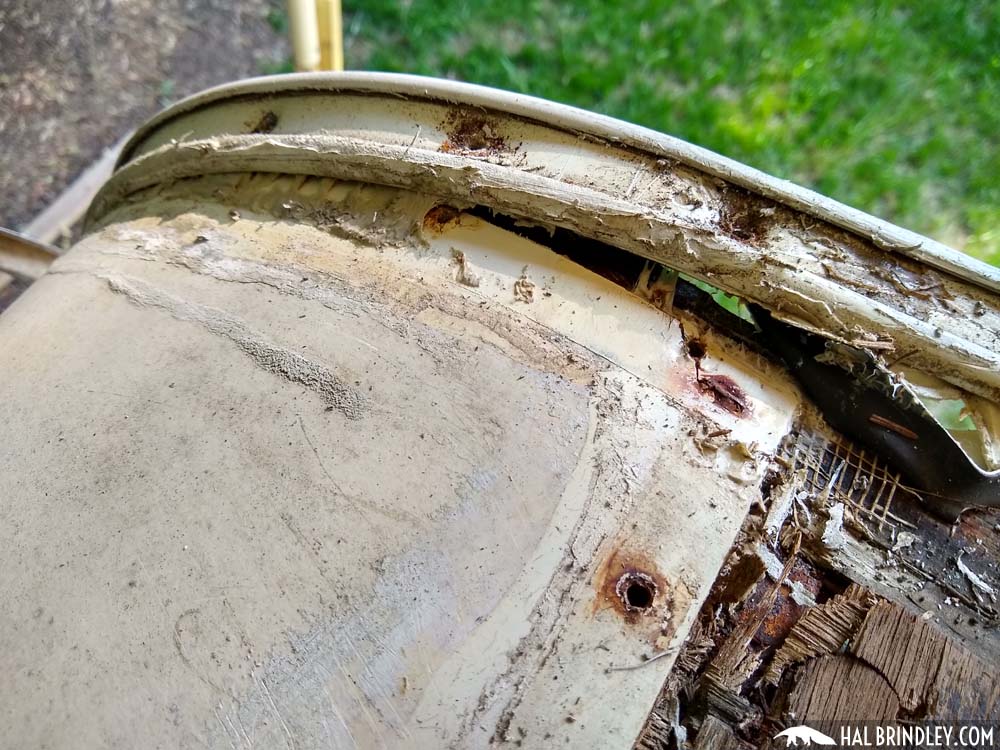
Once I could swing that piece of corner molding off the side, I began to pry up the fiberglass panel. It has glue under it and bits of rusted staples and sheared off screws still holding it in place.
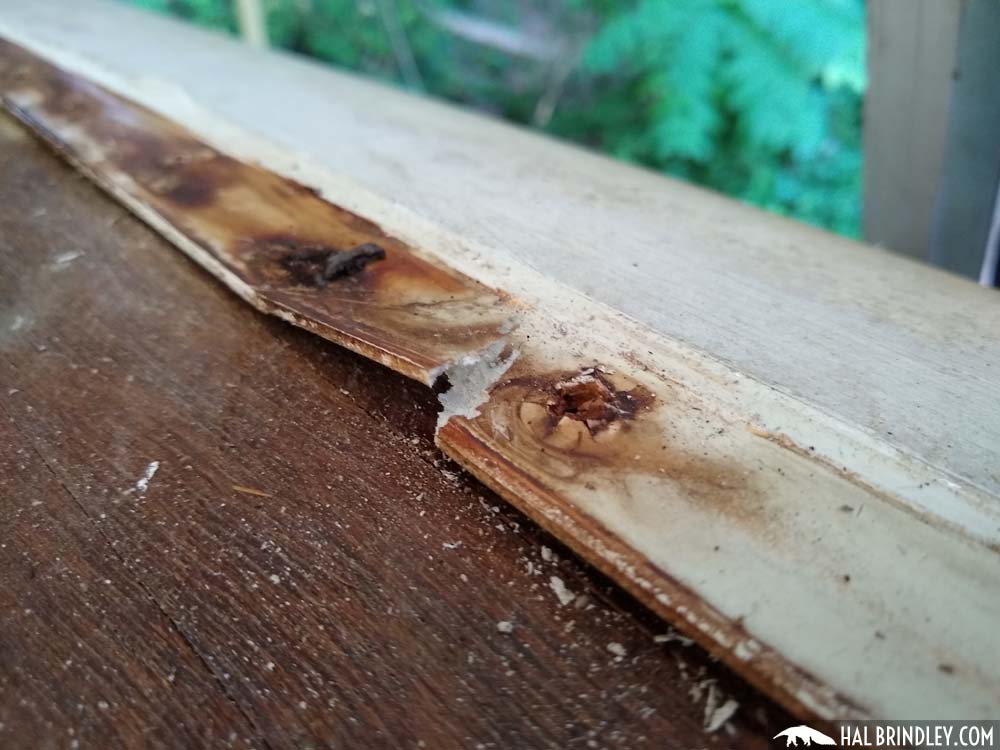
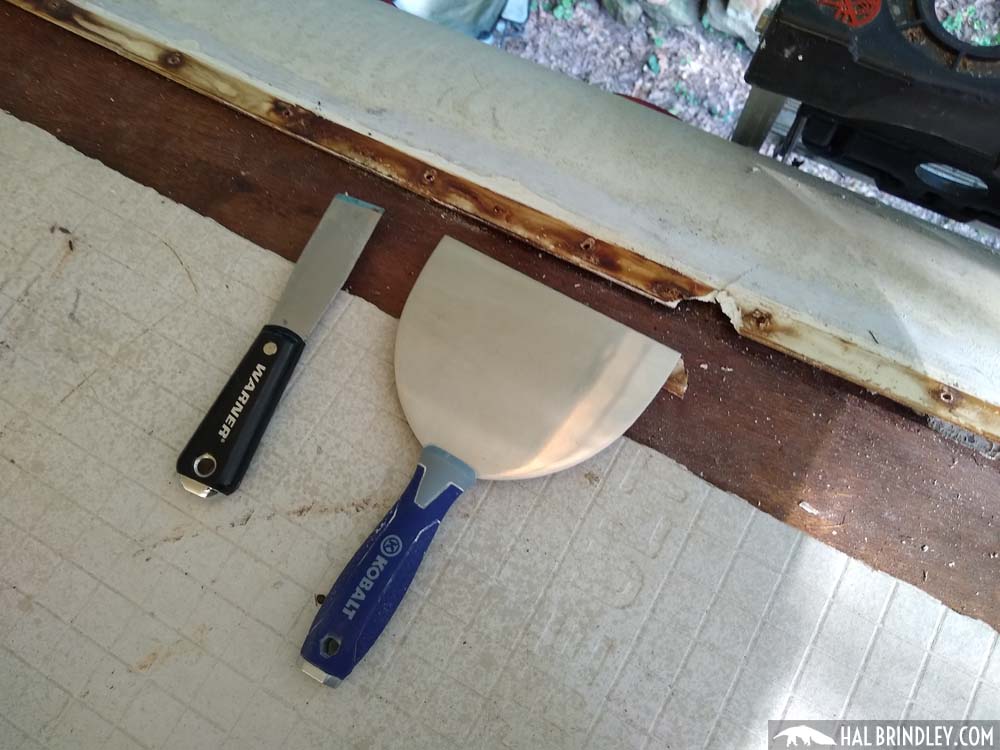
Heads Up! Pry up the fiberglass cover panels very carefully! They chip easily! Especially around the remains of any rusted out staples or sheared off screws. I switched from a scraper to a stiff 6″ wide putty knife .
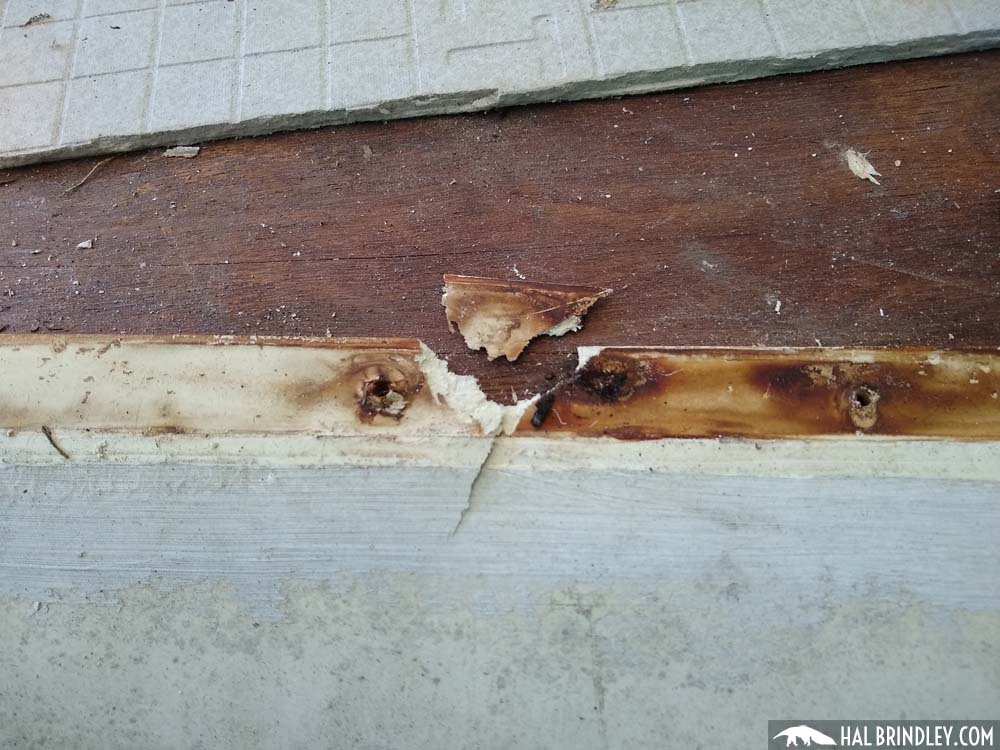
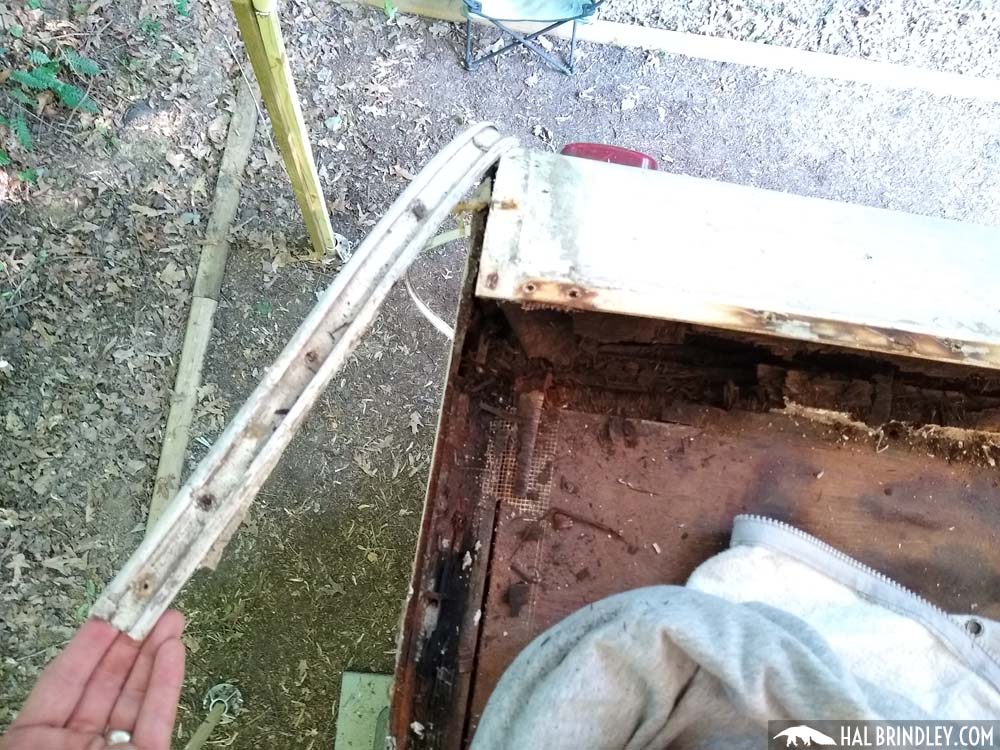
Then I loosened the other corner trim in the same way, and bent it sideways just enough so that I could lift up the edge of the fiberglass panel.
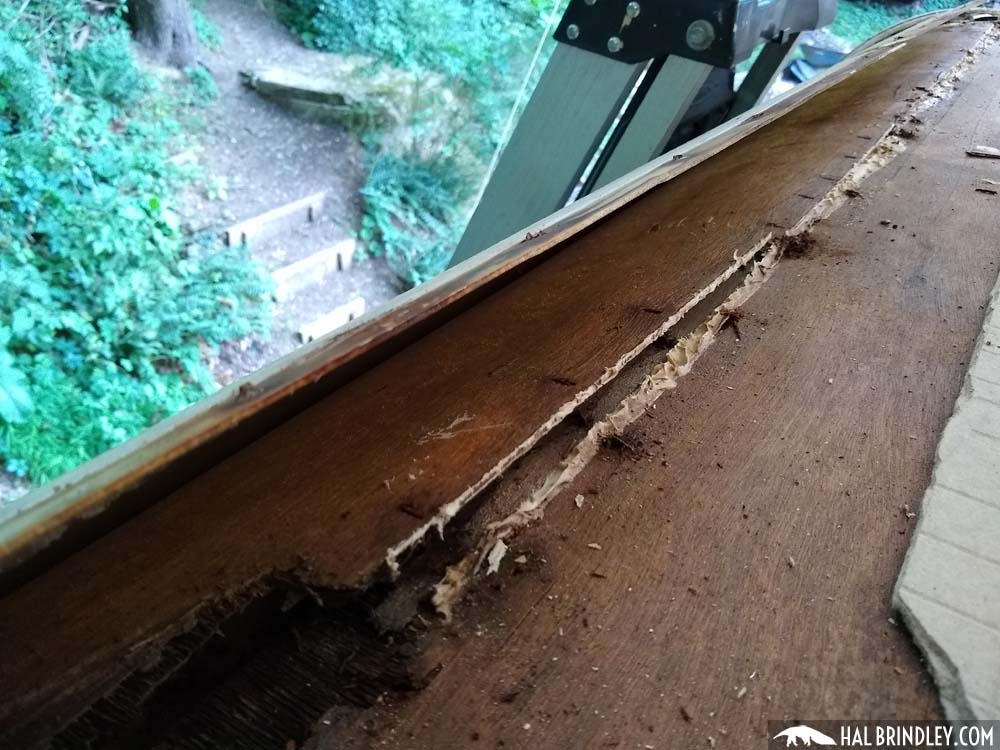
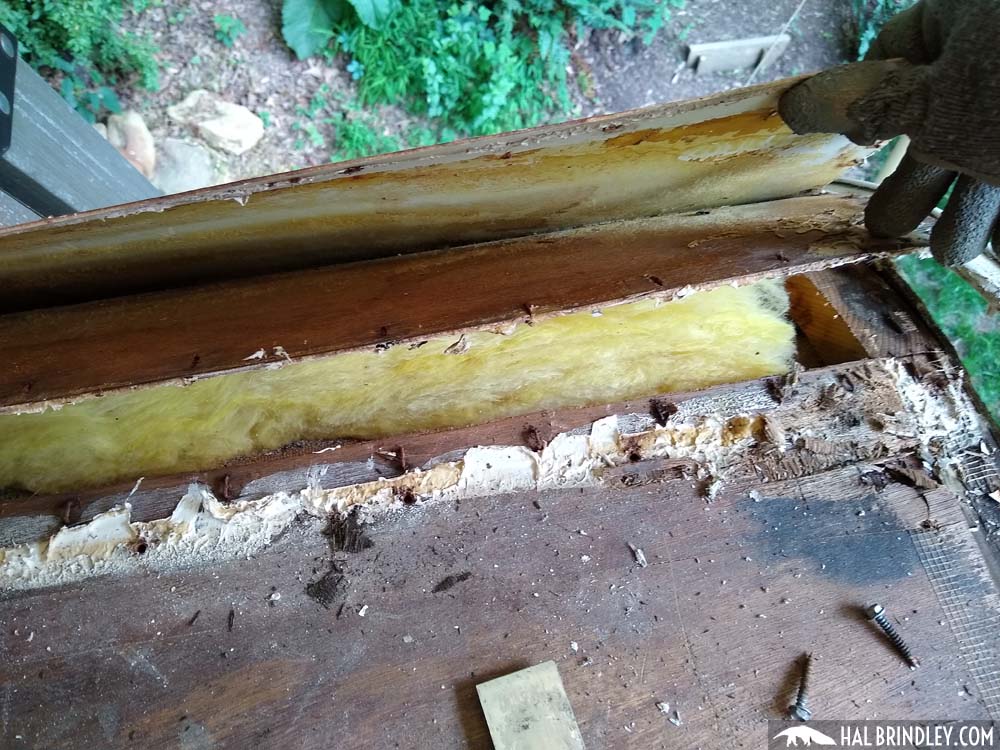
When I lifted the edge of the fiberglass I could see that the layer of luan plywood beneath it was stapled on top of the roof decking plywood. So next I pried up the staples and lifted the edge of that piece of luan ply.
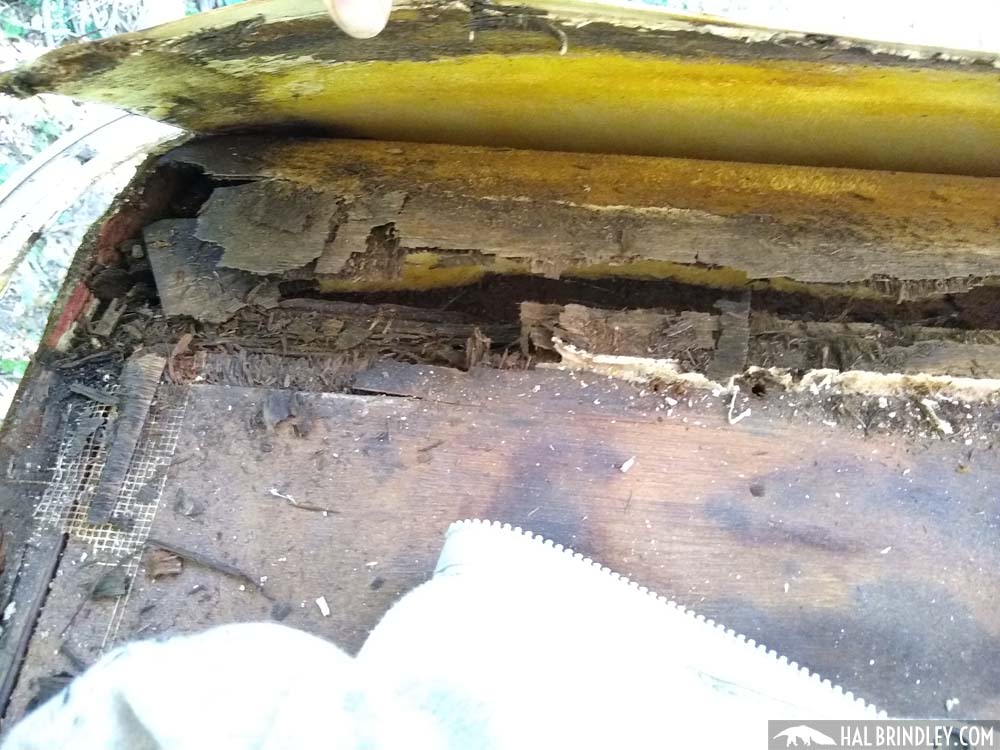
I found a bunch of water damage in the plywood under the fiberglass panel so I’ll probably be replacing it. Which means I’ll end removing those corner trim pieces all the way down after all. But we’ll get to that later.

Expose the Front Edge of the Roof Decking
OK! So I’ve exposed the roof substrate at the back edge of the camper. Now its time to find the front edge. Same deal again. Remove some screws from the corner trim holding down the fiberglass panel.
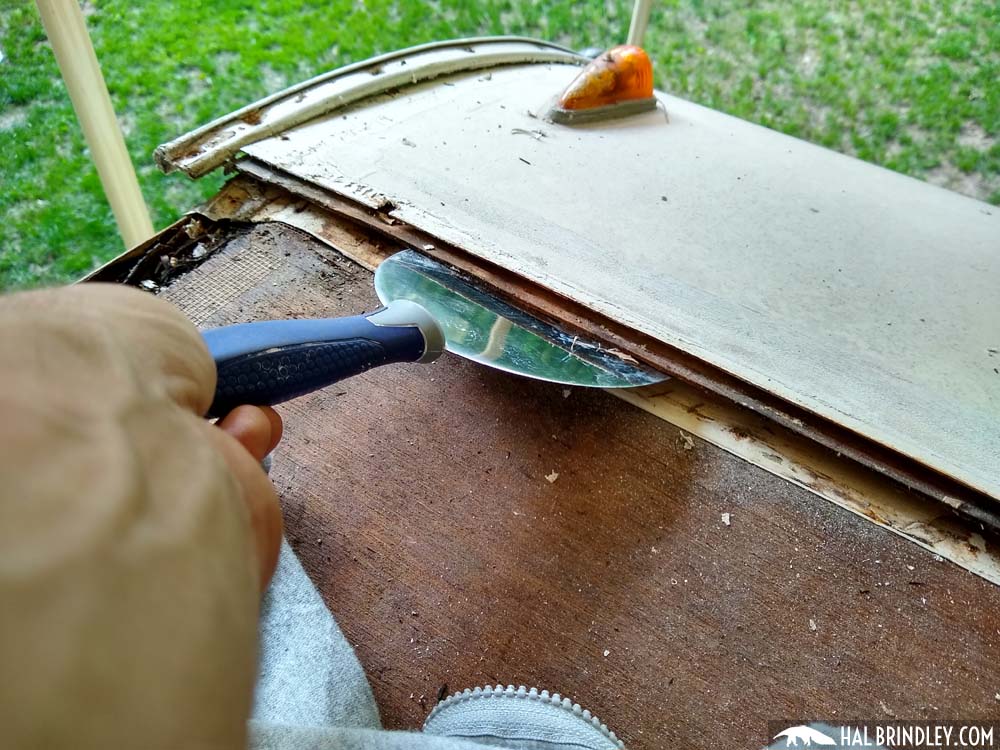
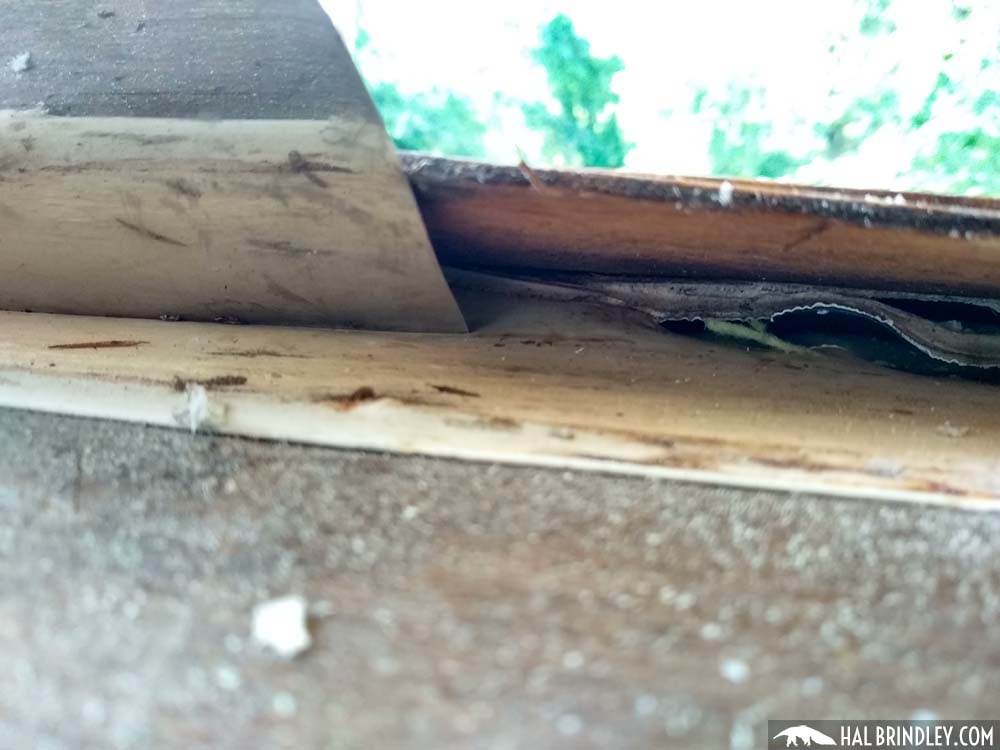
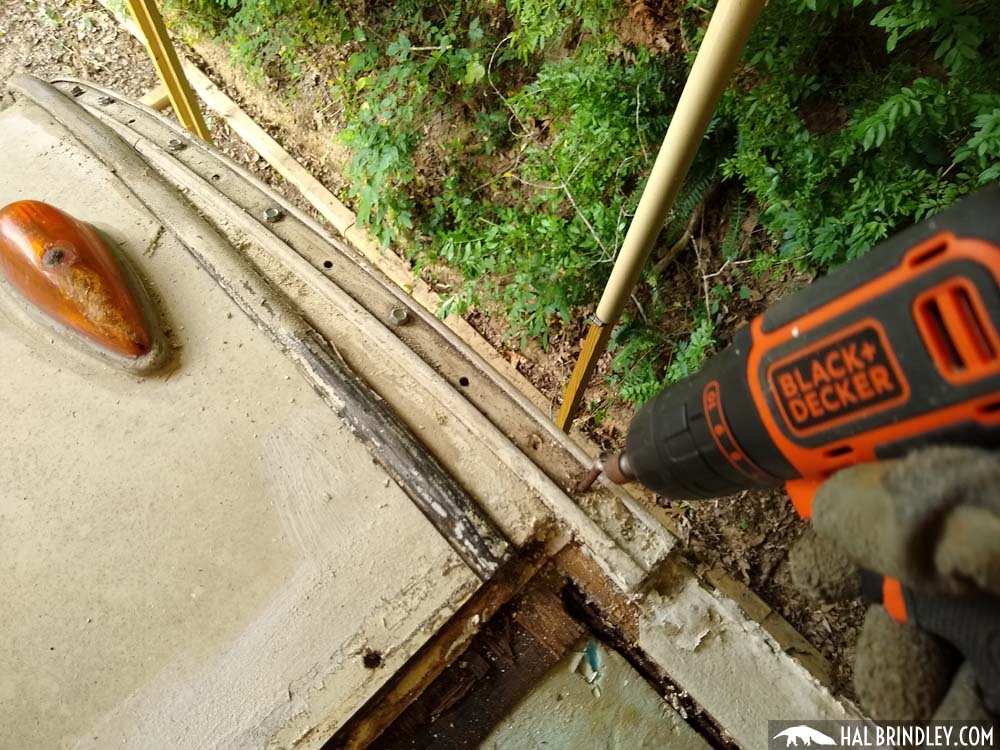
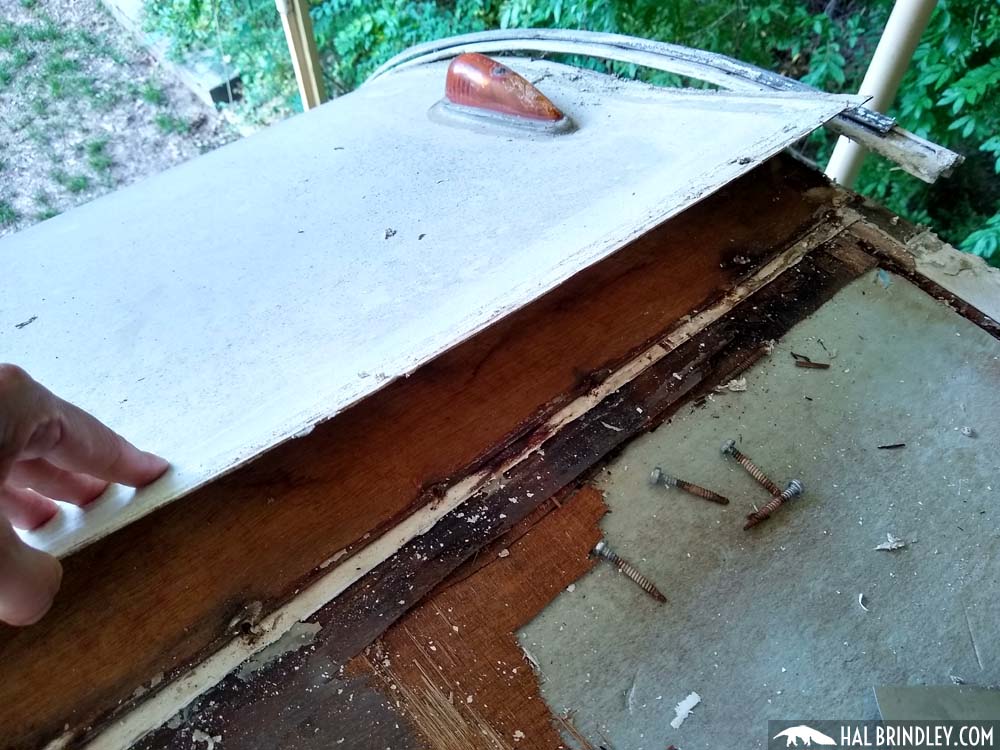
Once the corner trim pieces are loose enough to slide them sideways a bit and the fiberglass panel is pried up (there’s glue under it) then the luan plywood beneath it is exposed. Again, I pried that layer up as well (there wasn’t much holding it down but glue at this point) and then I could yank out the rest of the rubber roofing that was glued underneath it.
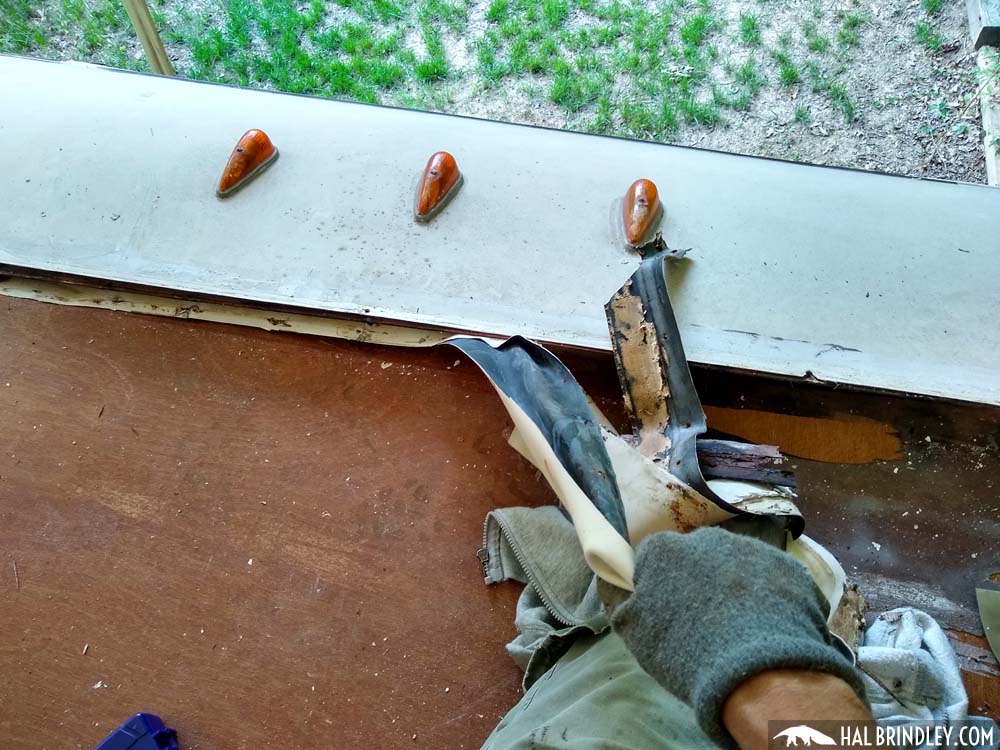
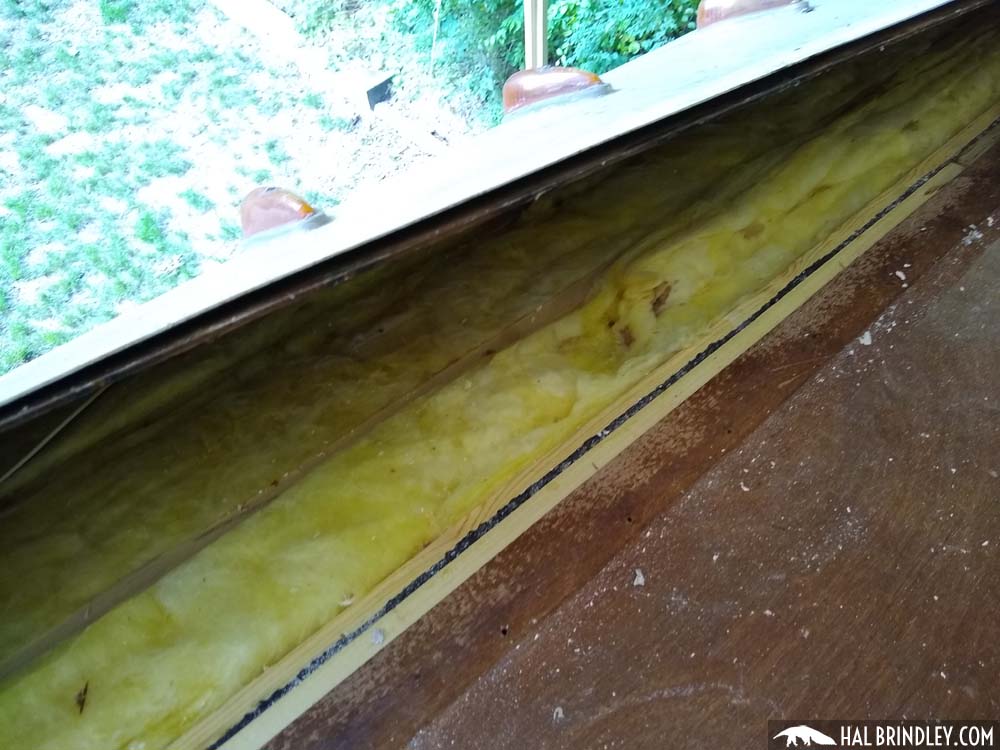
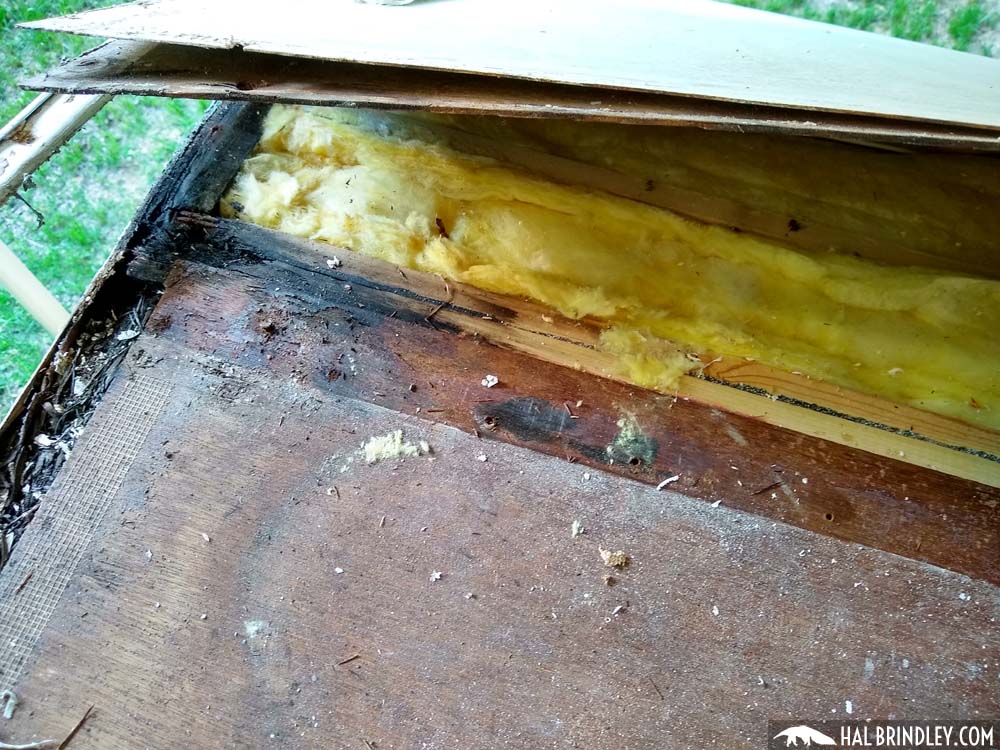
Once the rubber was out I lifted up the fiberglass and the plywood layer beneath it to expose the edge of the roof plywood. Now the roof substrate is entirely exposed! I can now decide whether to replace it all or just to patch damaged areas.
Remove the Roof Decking Plywood from the Camper
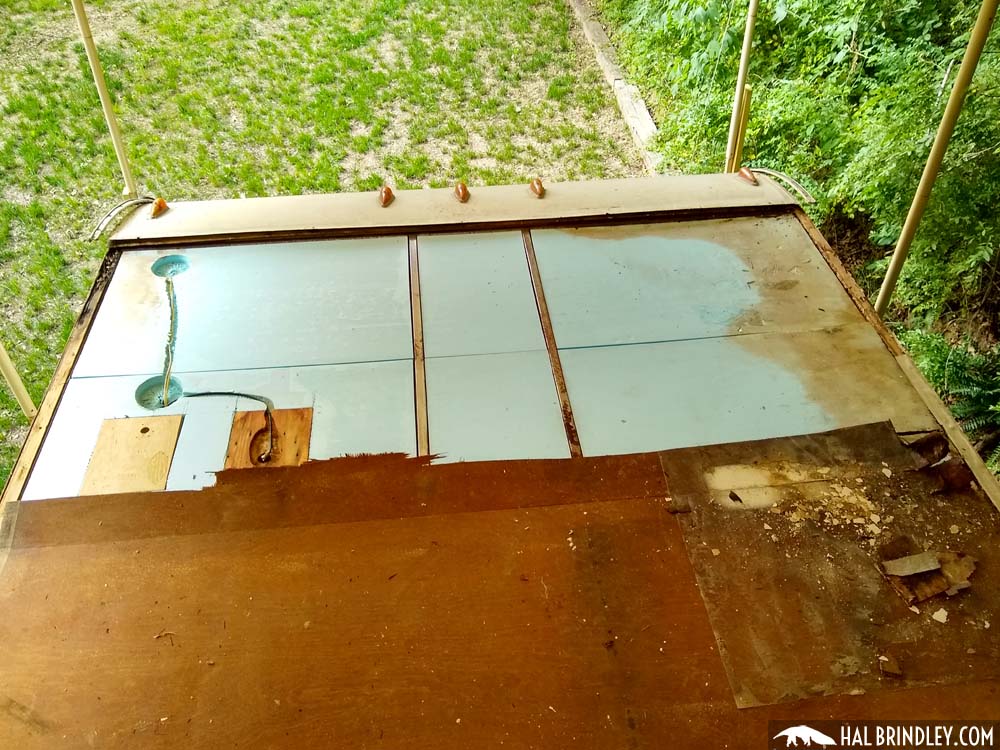
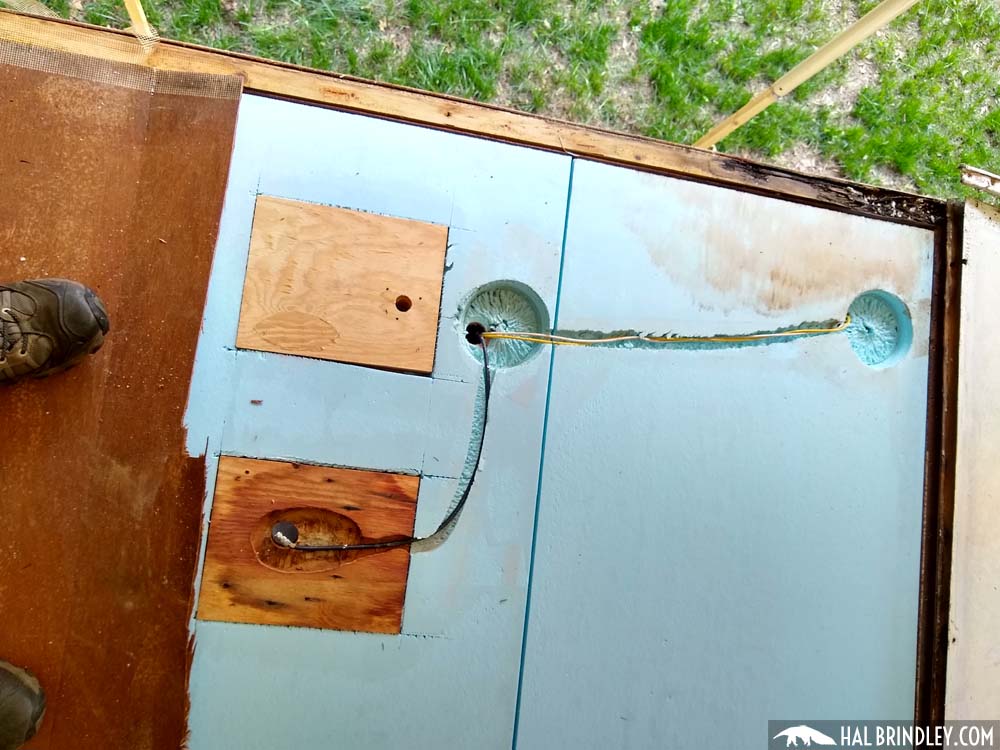
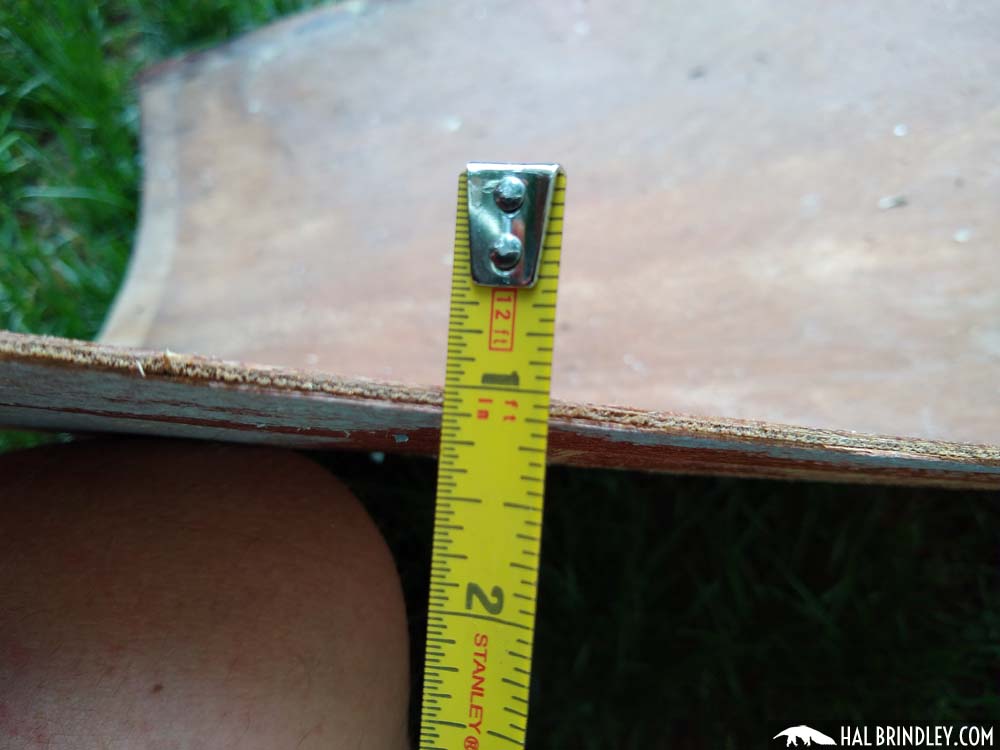
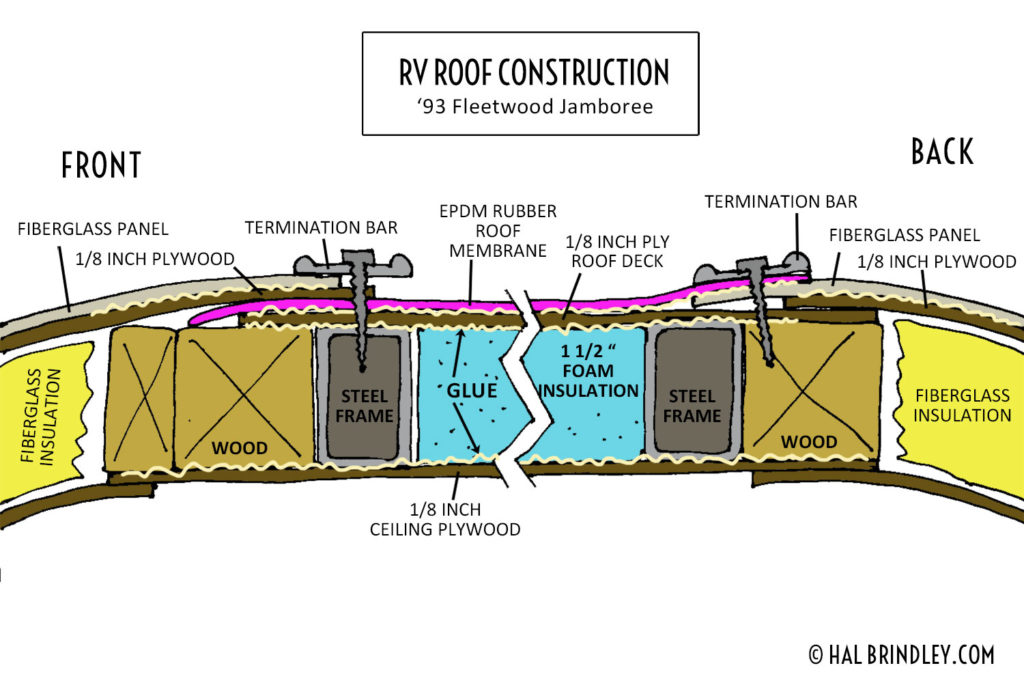
Now that I’ve exposed all the edges of the roof substrate (1/8 inch luan plywood in my case) I finally know exactly how the roof of my 93 Fleetwood Jamboree Searcher is built! (See illustration at the bottom of this post.) I could already see the blue styrofoam insulation beneath a damaged area of the roof decking so I knew what was under there. I decided I was going to go replace all of the roof plywood. I noticed there were no fasteners holding the roof plywood down. It was just glued. So I began carefully peeling it up.
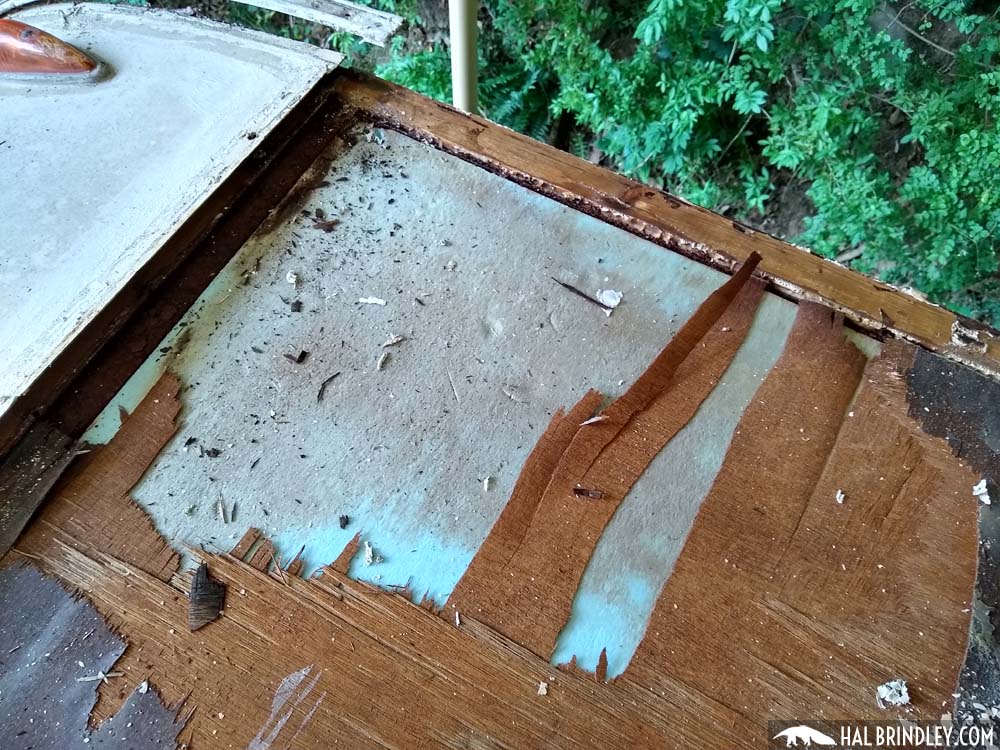
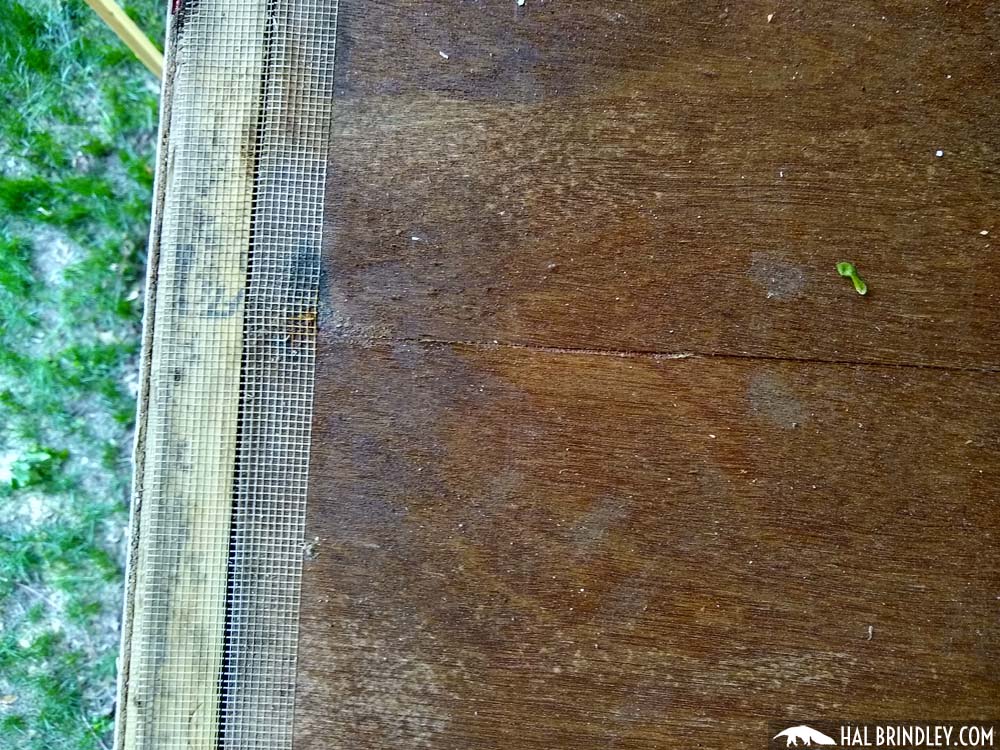
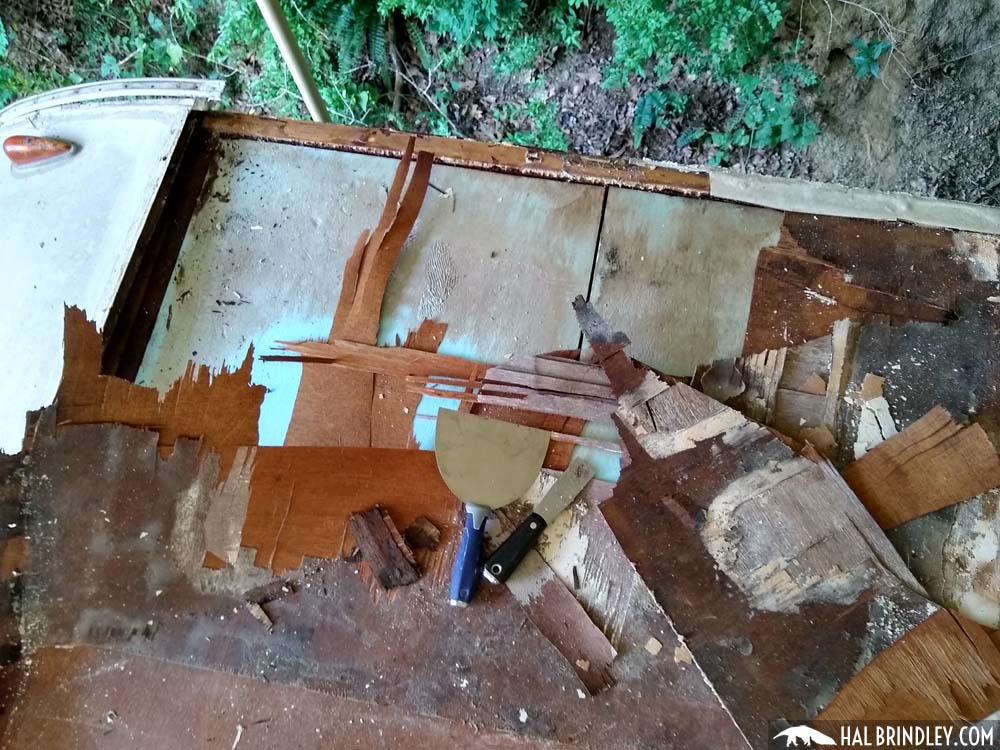
Once I scraped up some of the broken bits I got hold of a solid piece of plywood and started to pull. The whole thing started to pull up cleanly in one piece without damaging the foam board insulation at all. Now I could see the steel framing beneath.
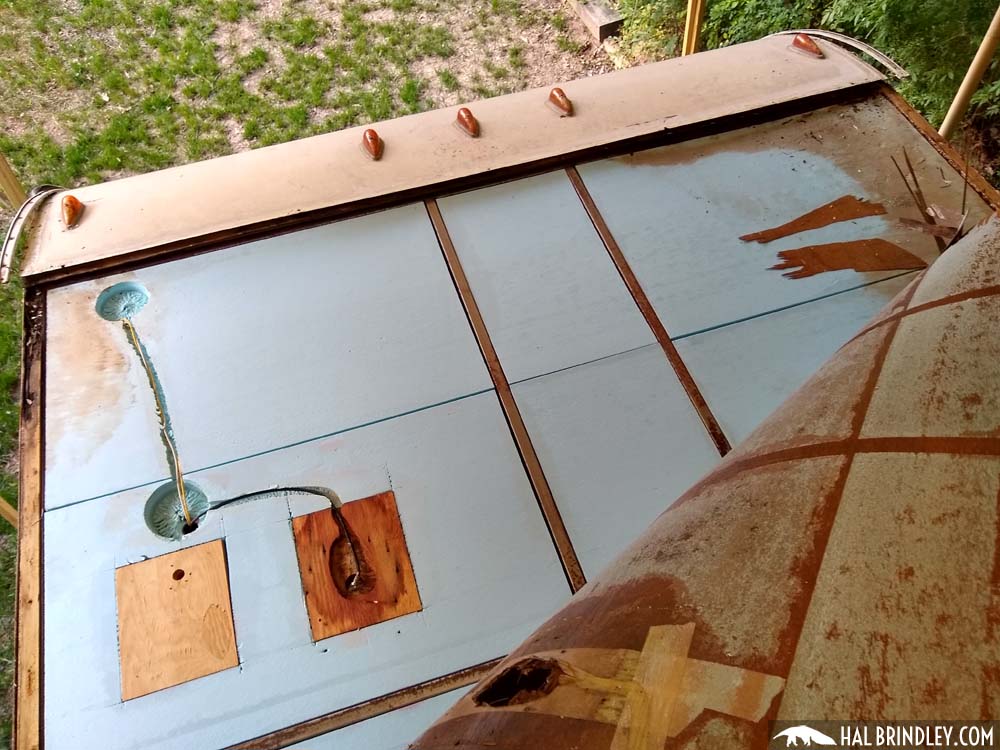
I also noticed how the seams in the roof deck plywood managed to stay together so tightly. There is a metal reinforced tape on the bottom that joins the pieces together. I don’t know how exactly they managed to glue everything down so well and get this tape joining them from the underside, but it was nicely done.
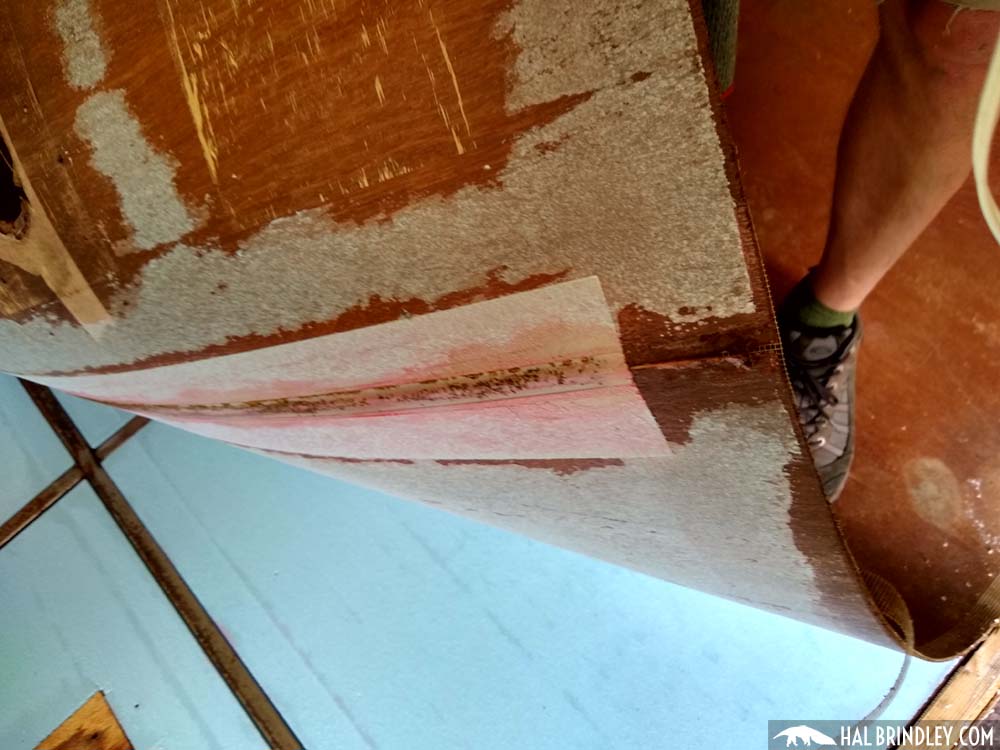

As I pulled up the roof substrate, I quickly realized the roof was getting floppy. The glue between the roof ply and the styrofoam insulation (and between the ceiling plywood and the foam) created a strong lamination effect, bonding all them together into a single stiff unit. Once I started removing one layer, the entire system lost its strength. So instead of peeling off the whole roof ply at this point, I just cracked off the first piece right before the seam so I could decide how to proceed.

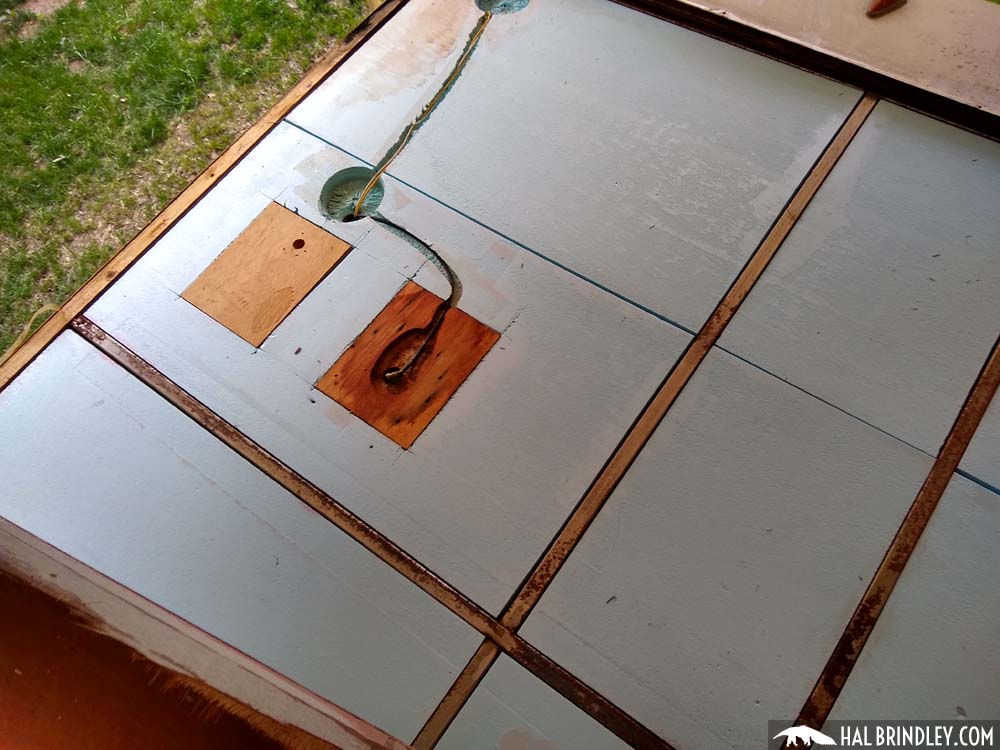
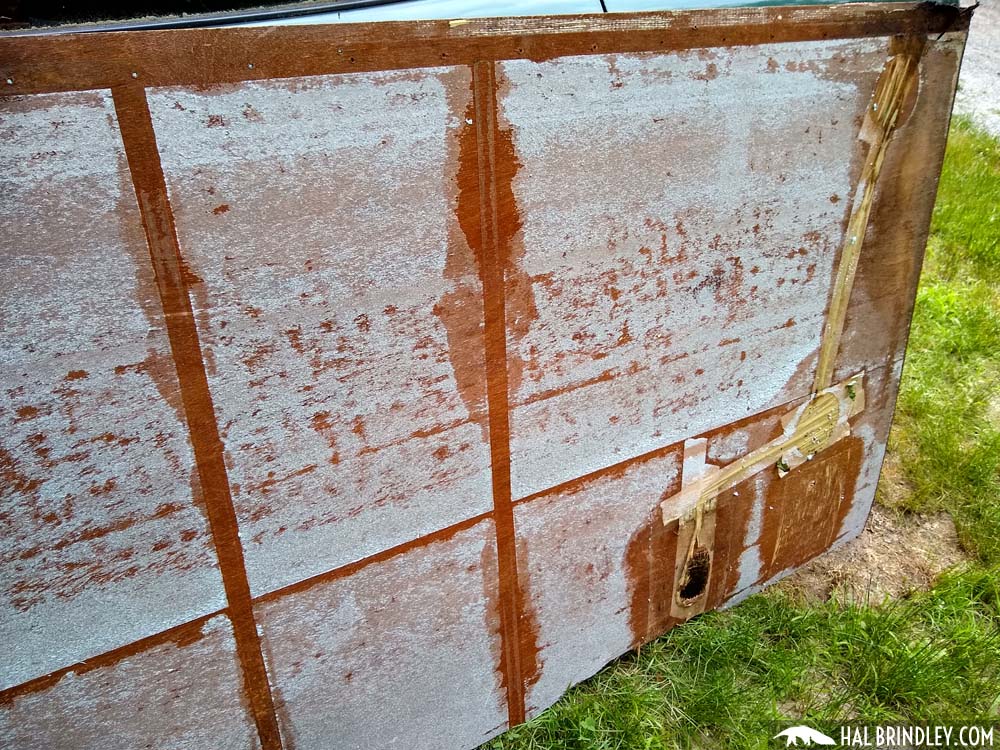
Here is an illustration I made that details how the roof is constructed, how the roof framing works, and how all the layers are overlapped at the front and back of the RV rubber roof.
For my next post it’s time to make some decisions and prepare for rain! Or if you want to just jump into my next work step then head over to the post after that one: removing damaged wood.