Welcome to my RV Renovation Series! I’ve just finished removing all the roof fixtures except one. I was putting this one off to last because it looked like a real pain in the ass. It wasn’t as bad as I feared, except for the fact that the roof top unit is super heavy! But don’t fear, you can do this. My RV air conditioner is a Coleman. (Coleman 7332 RV Air Conditioner). Your steps may be different if you have a Dometic Air Conditioner or a newer model of Coleman RV air conditioner. But I’m betting there are a lot of similarities, whether you’re removing a travel trailer air conditioner or a motorhome air conditioner! Let’s remove this RV AC unit!
How to Remove an RV Air Conditioner
In this post I cover how to:
- Remove the Roof Top Air Conditioner Cover
- Remove the Ceiling Assembly Cover
- Disconnect Wiring to the Ceiling Assembly
- Remove the Ceiling Assembly
- Remove the Roof Top AC Unit
To see all the tools I used today, check out part one of this post.
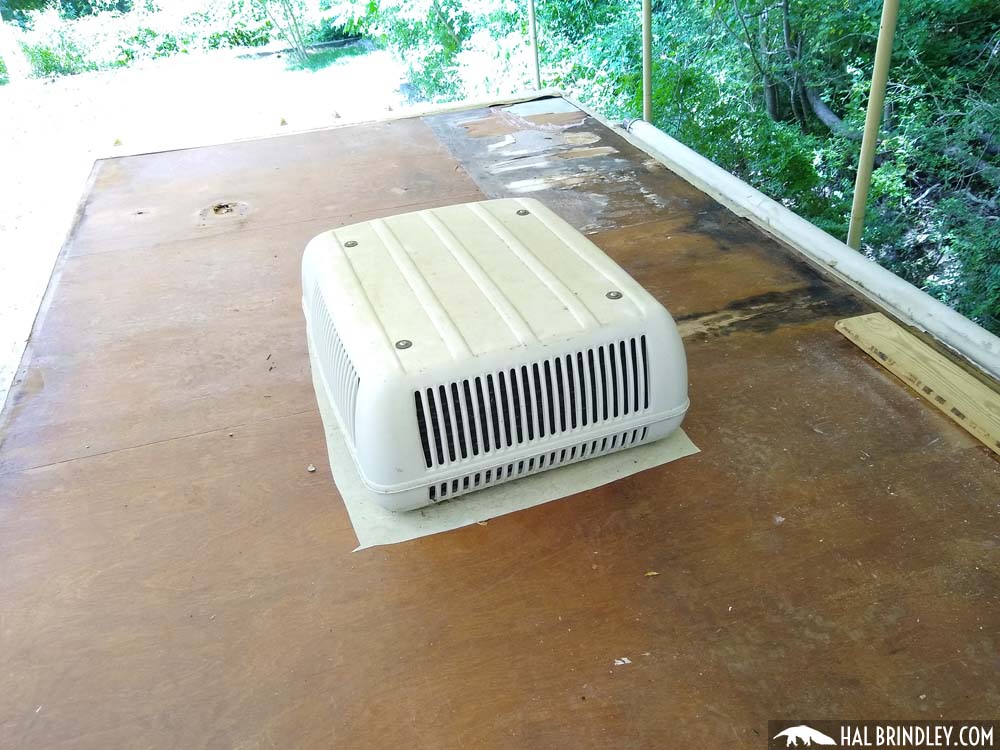
Remove the Roof Top Air Conditioner Cover
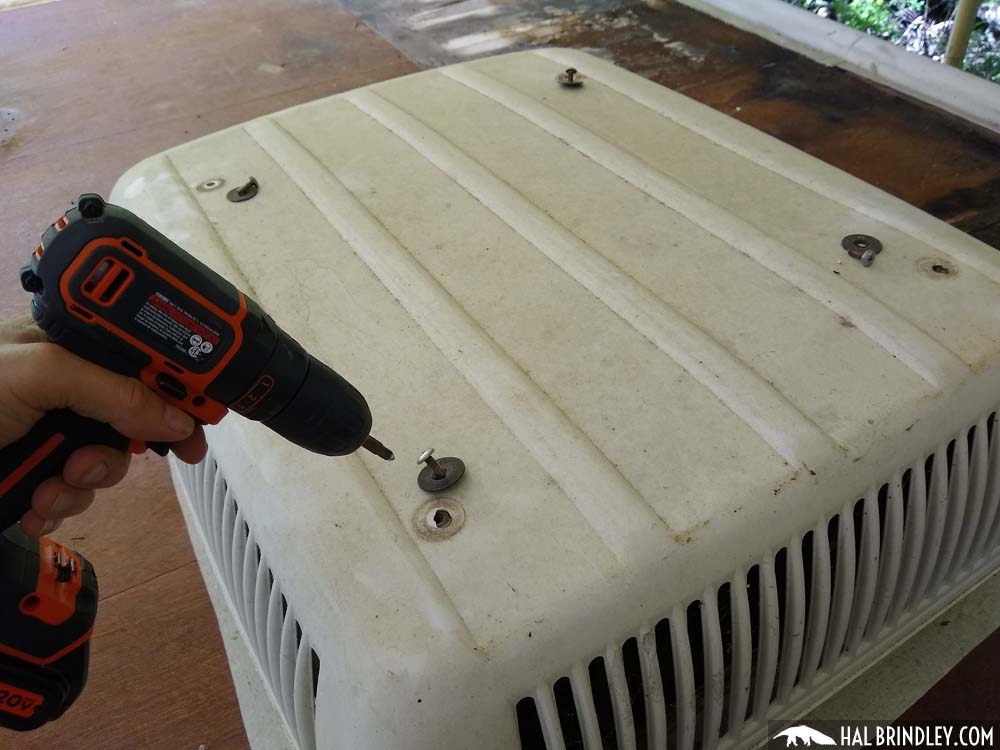
The first thing you’ll notice is four big Phillips head screws with black washers under them. These hold the cover in place over the rooftop AC unit. I removed those and the whole cover slid off in one piece.

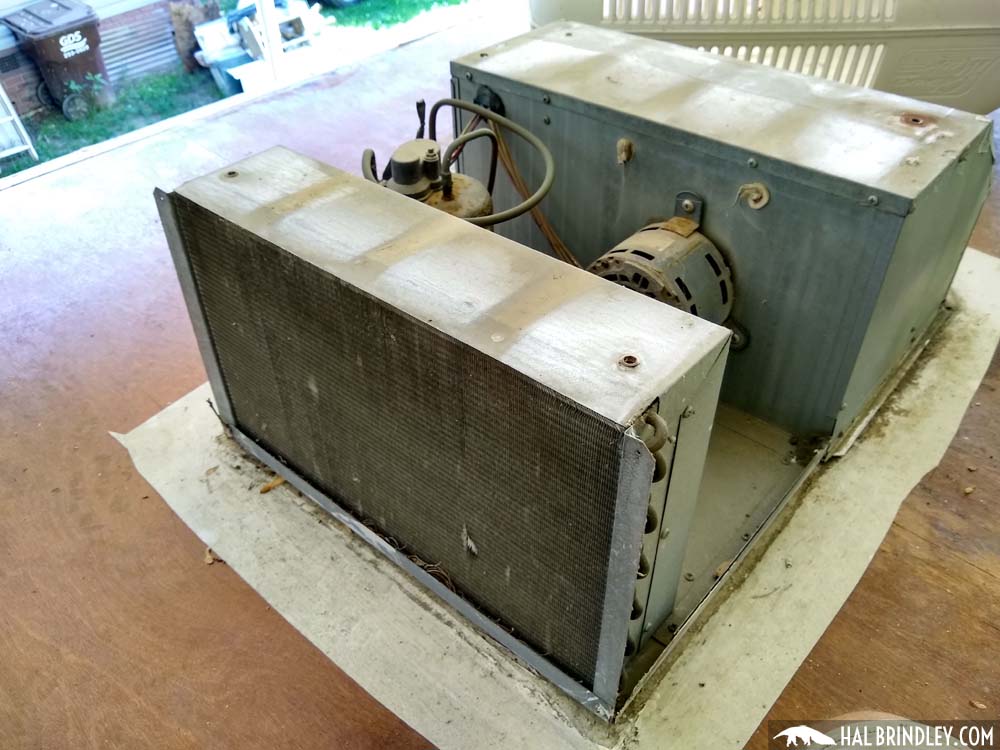
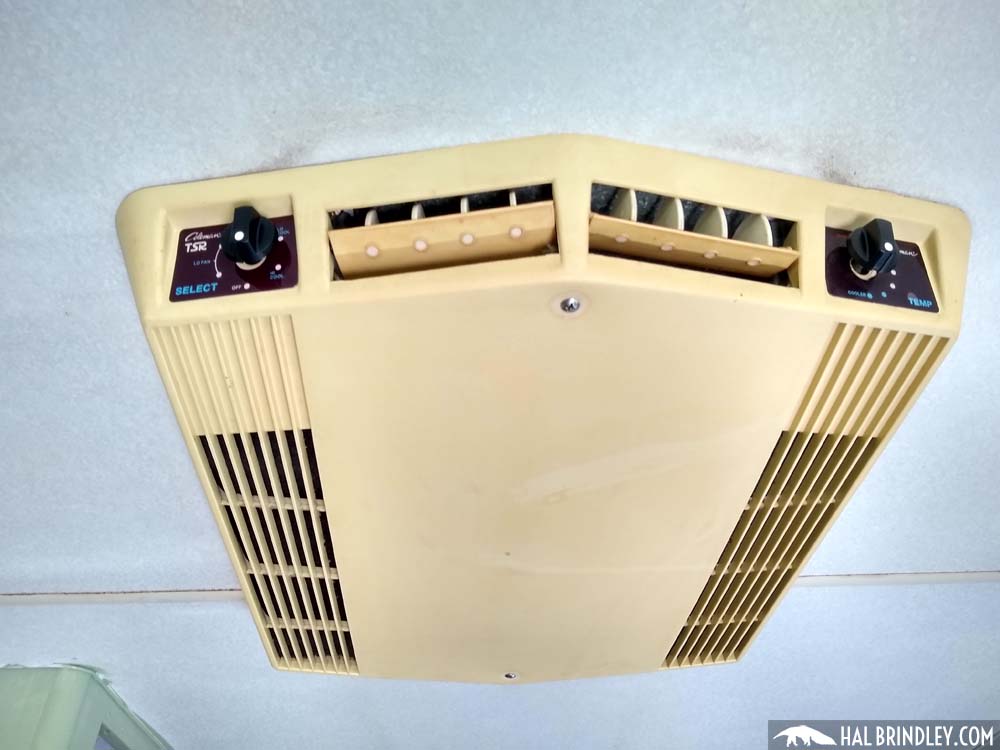
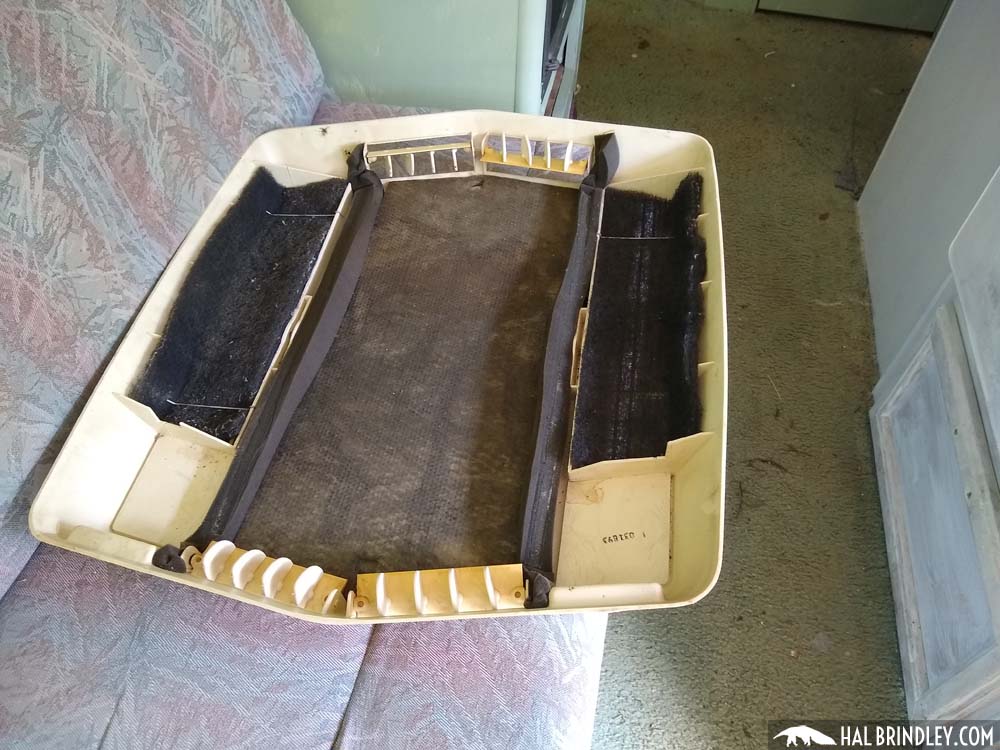
Here’s a look at the inside of a Coleman RV air conditioner. (at least the roof top portion of the unit.)
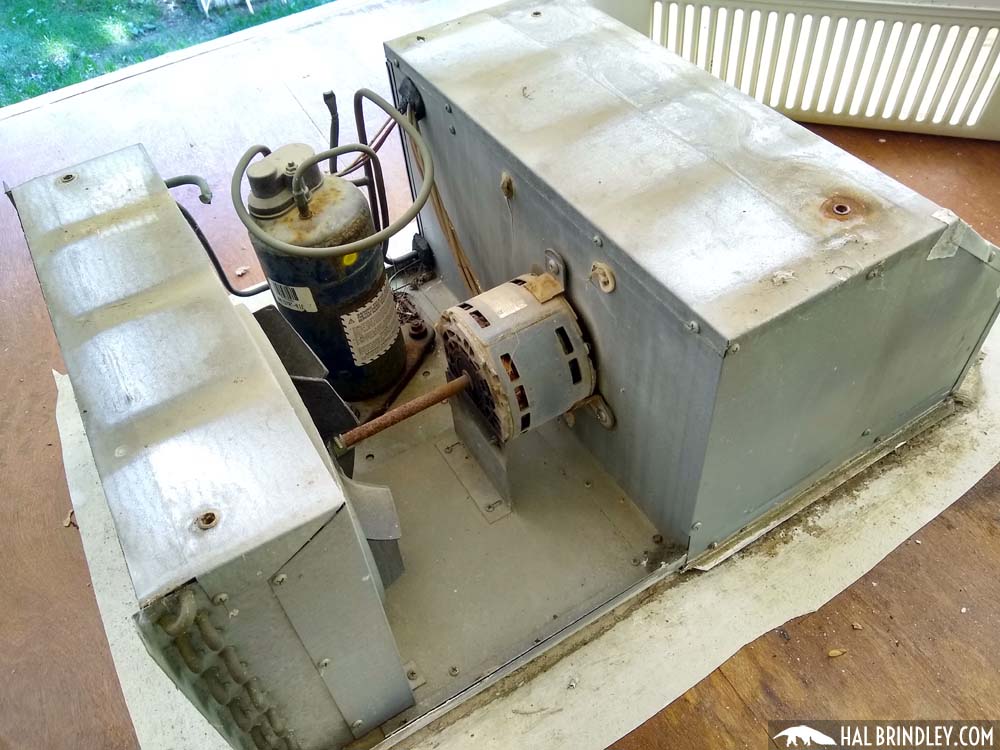

There are no more fasteners on the top so it’s time to head inside.
Remove the Ceiling Assembly Cover
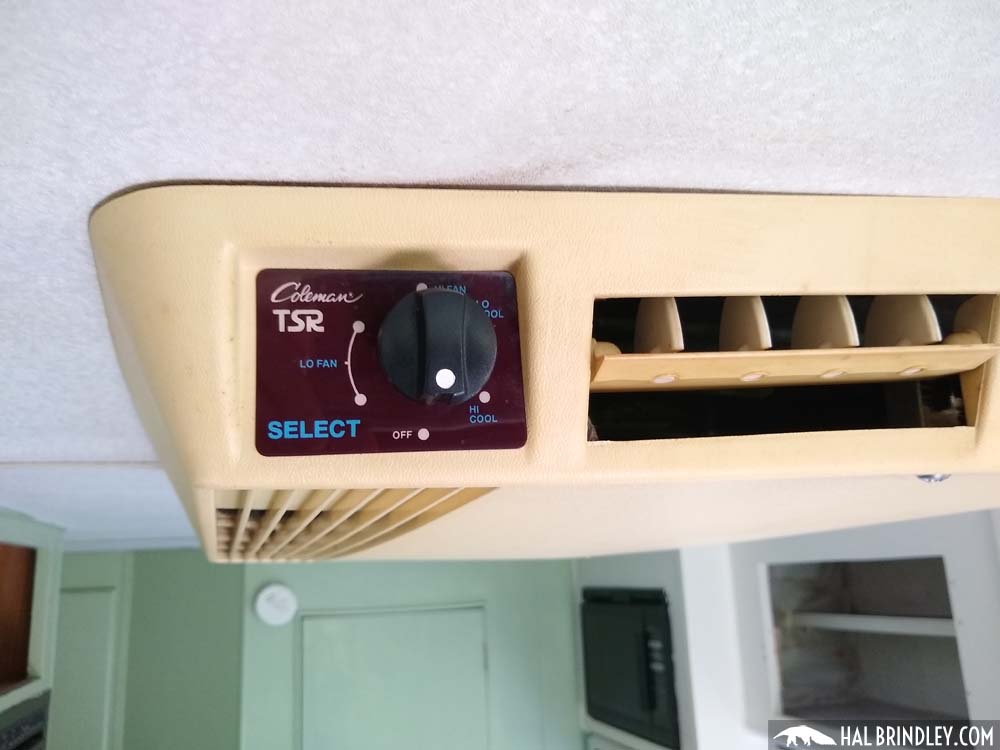
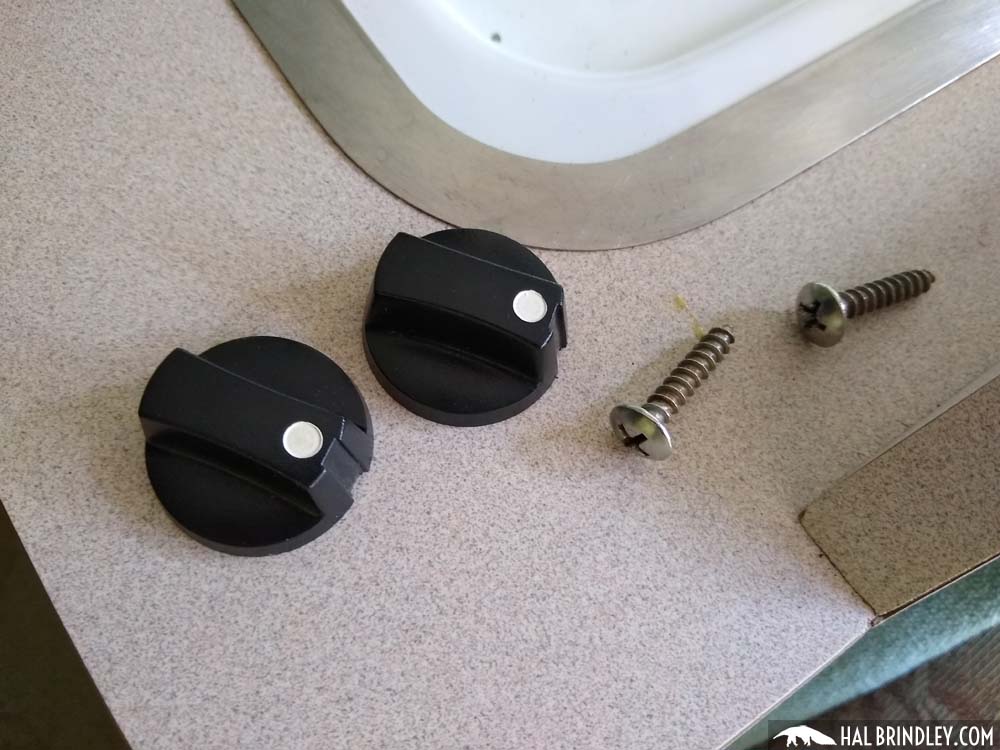
Here you’ll see two Phillips head screws on the ceiling assembly. I unscrewed those and realized the cover wouldn’t come off until I pulled the knobs off the adjustor dials. They just pull straight off. Once those are off I slid the cover over those shafts and removed the cover.
Disconnect Wiring to the Ceiling Assembly
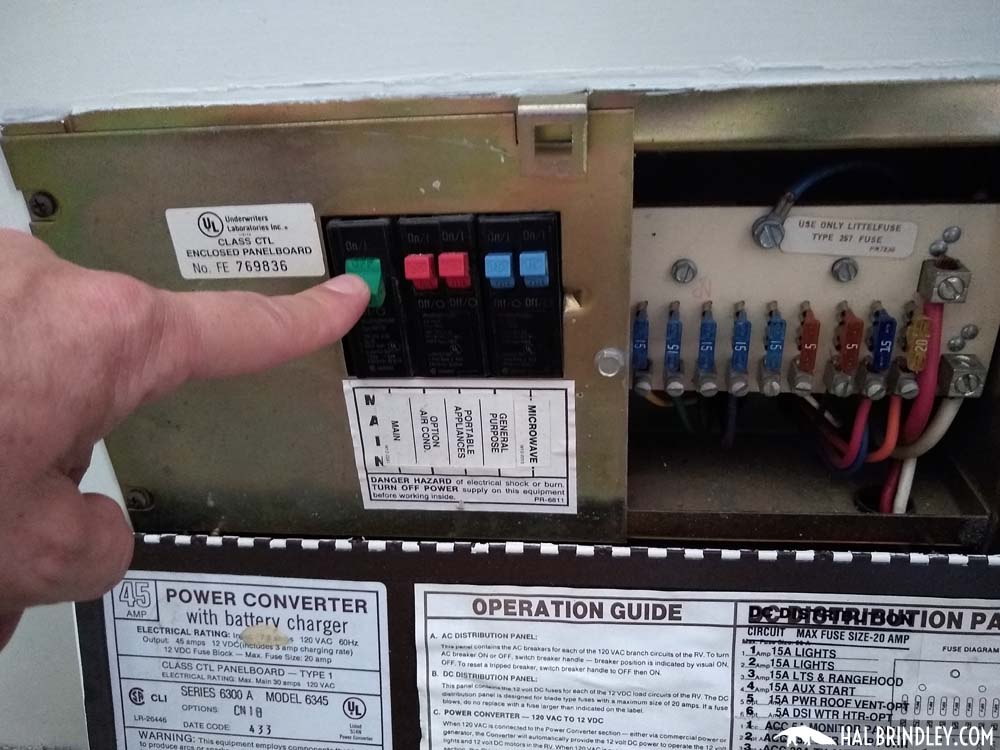
HEADS UP! Always turn off power before messing with wiring inside a camper air conditioner! The first thing I did was switch off the main circuit breaker in my breaker box, even though my camper was unplugged! (Just in case someone plugs it in without me knowing!)
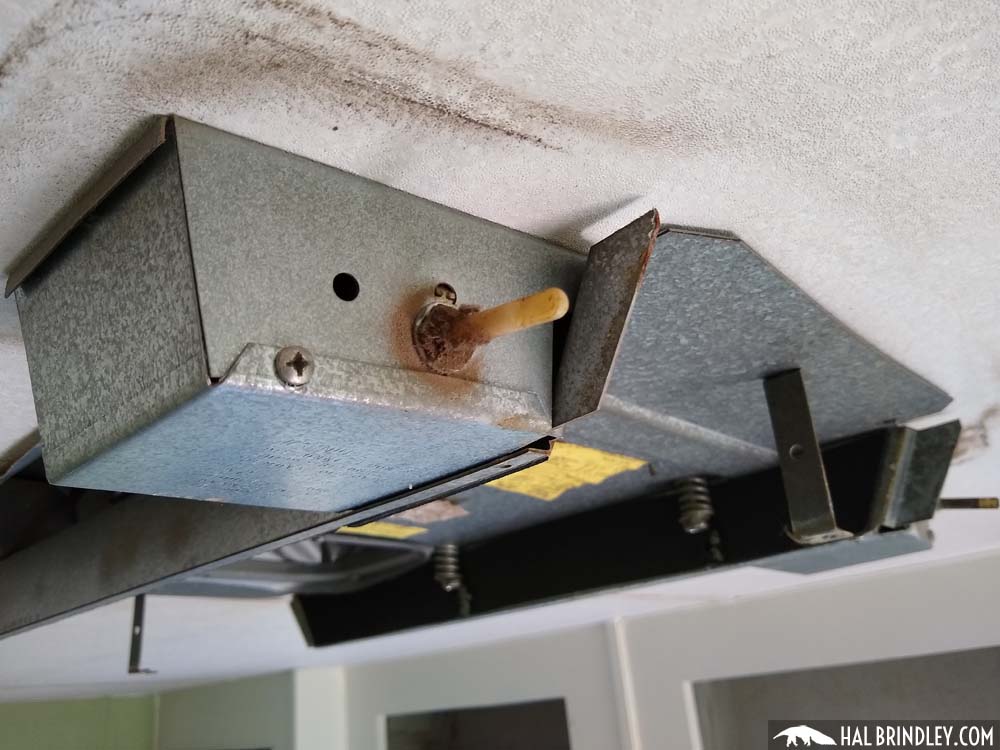
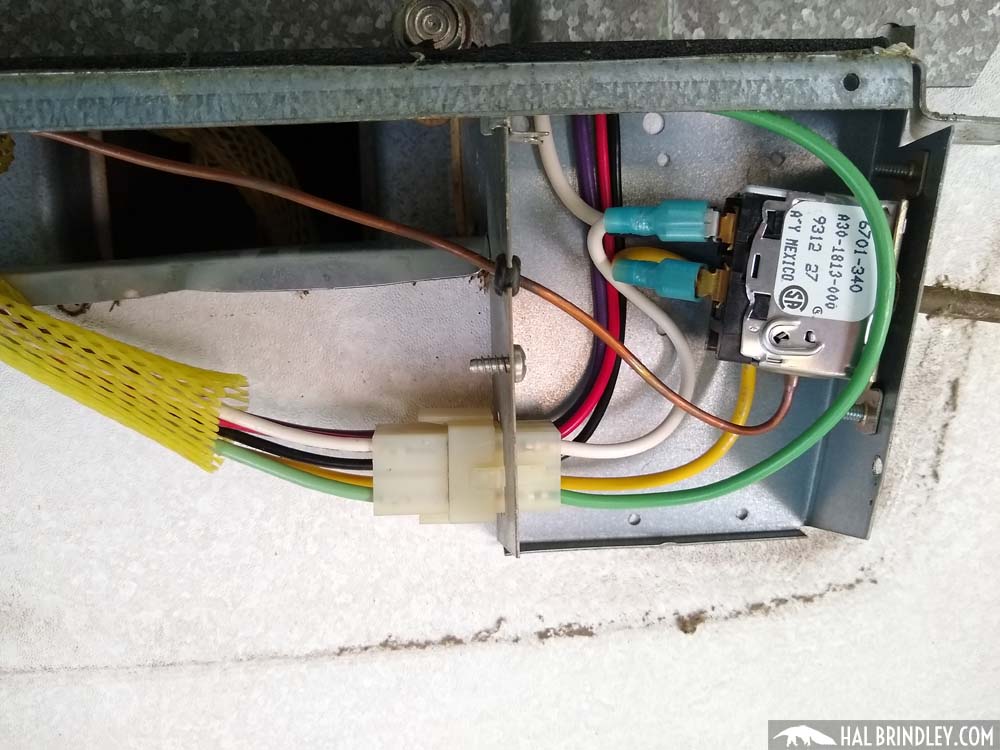
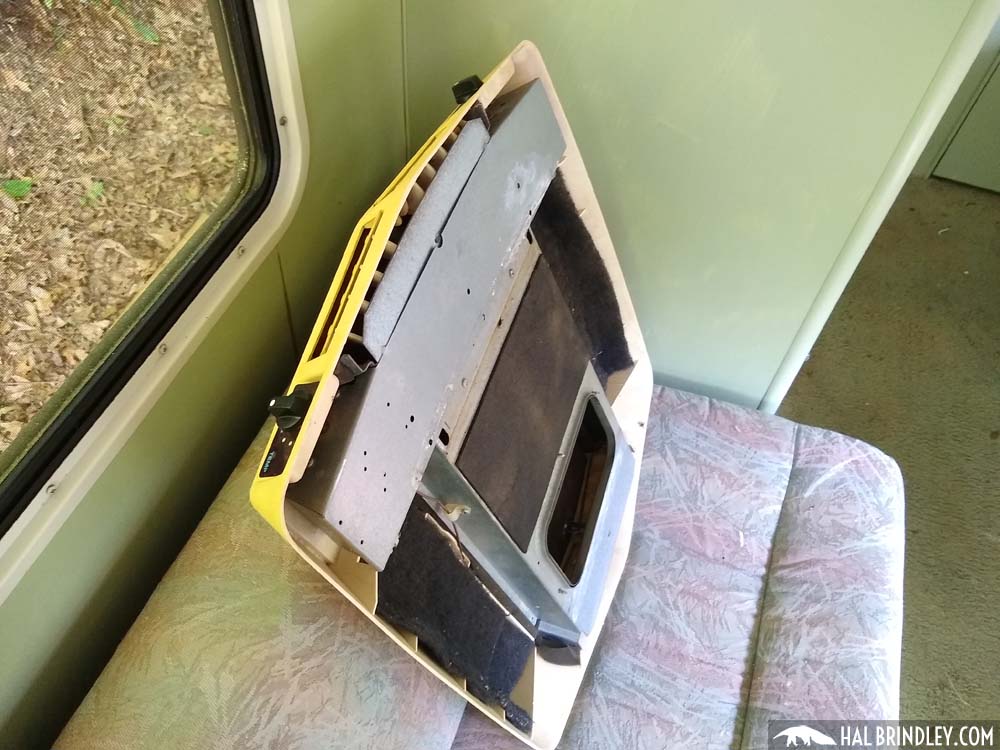
Here’s what the ceiling assembly looks like from below after the cover has been removed. Next I need to remove any wiring that is connected to the two control boxes that the dials come out of.

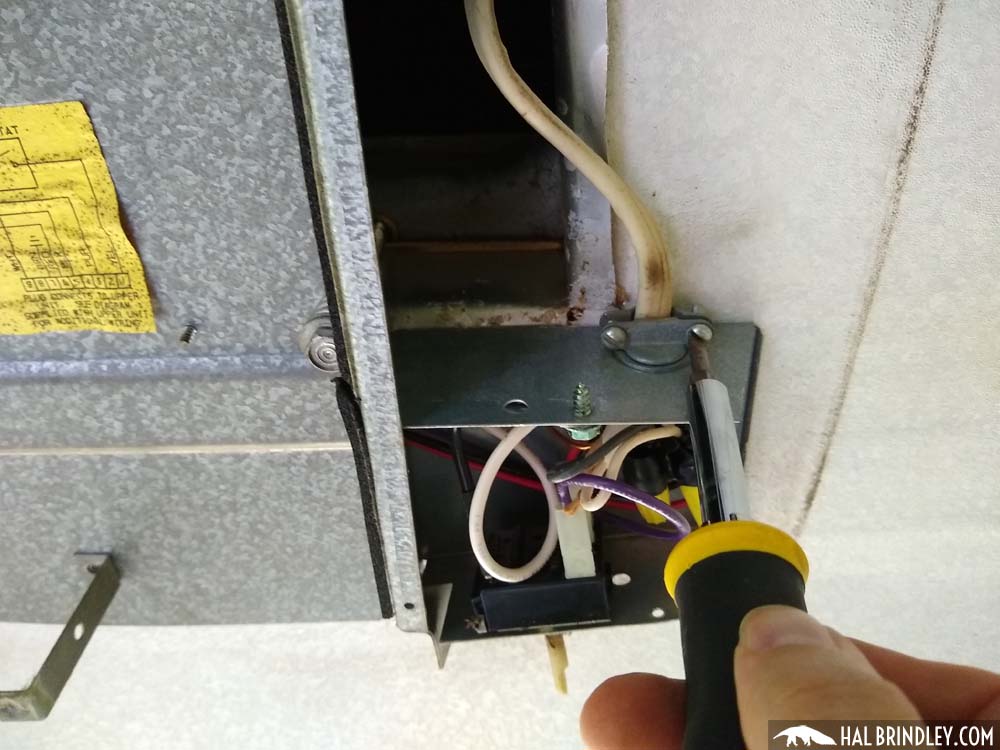
There is a small screw holding a little cover in place over each control box. Remove the screws and shimmy the cover off.
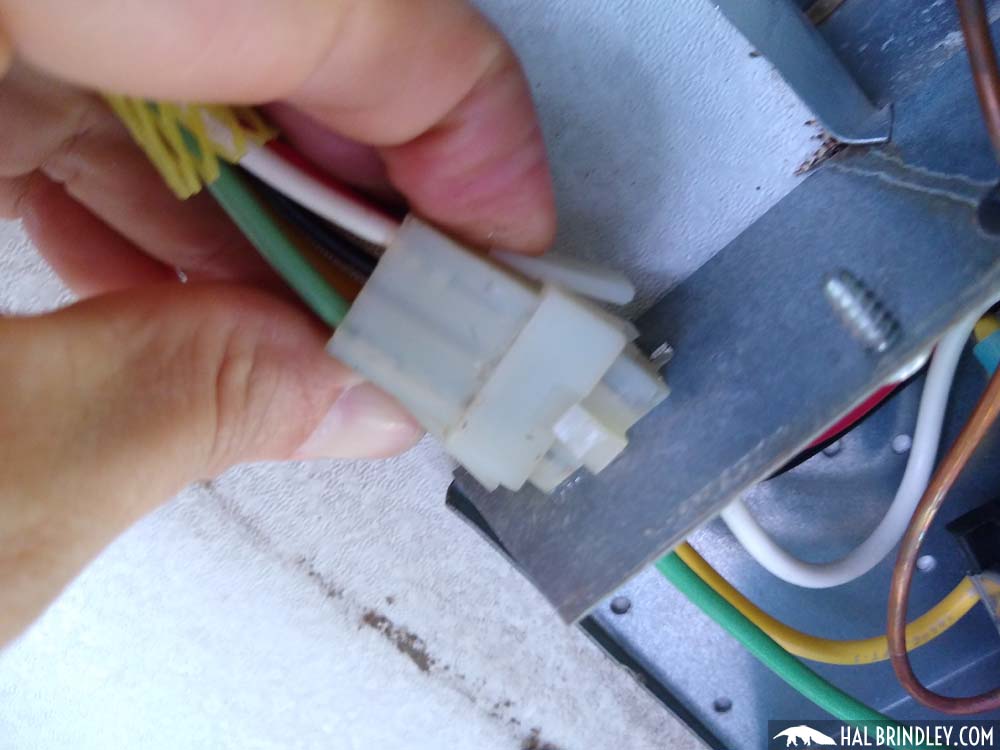
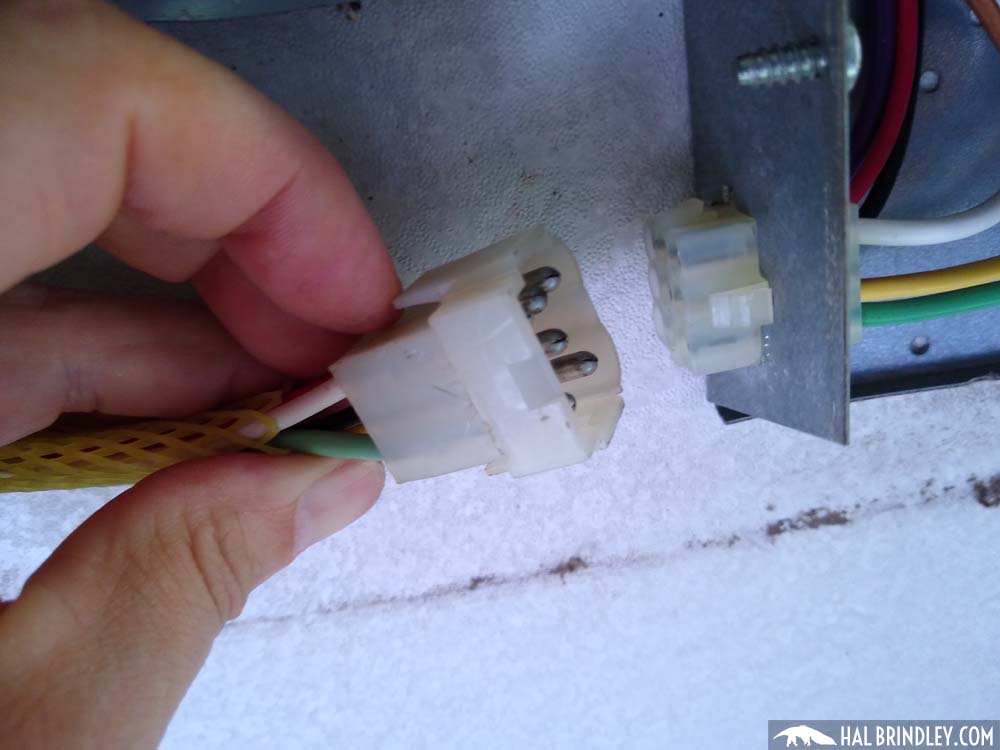
HEADS UP! I didn’t actually need to remove the cover from this control box (it’s the thermostat box), but I opened it up anyway to be sure. I actually just had to unclip this wiring harness connector by pinching the tabs on the side and pulling back.
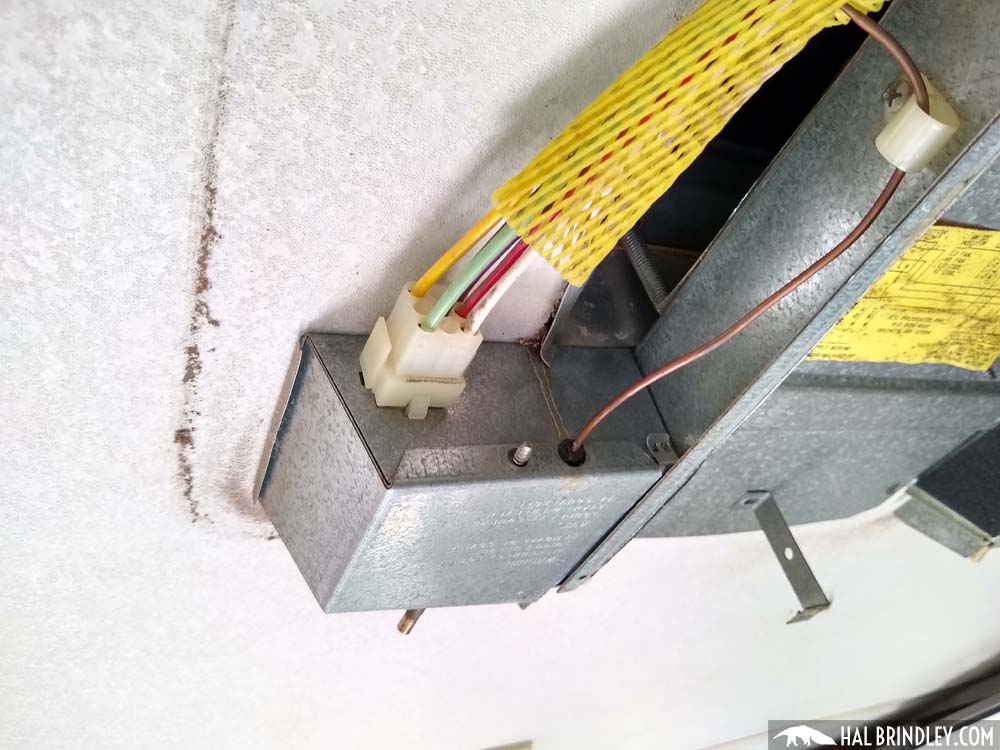
It’s a little embarrassing to admit, but this little wiring harness connector stumped me more than anything else in the project so far. I don’t do any automotive work so I haven’t messed with many wire harnesses. I pried with screwdrivers and tugged with pliers for a good three minutes. Finally I tried squeezing these tabs. Lo and behold, it released and I pulled it right out. Ugh.
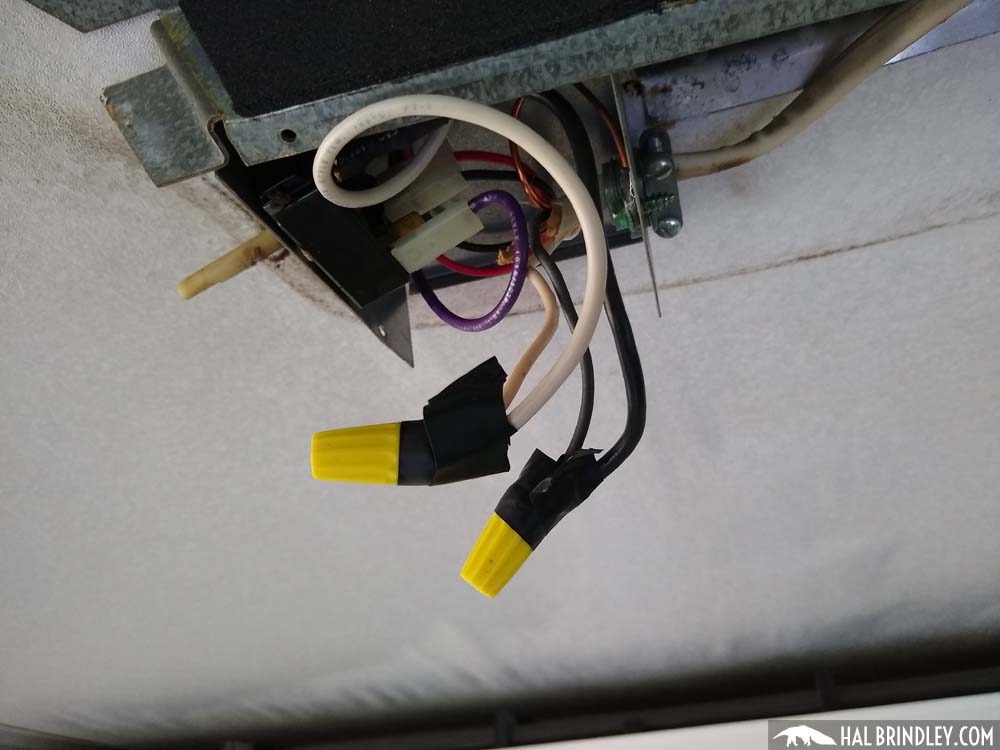
Next I opened the other control box on the other side (the selector box) to disconnect the power supply wires. First I loosened the strain relief clamp at the back of the box and then pulled out the wire nut connections so I could access them.
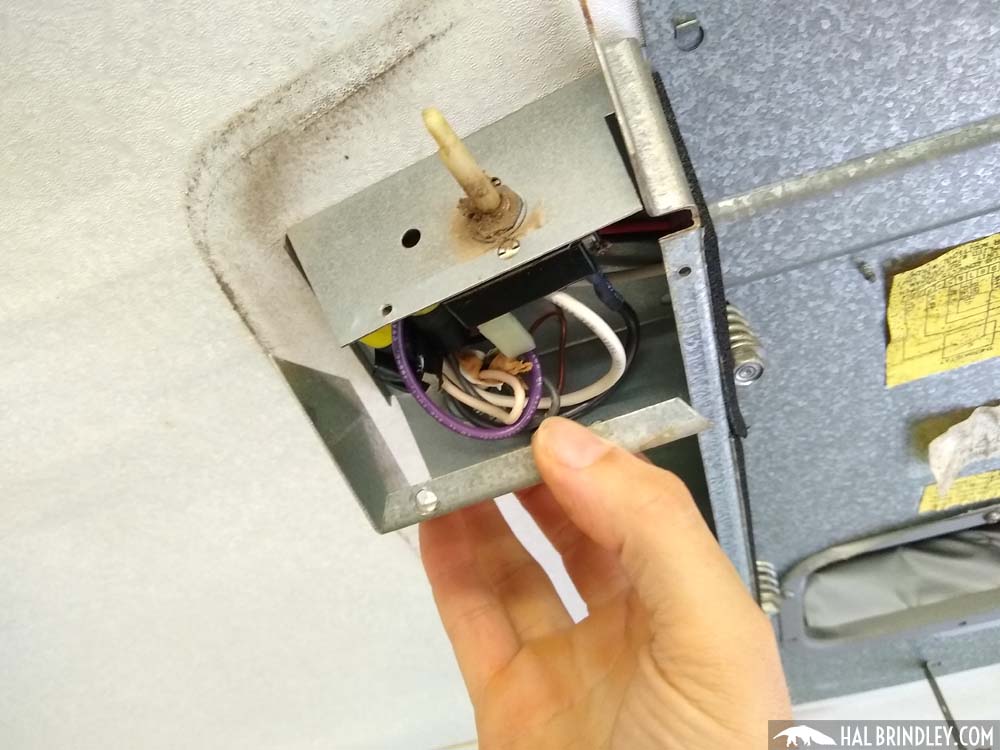
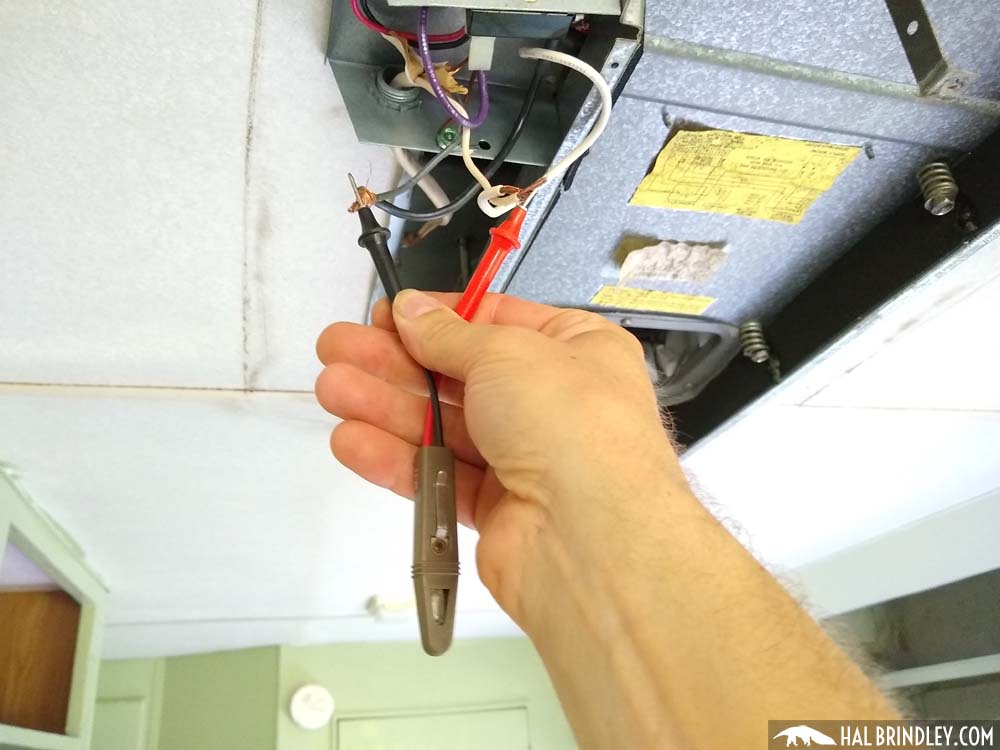
HEADS UP! Again, be safe when working with electrical components. After removing the wire nuts (don’t touch the exposed wires yet) I always test the wires to make sure there is no live electricity. I use a simple circuit tester that lights up when current is present. First I test it in a live outlet to make sure it’s working, then I touch the probes to the wires. If it doesn’t light up, then I’m good to go. Yes I already switched off the main breaker but this is a good habit to get into!
I untwisted the hot (black) wire and the neutral (white) wire and then had to loosen the green screw that holds down the bare copper ground wire. Once all the wires were free I pulled the whole cable out through the strain relief clamp and out of the box. I usually screw the wire nuts back onto the ends of the exposed supply wires in case anyone turns the power back on later.


Remove the Ceiling Assembly
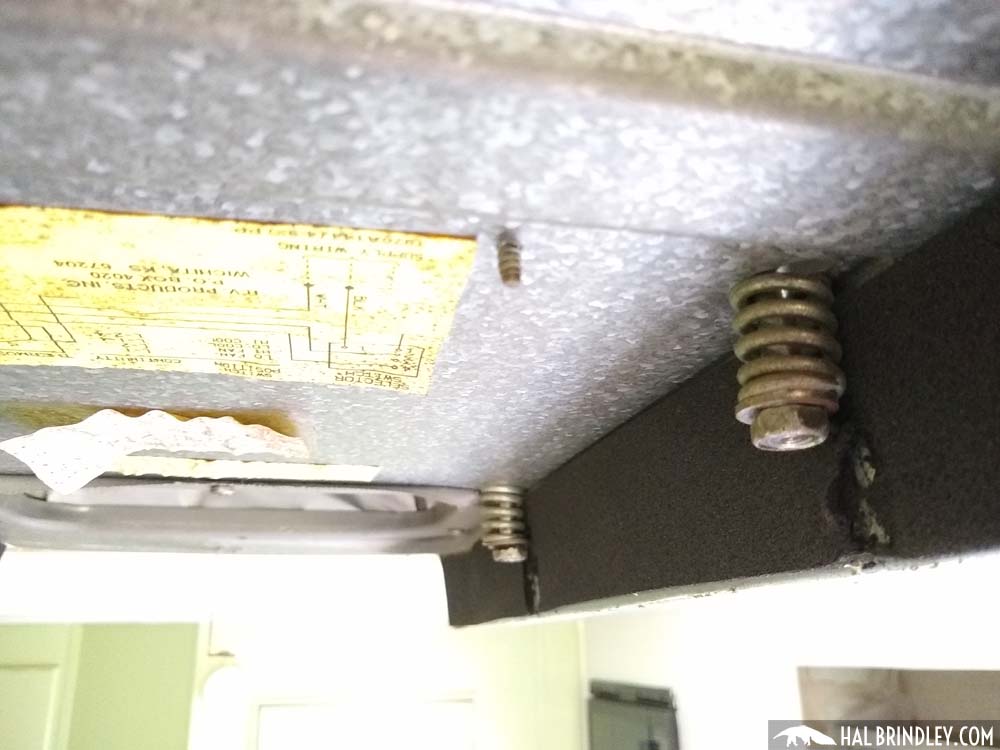
Now it’s time to unbolt the ceiling assembly from the roof top unit. Find the right size socket in a socket wrench set and start cranking.
HEADS UP! Before removing the bolts it’s good to take note of how far the bolts stick out and the tension on the screws between the bolt head and the ceiling assembly. If you’re going to be re-installing this air conditioner after the roof repair, make sure you get it about the same!
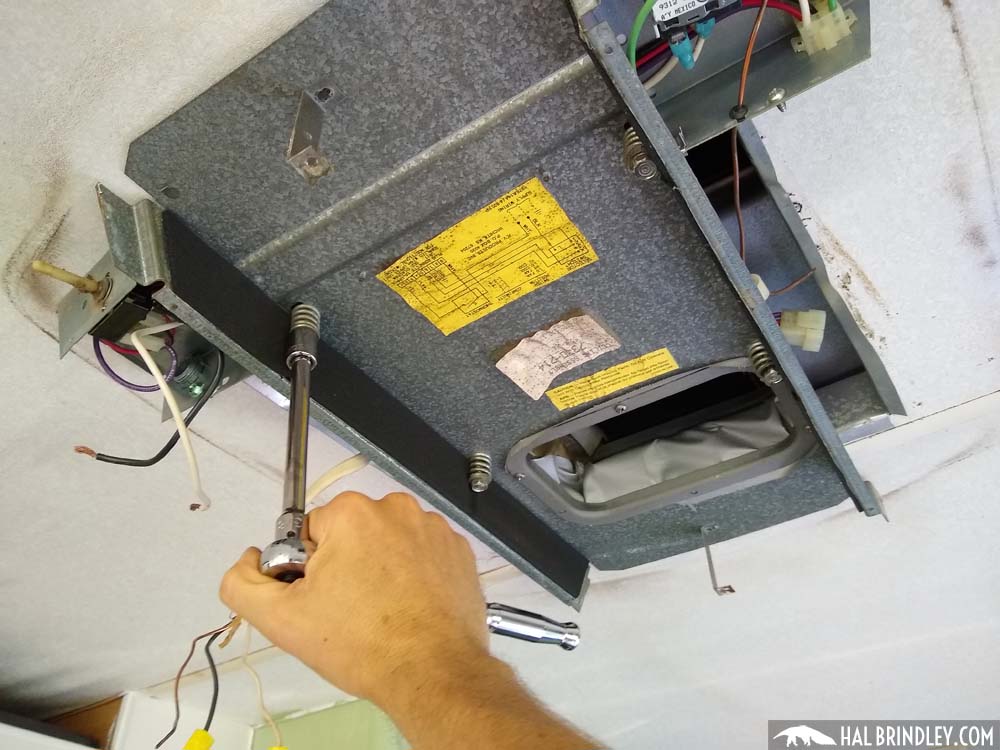
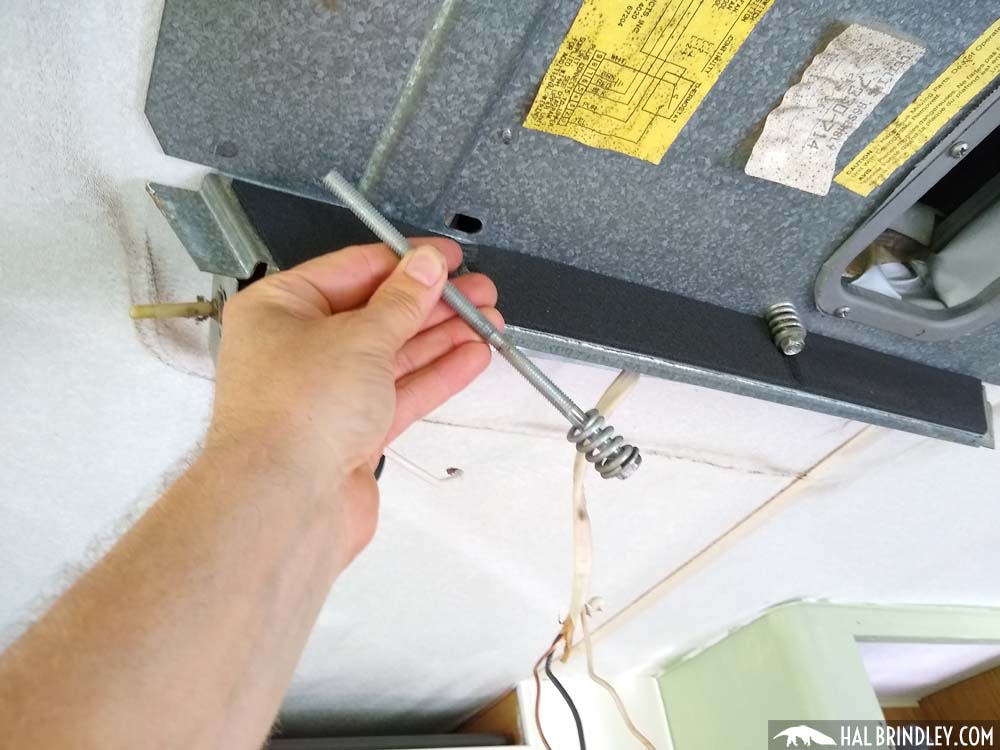
Wow, these bolts are long! This takes a while so be patient. I removed three of the four bolts and then realized as I was removing the fourth that there was a metal flange holding a fabric skirt in place between the roof top unit and ceiling unit. So you should probably remove this first before starting on the bolts!
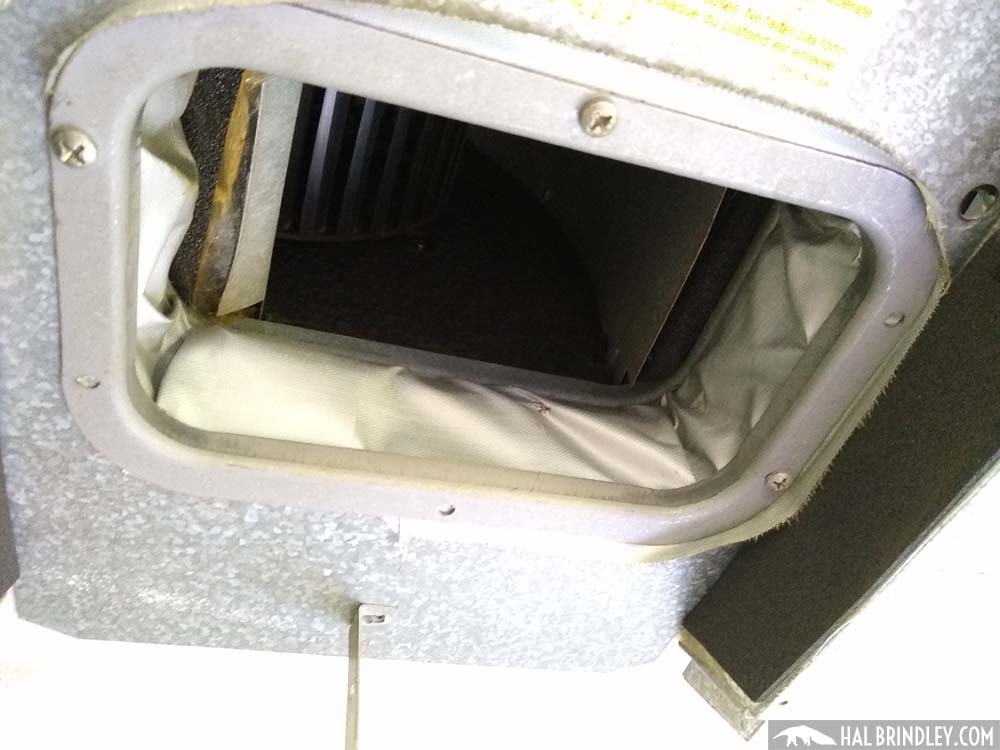
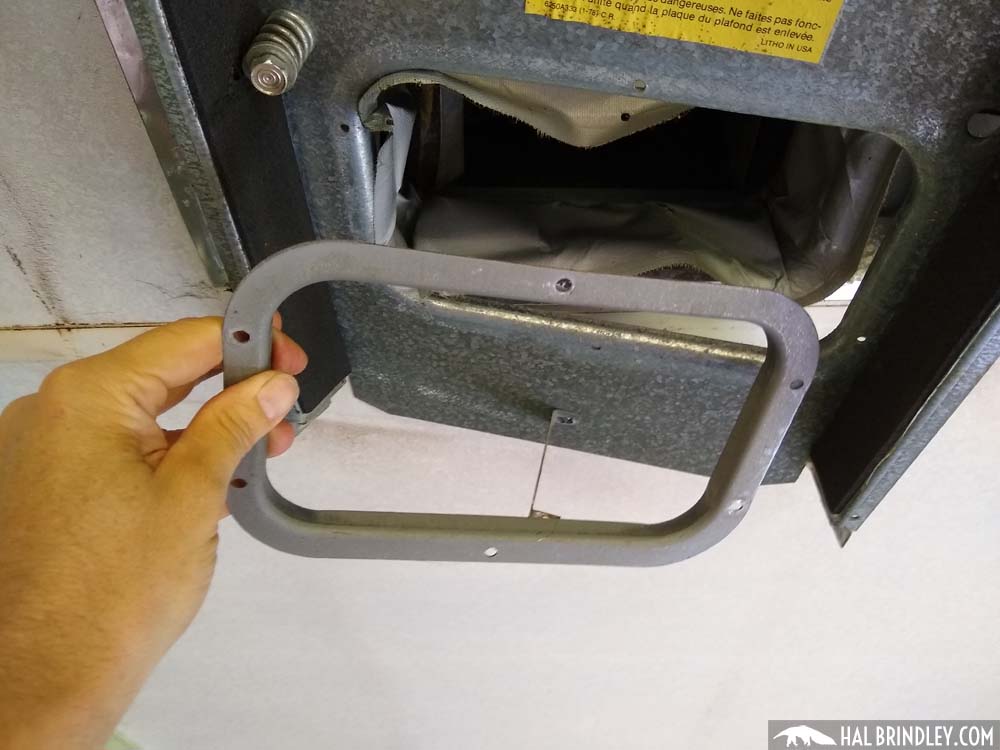
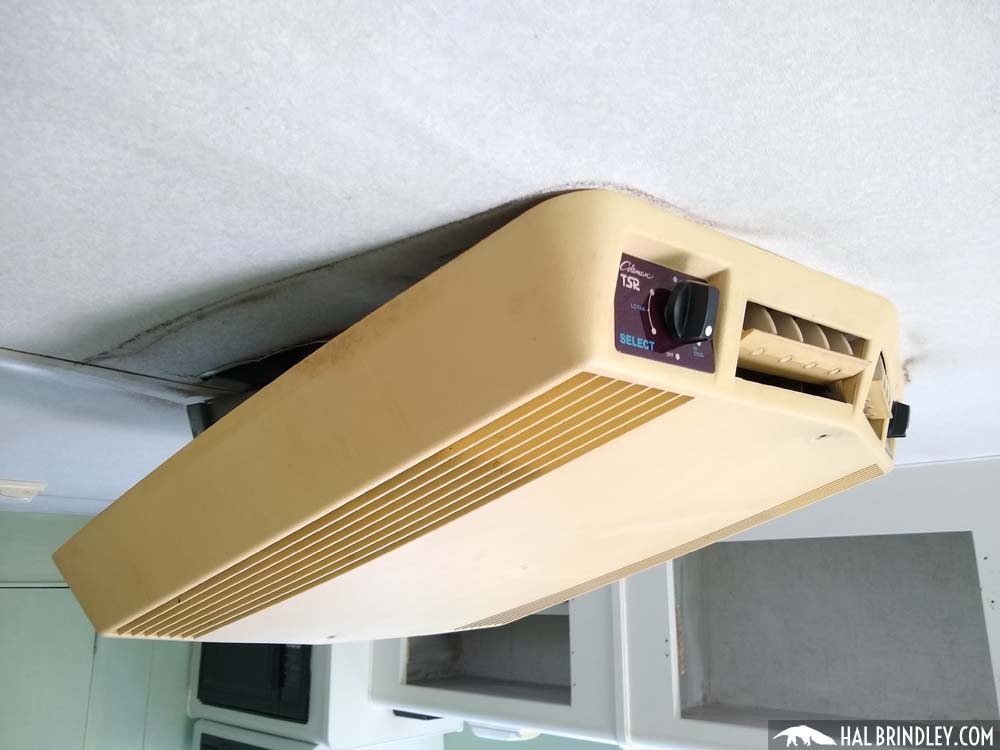
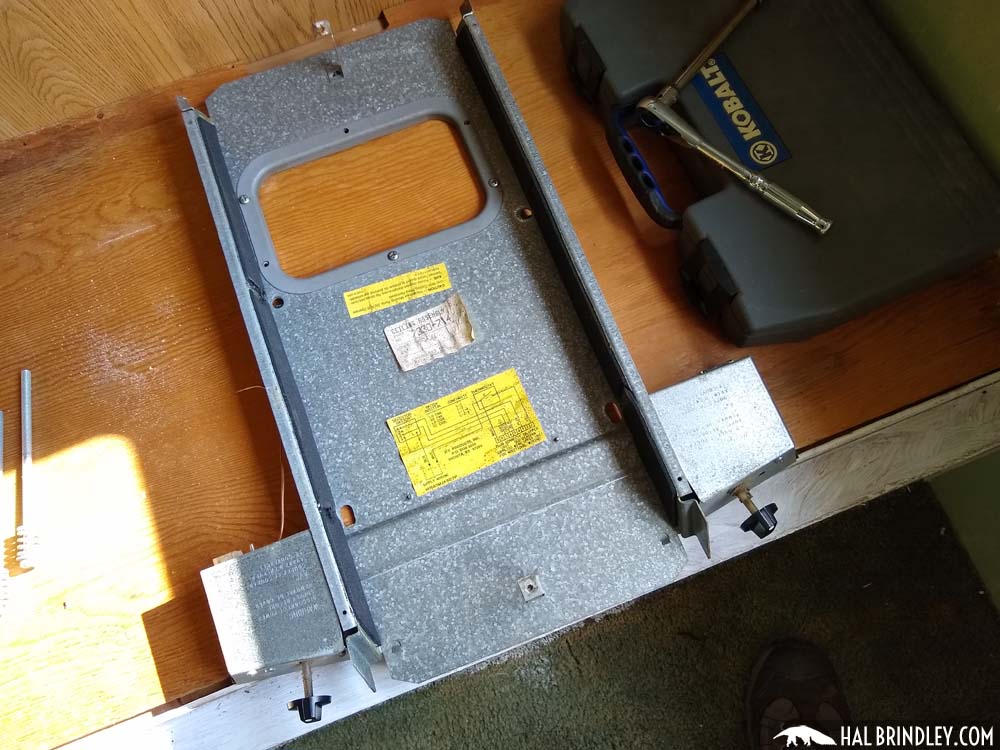
After removing the metal flange and the final bolt I could lower the whole ceiling assembly. This is pretty awkward, trying to hold it up while unscrewing the last bolt so it might be nice to have a helper. But I managed it on my own. Here’s how the ceiling assembly looks after removal. I reattached the metal skirt flange, and the control box covers to keep everything together. Then I reattached the plastic cover and the control knobs so it would be a nice tidy package to move elsewhere.

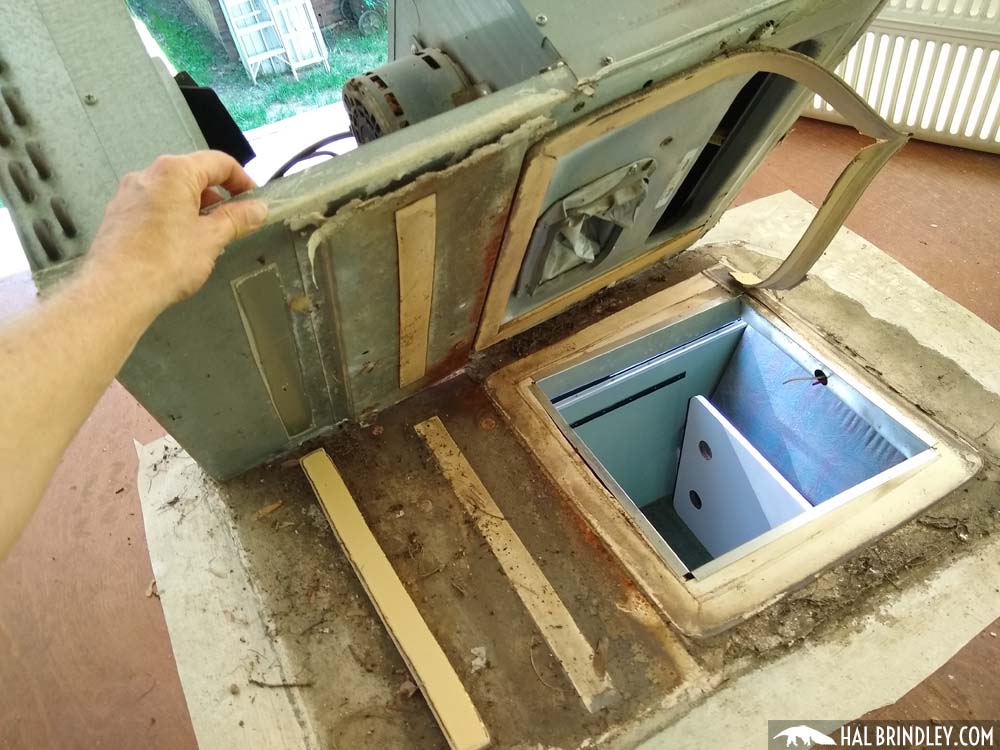
With the ceiling assembly removed, here’s how the air conditioner roof opening looks from beneath. I noticed some old smaller gauge wires sticking out of a hole on the side that had just been clipped off. Maybe they went to a previous ceiling fixture?

Remove the Roof Top AC Unit
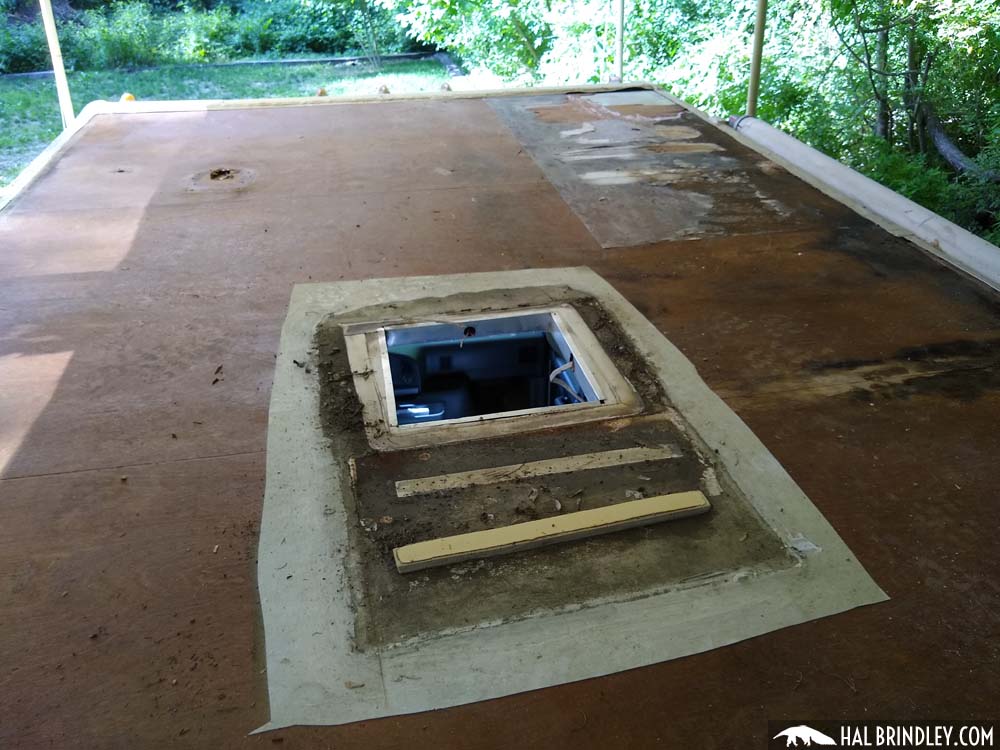
Back up on top of the roof, it’s time to pry up the entire AC roof top unit. This has a lot of butyl tape, putty, adhesive foam, and who-knows-what bonding it to the roof rubber so pull hard. (A pry bar might have been useful.) Eventually it popped free. This thing is HEAVY!

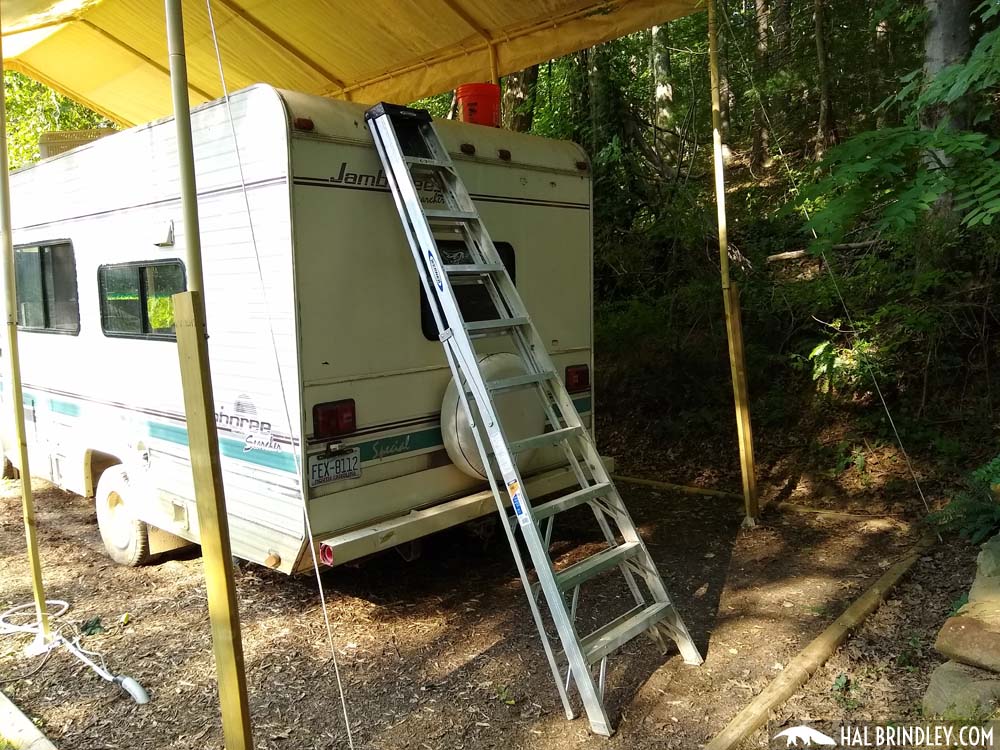
HEADS UP! This is the scary part. Getting it off the roof. The roof top unit of the AC weighs a LOT. Probably 80 pounds or more. Get a helper for this job! I didn’t have one handy so I shimmied it to my ten foot step ladder and slid it down the ladder as I walked down backwards below it. That was nerve-wracking. I managed to do it without crushing myself. I suggest you find a better technique.
Here’s the hole in the ceiling after the air conditioner has been completely removed from the camper. Whew! Now to clean up the roof.

I pulled up the rest of the rubber roofing layer and that was that. All the gunk came up with it.
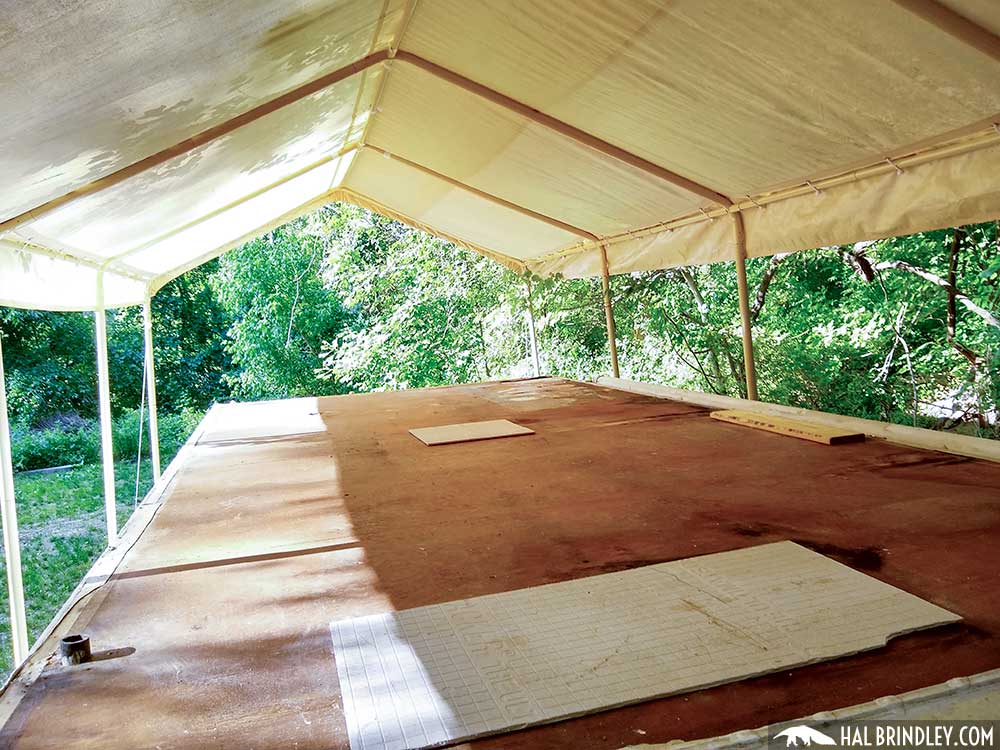
So that’s the end of step 3! All the roof top fixtures have been removed. Next I’ll be removing all the trim molding from the edges of the roof. Head on over!