How to Remove (more) RV Roof Fixtures
Welcome to my RV Renovation Series! On step one I removed some of the roof top fixtures but I still have a few items to remove today: the radio antenna, the RV tv antenna, the bathroom plumbing vent cap, the RV ladder, and the one I’ve been avoiding: the air conditioner (Because it is a long one I’ve made How to Remove a Camper Air Conditioner into a separate post.)
Topics covered today:
- Removing Radio Antenna from an RV Roof
- Removing a Winegard RV tv Antenna
- Removing an RV Ladder
- Removing a Plumbing Vent Cap (Attic Vent)
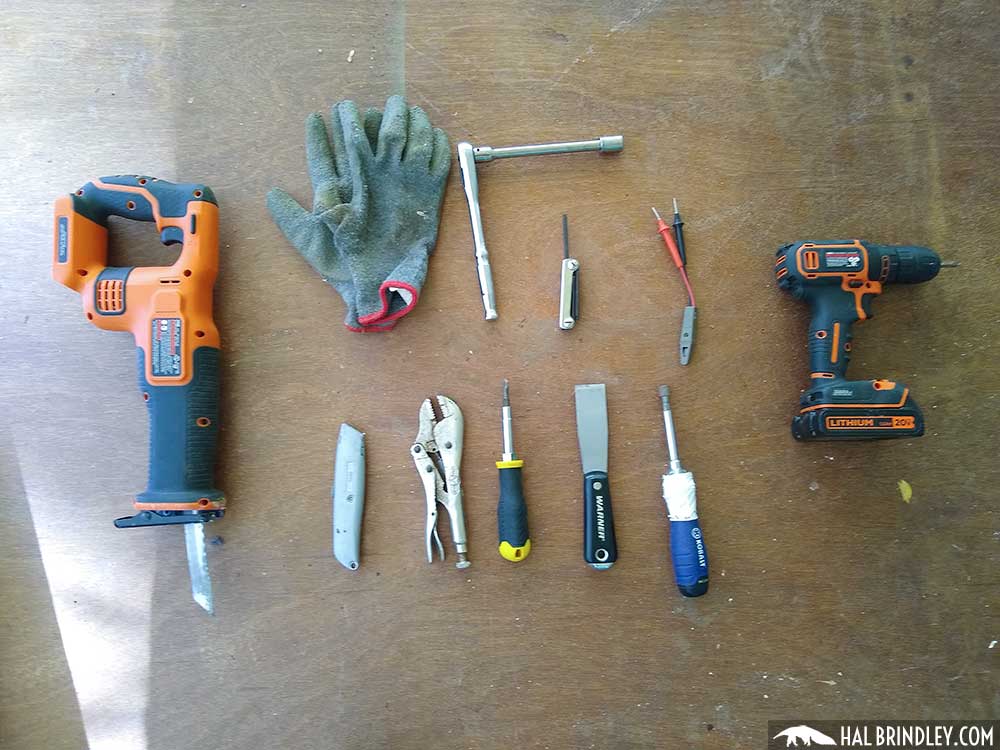
Here are the tools I used today:
- Cordless reciprocating saw
- Work gloves
- Socket wrench set
- Allen wrench set (hex key set)
- Circuit tester
- Cordless drill
- Utility knife
- Vise grip pliers
- Screwdriver
- Stiff scraper
- Ratchet screwdriver set
- 10-foot stepladder
Removing Radio Antenna from RV Roof
I’ll start with the ones that look easiest: the radio antenna and the Winegard TV antenna. I cranked up the RV tv antenna earlier when I was peeling off rubber but it doesn’t have to be in the up position to remove it. All screw heads are accessible in either position. Here’s how they looked before I began.

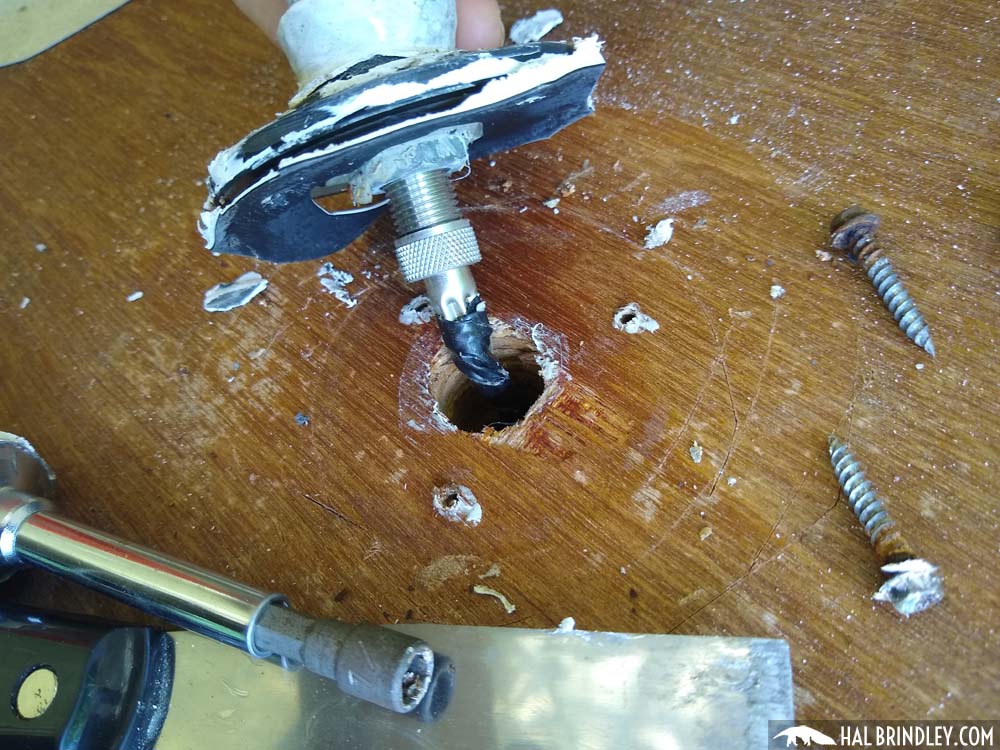
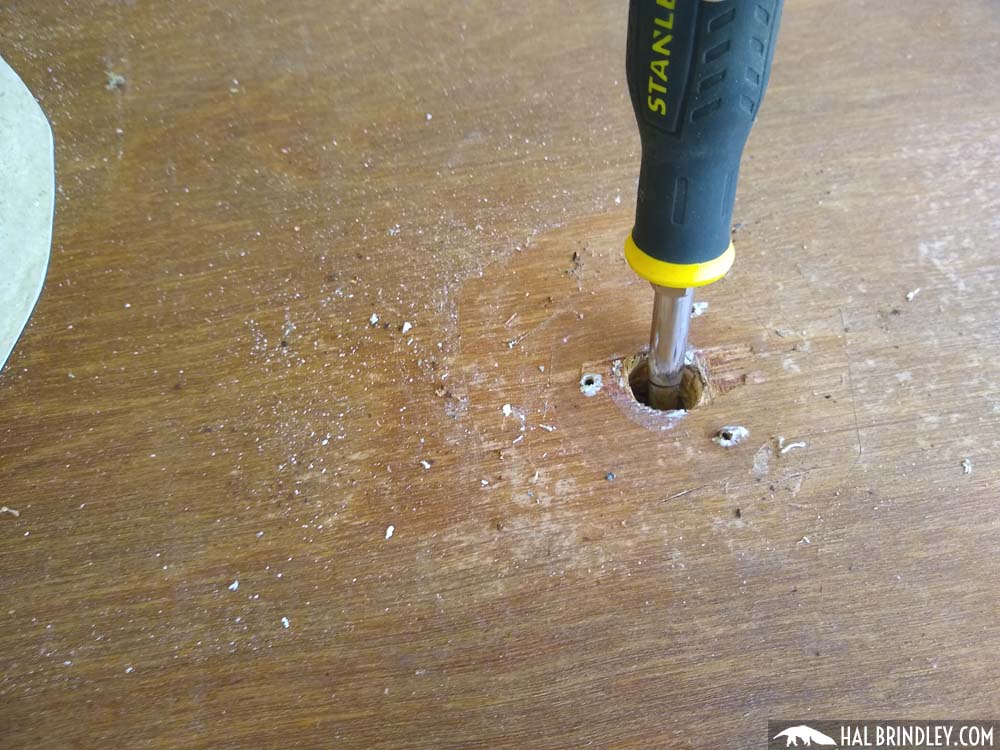
Same as yesterday, slice away any remaining rubber and then start prying up lap sealant from the screw heads. Here are the screw heads exposed on the radio antenna.

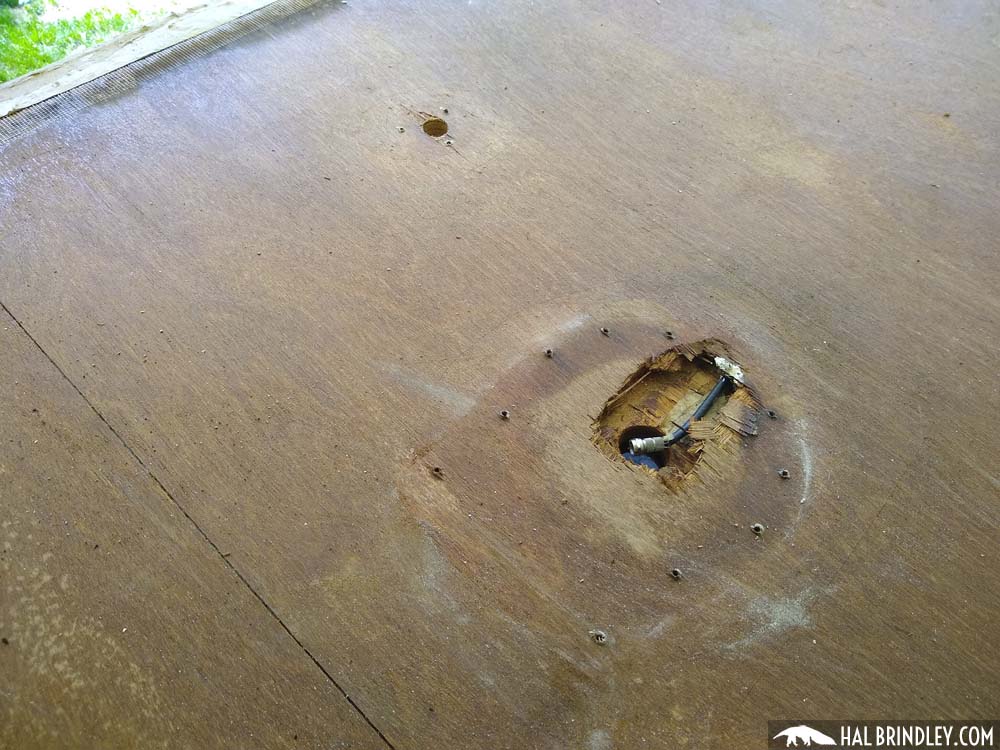
All these screws were in good shape and came out fine with a socket screw driver. Once the screws are out, lift the antenna up and you’ll see the wiring connection. It’s a simple barrel connect, I just loosened it with my fingers.
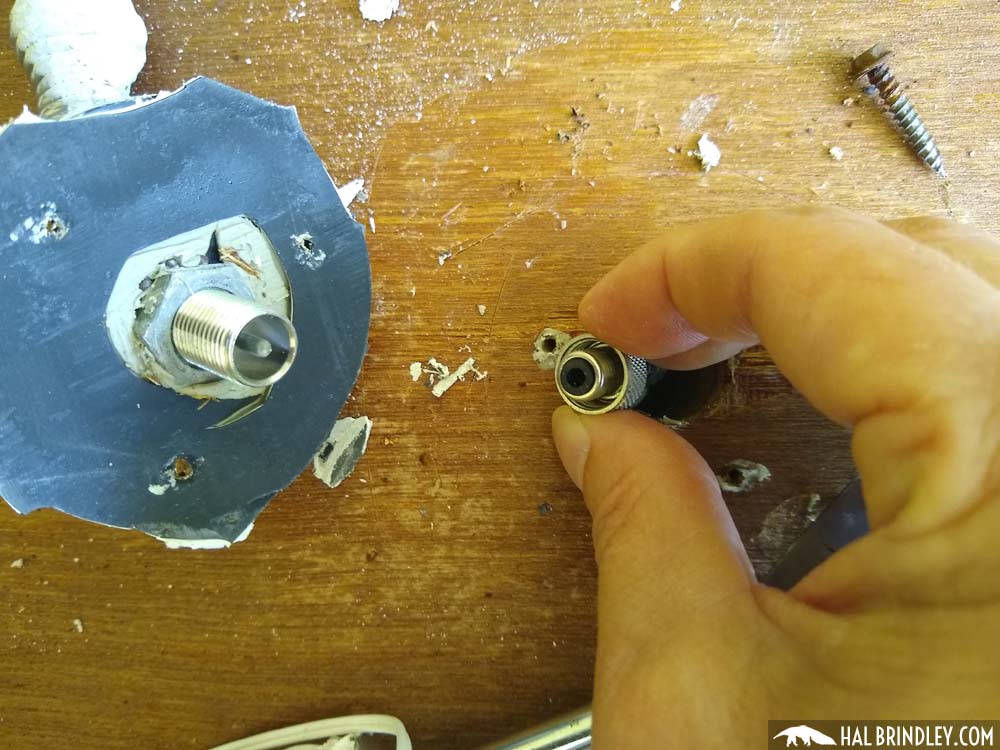
Then I stuffed the loose wire back into the camper using a screwdriver, just so it wasn’t in the way.
Removing an RV TV Antenna
Now to get started on the RV Winegard antenna removal. This is a crank-up style television antenna. Same deal as above, cut and pry.
Most screws were good. The two in the back were seriously rusted. One came out by grabbing the head with vice grip pliers. The second I couldn’t even grab so just yanked it out of the plywood when I pulled out the antenna.
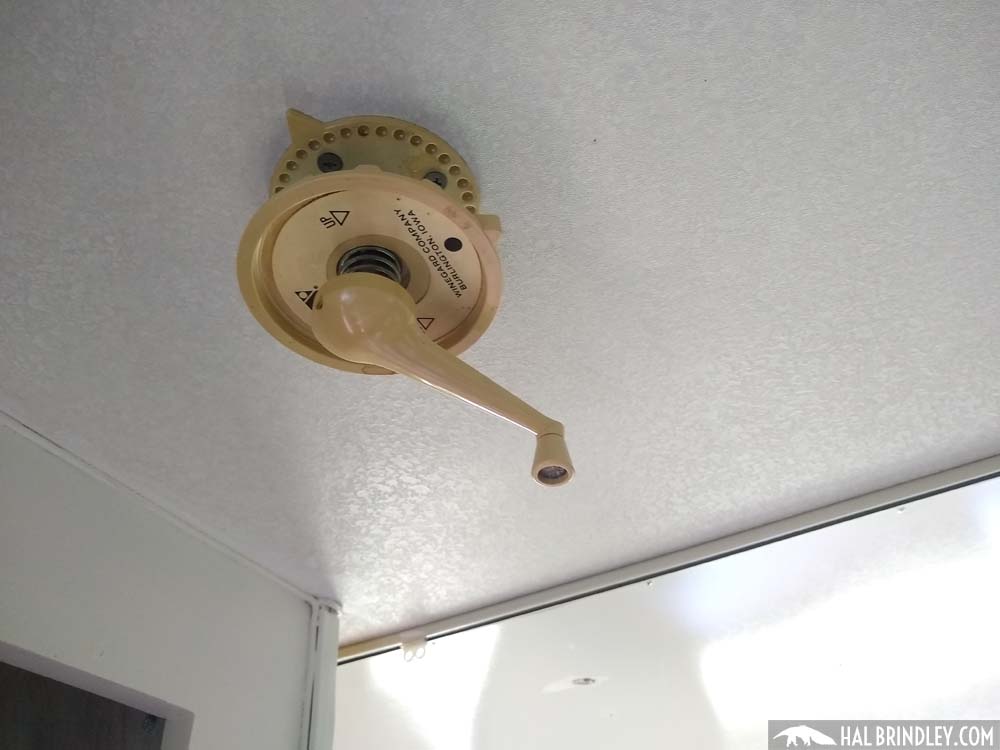
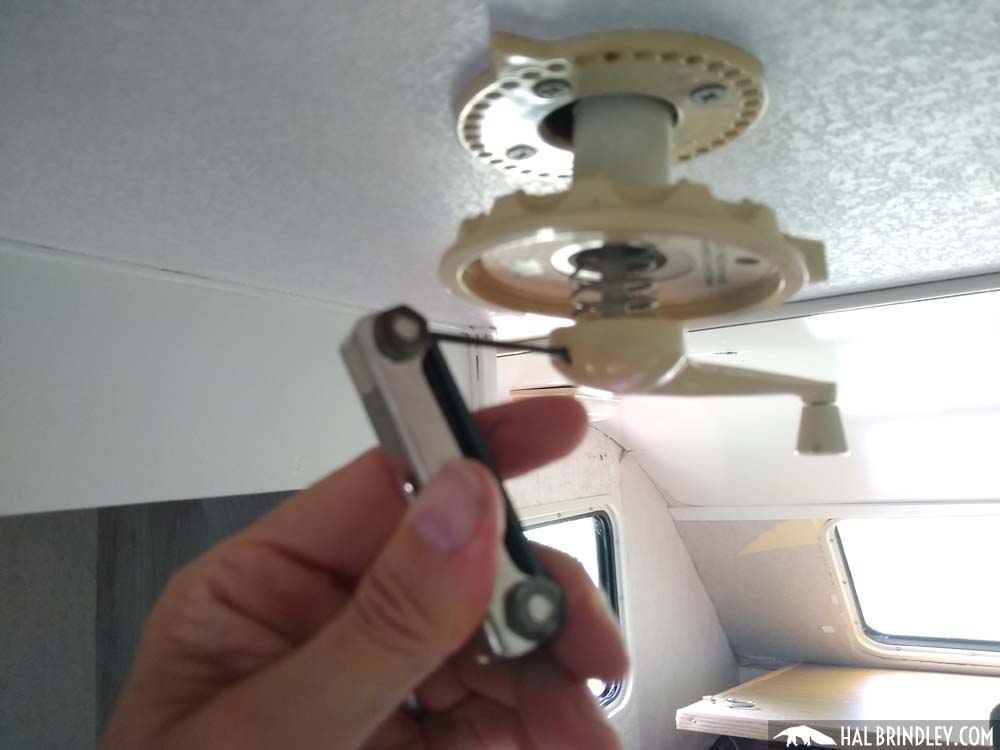
I started to pull on the antenna and then remembered it was still connected to the crank handle inside. So I went in and disassembled it. There was a small hex head bolt holding the handle to the crank shaft. I loosened it and the whole assembly slid right off, except for the plate that is screwed to the ceiling. I just left that plate on for now.
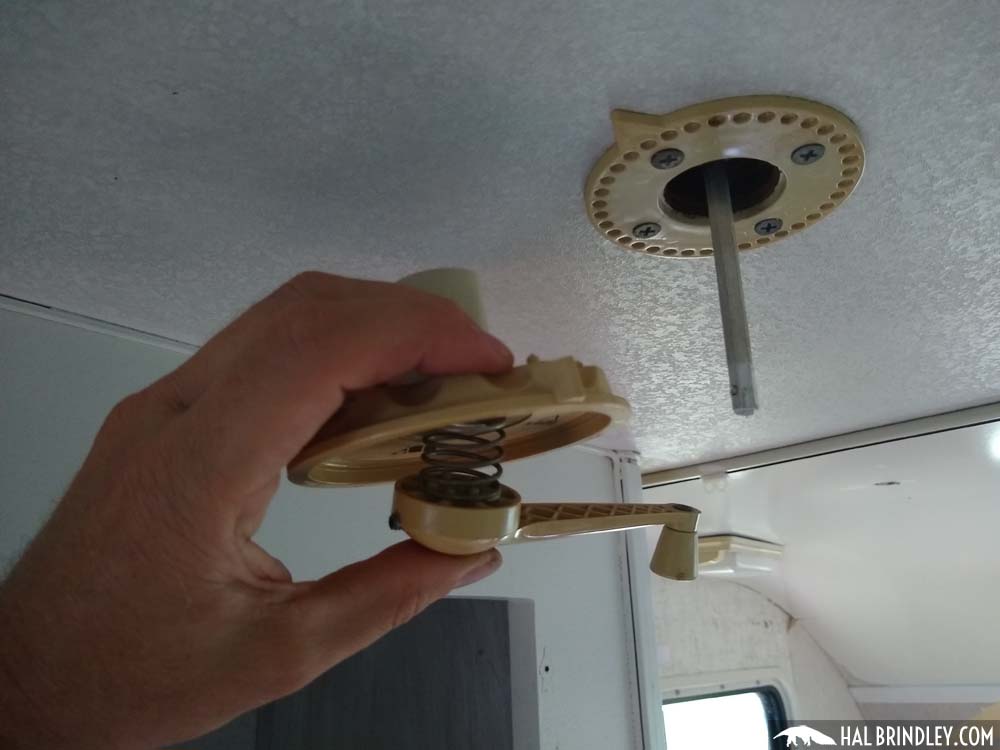
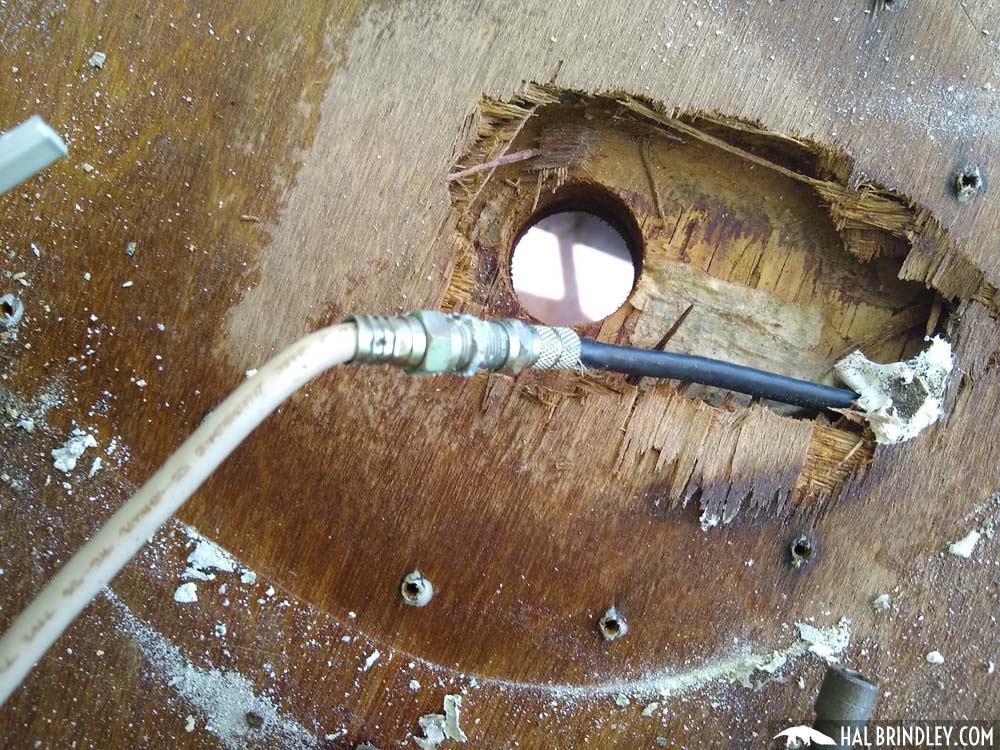
Now I could lift the whole TV antenna right up. This has coaxial cable connected from inside the ceiling. There’s a basic female to female coaxial cable connector that you should be able to unthread with your fingers and disconnect the cable.

Removing an RV Ladder
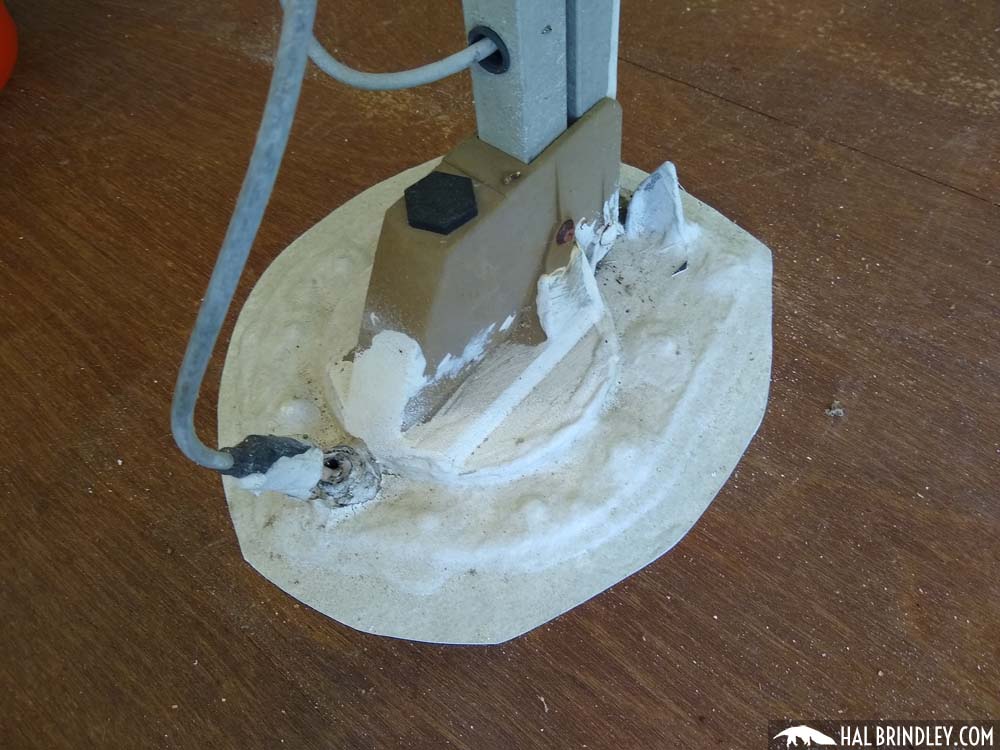
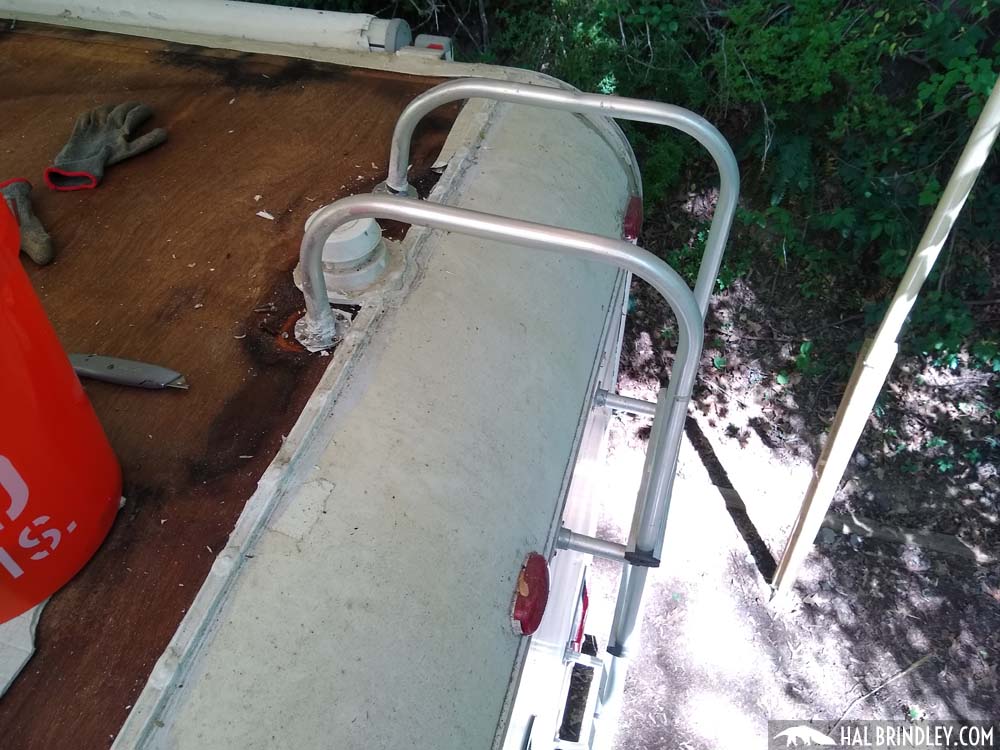
With that all cleaned up I was ready to attack the mess around the bathroom vent pipe and the aluminum RV ladder attachment points. There were many years of crap piled on these and signs of various botched repairs. More cutting rubber and prying up caulk and sealant.
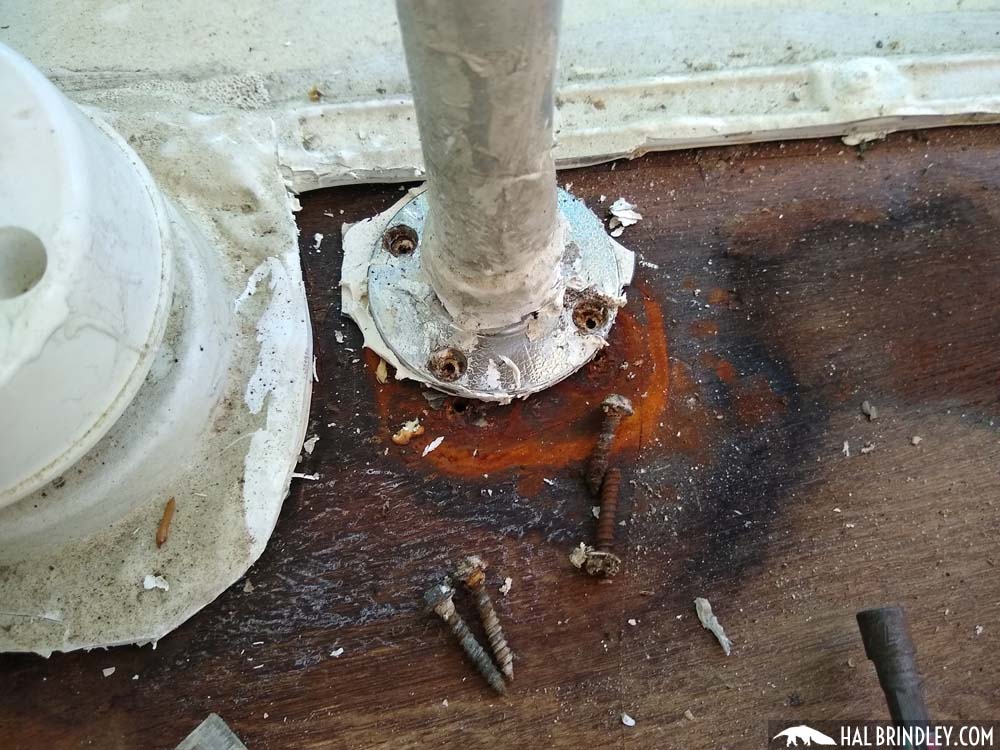
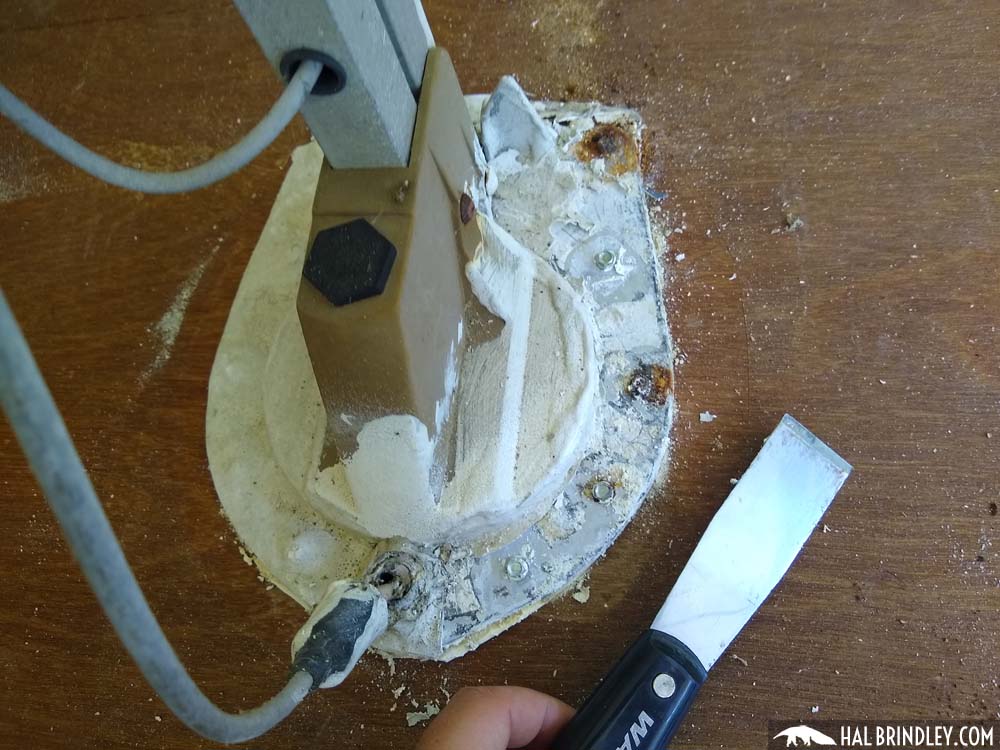
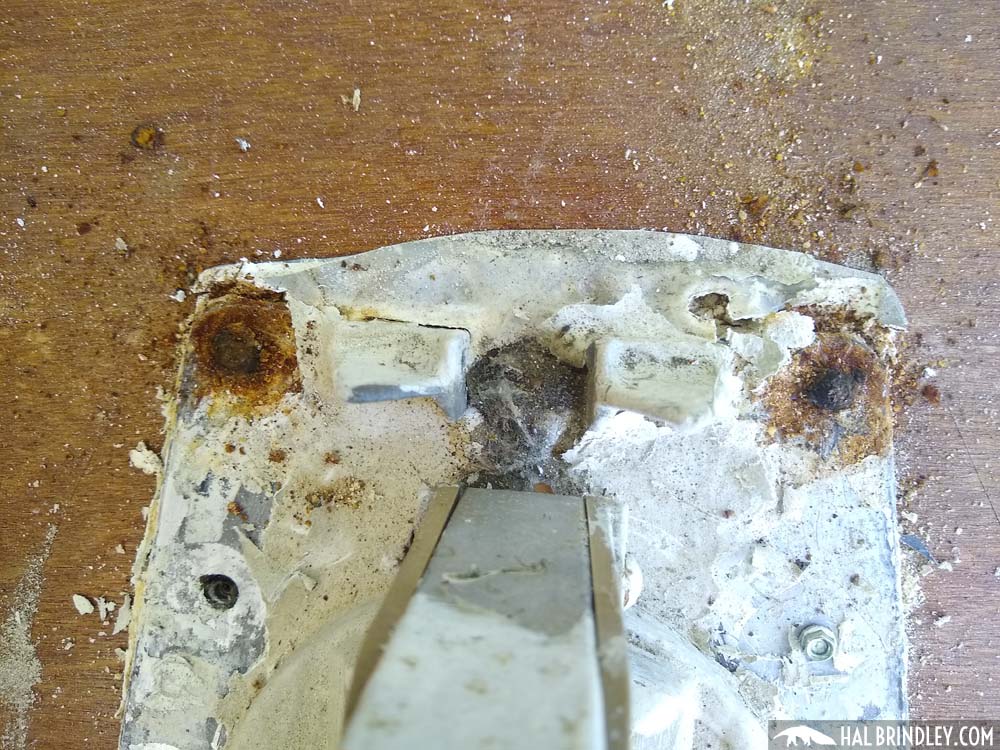
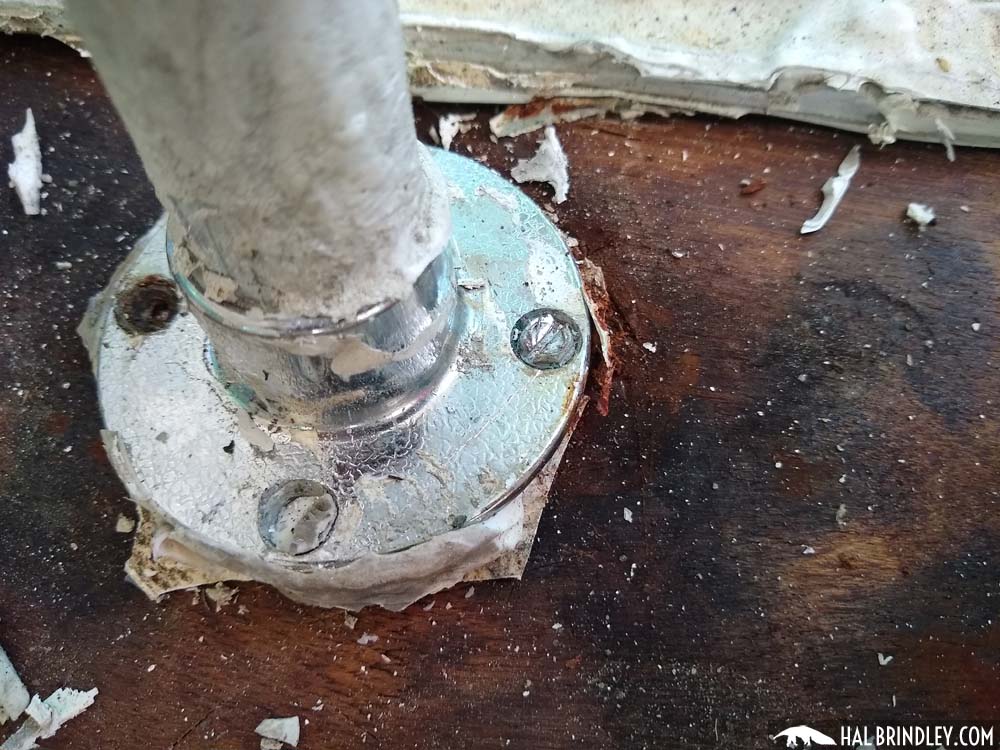
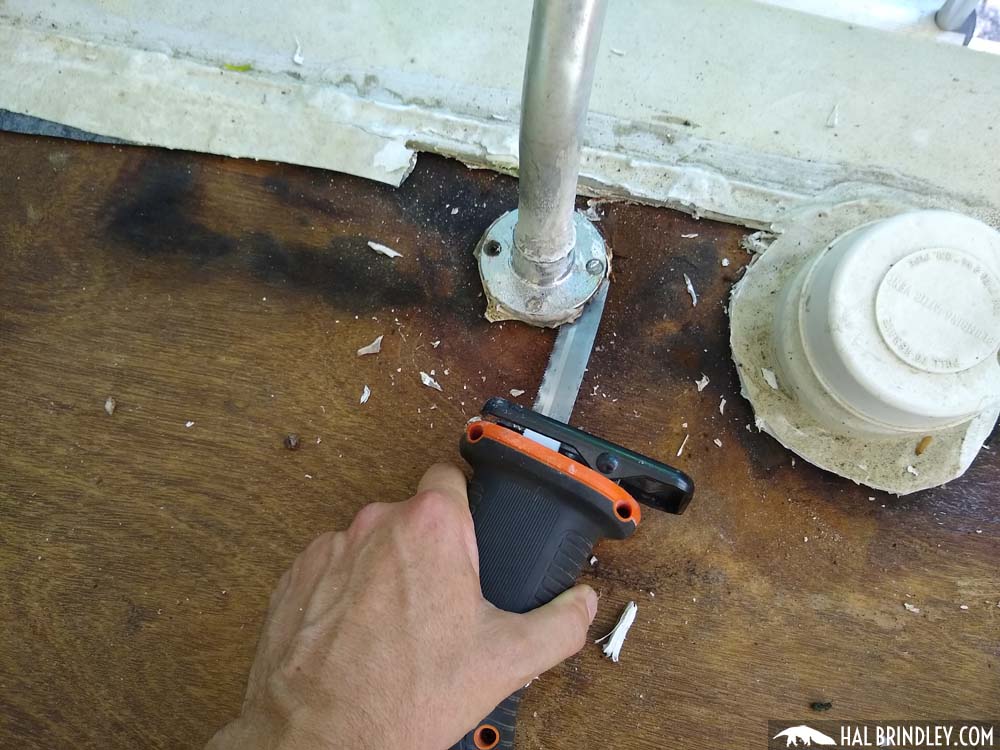
The screws on the right side of the ladder came out pretty clean, but the left side was not so good. There were only two screws and they appeared to be anchor bolts that had been installed later as part of a repair, running all the way to the ceiling inside, but had since popped through. I had no way to turn them so I just cut them with a reciprocating saw metal blade.
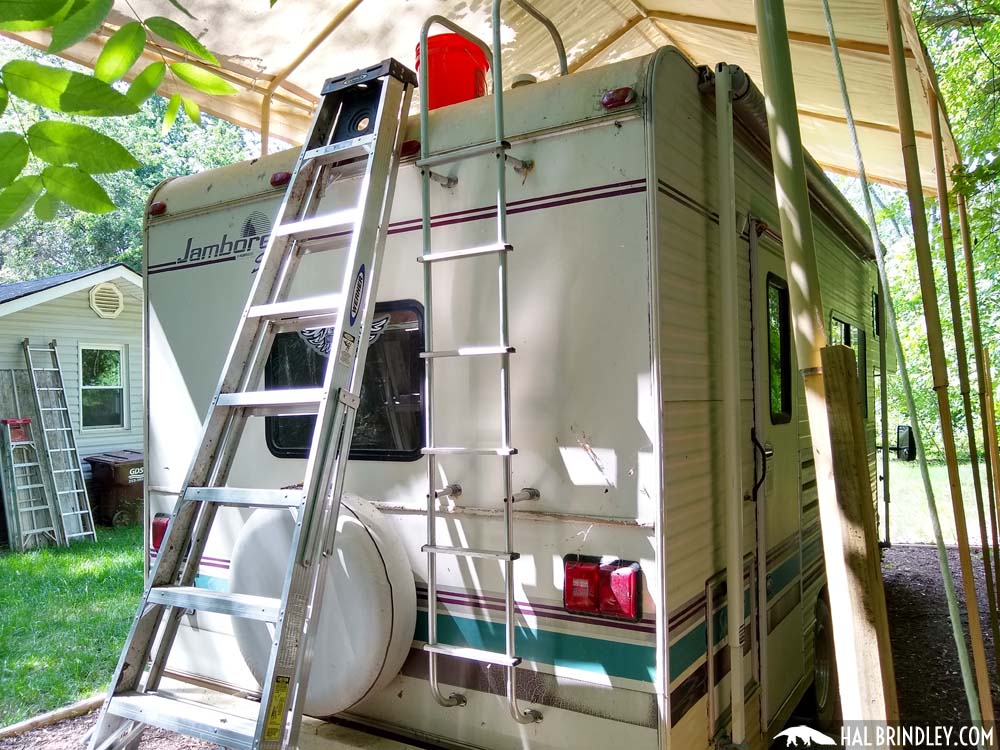
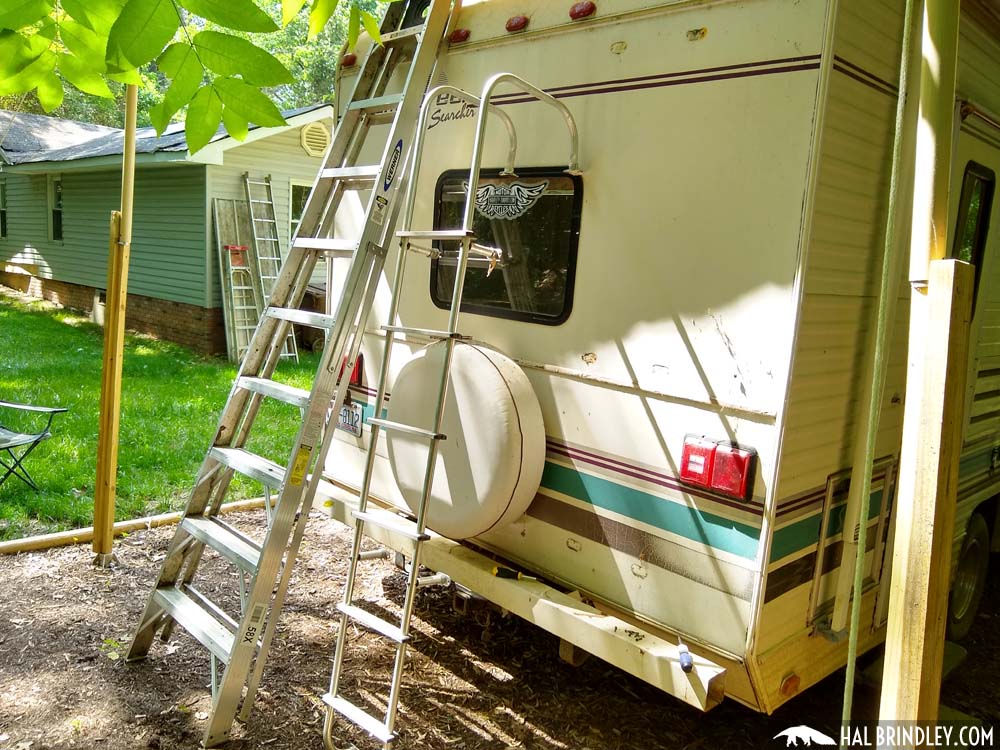
The whole ladder will have to come off because it’s the only way to expose the entire roof decking so I can replace it and lay down new rubber. So I unscrewed all the other spots where the RV ladder fastens to the back of the camper. Most of these screws were in pretty bad shape and sheared off. It’s going to be a fun challenge trying to reconnect this thing solidly!
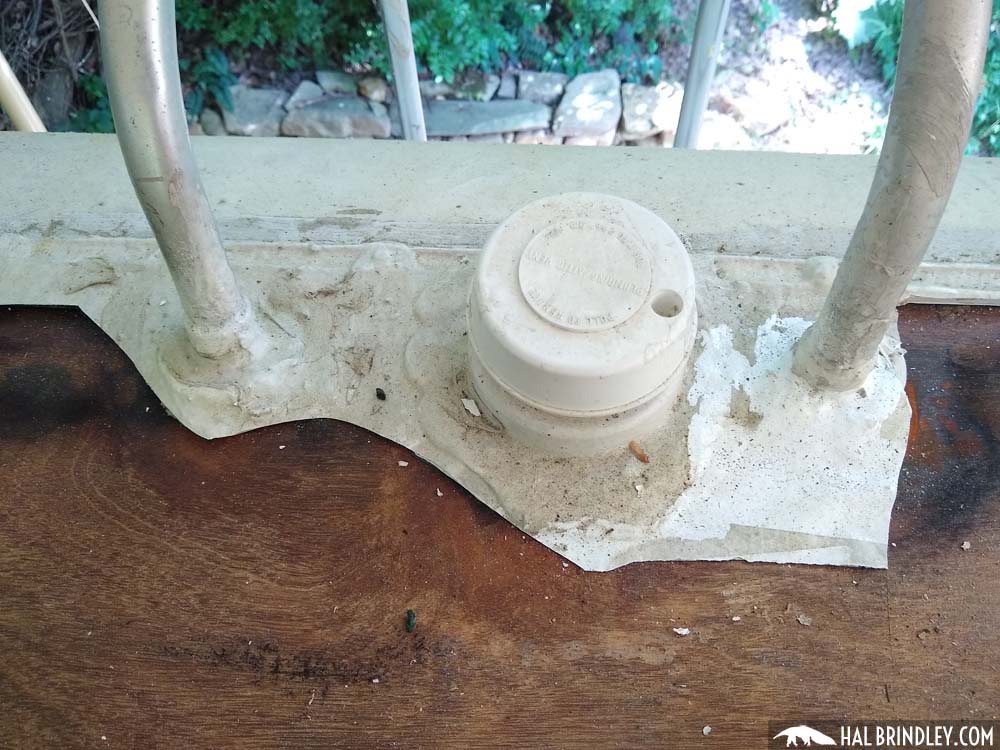
Removing Plumbing Vent Cap From RV Roof
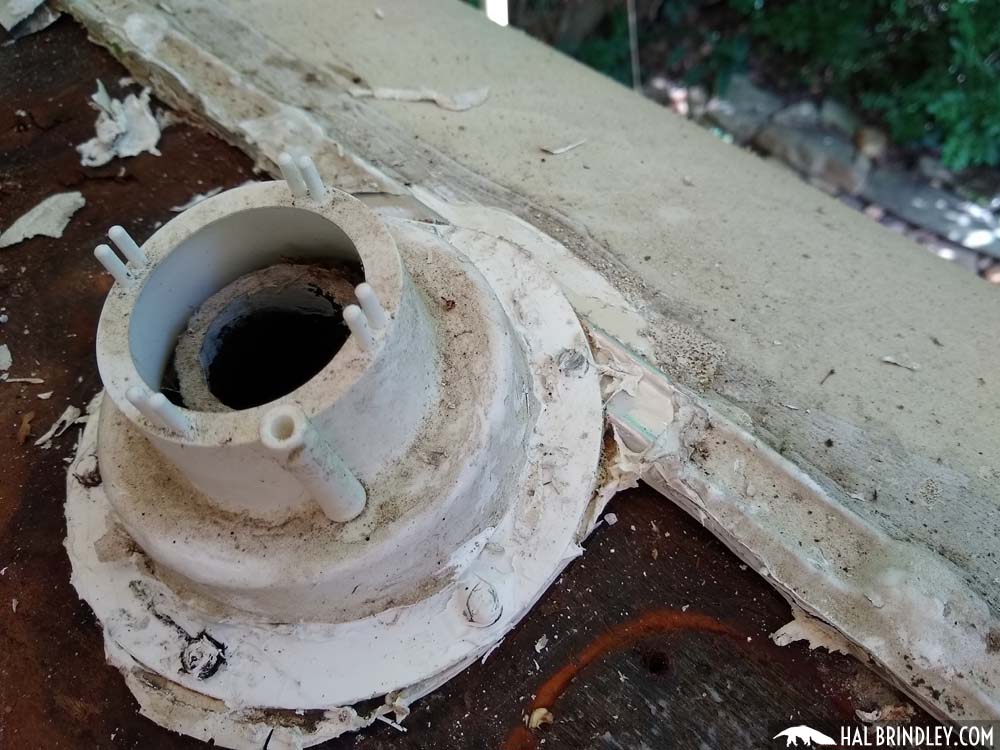
Moving on to the cap on the bathroom plumbing vent (attic vent). I puzzled over how to remove the cap for a minute because I couldn’t find any screw heads. Then I finally read the words on it.
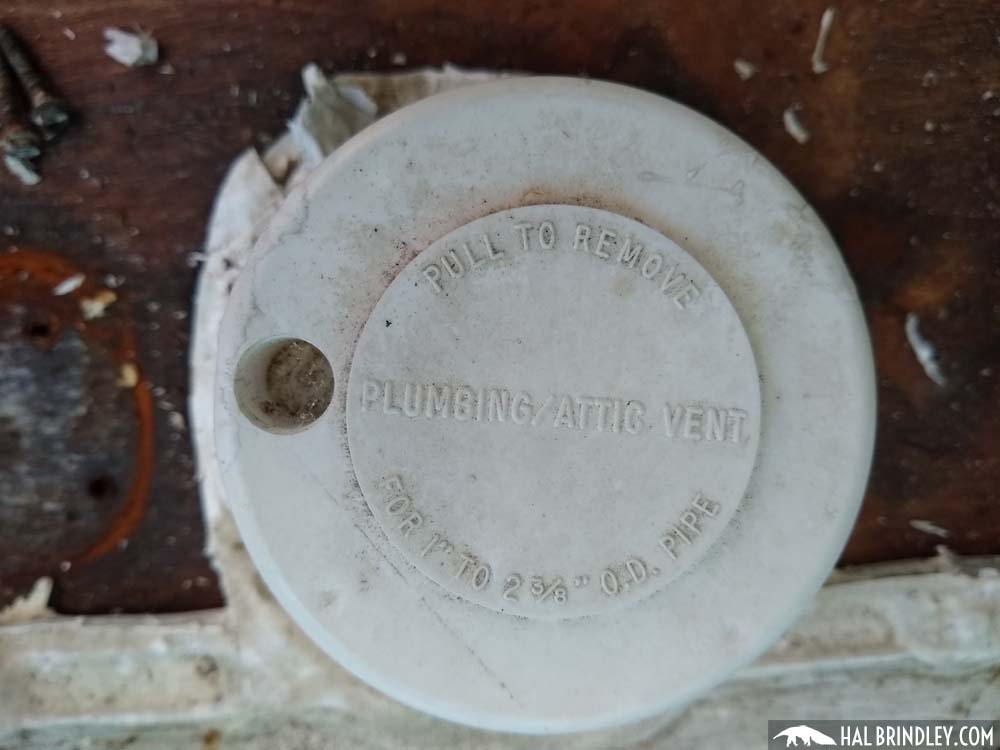
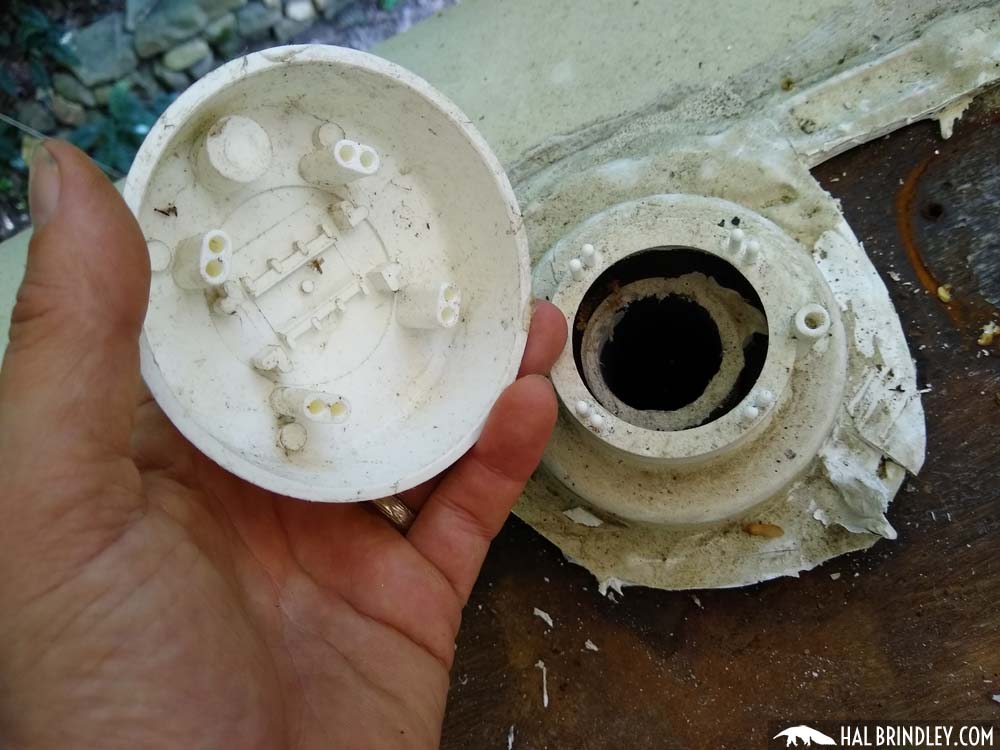
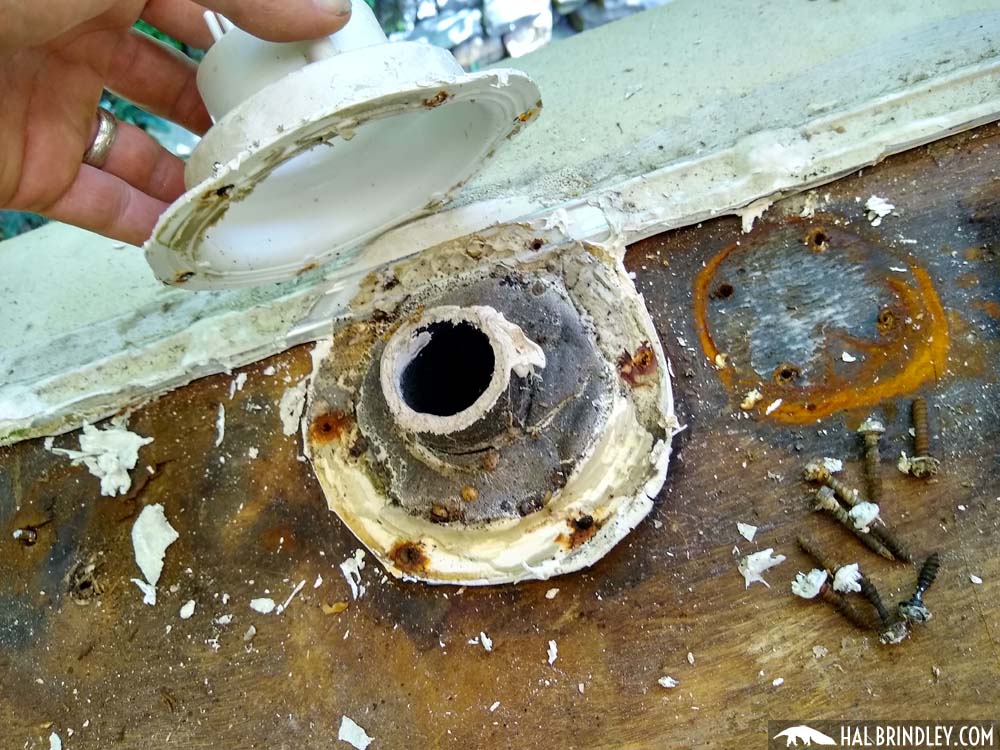
After simply pulling it off, I cleaned off the screw heads and took off the base of the vent cover. Notice how it overlaps the trim molding at the back edge of the rubber roof. This doesn’t seem like a great design for waterproofing but that’s how it was done!
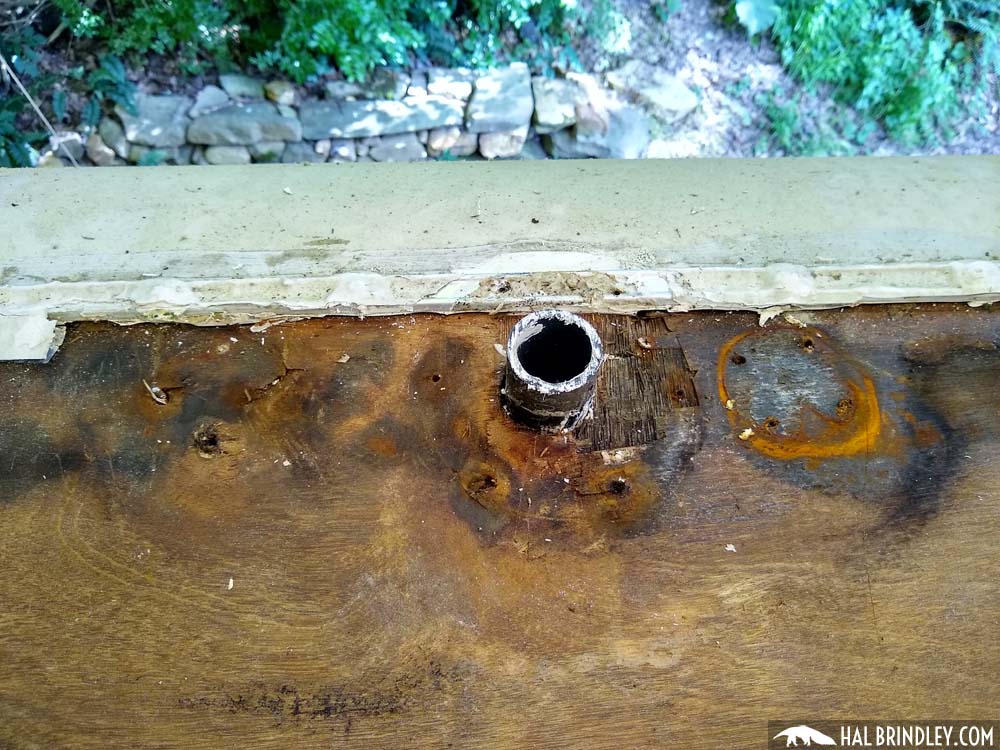
Now there’s only one fixture left on the roof to remove: the air conditioner. Since this was a big job I’ve made a separate post about how to remove an RV air conditioner!