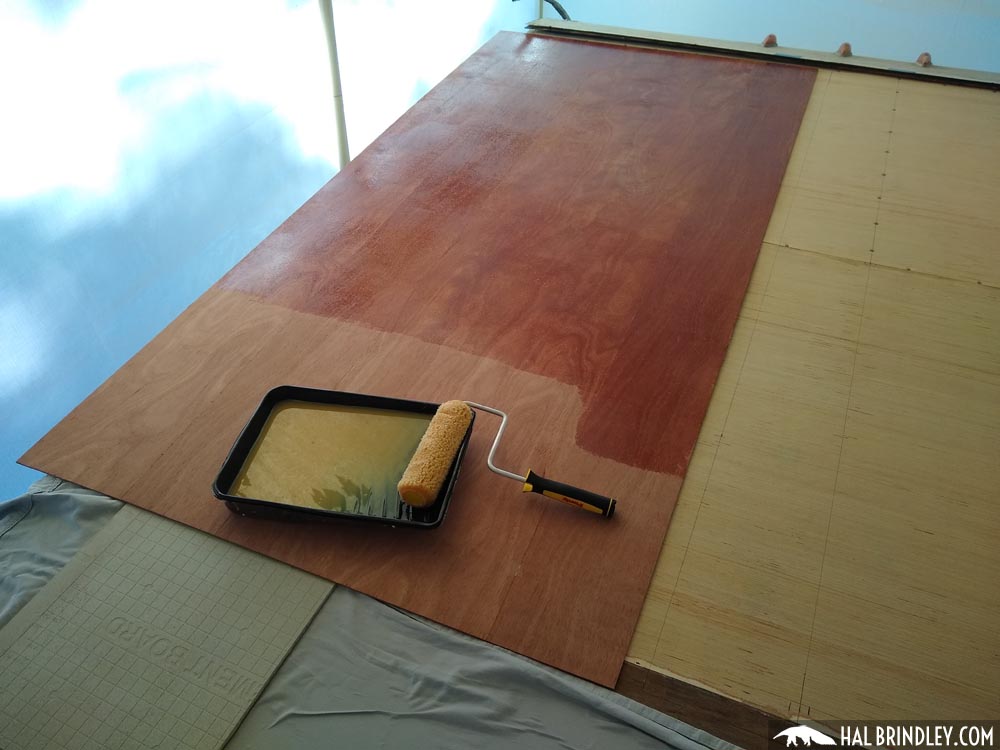
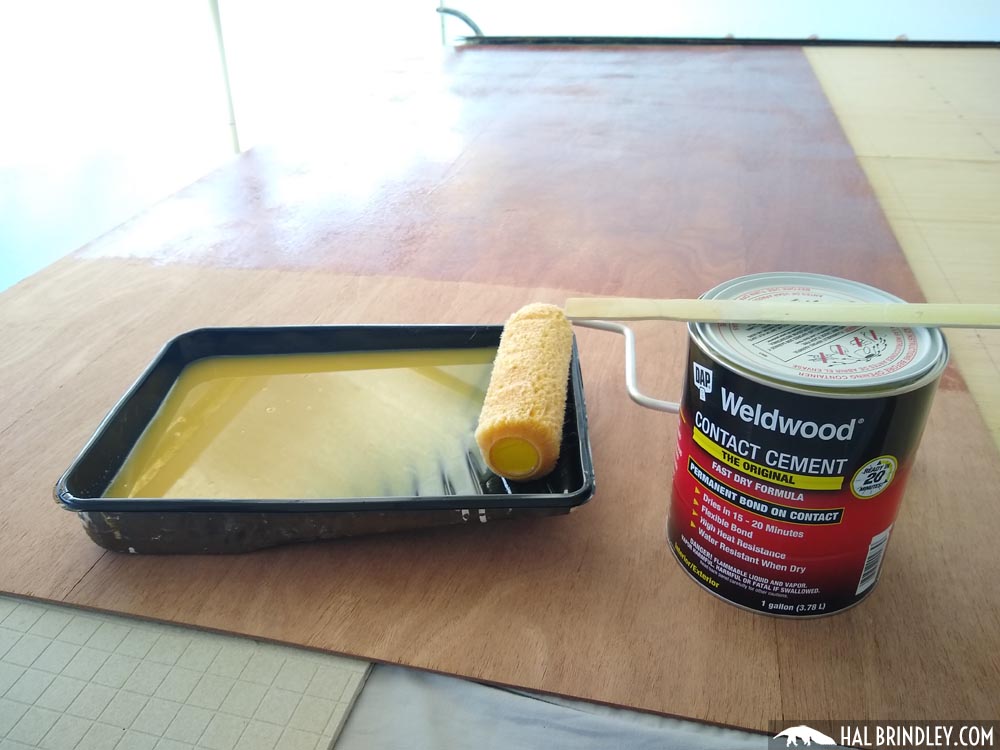
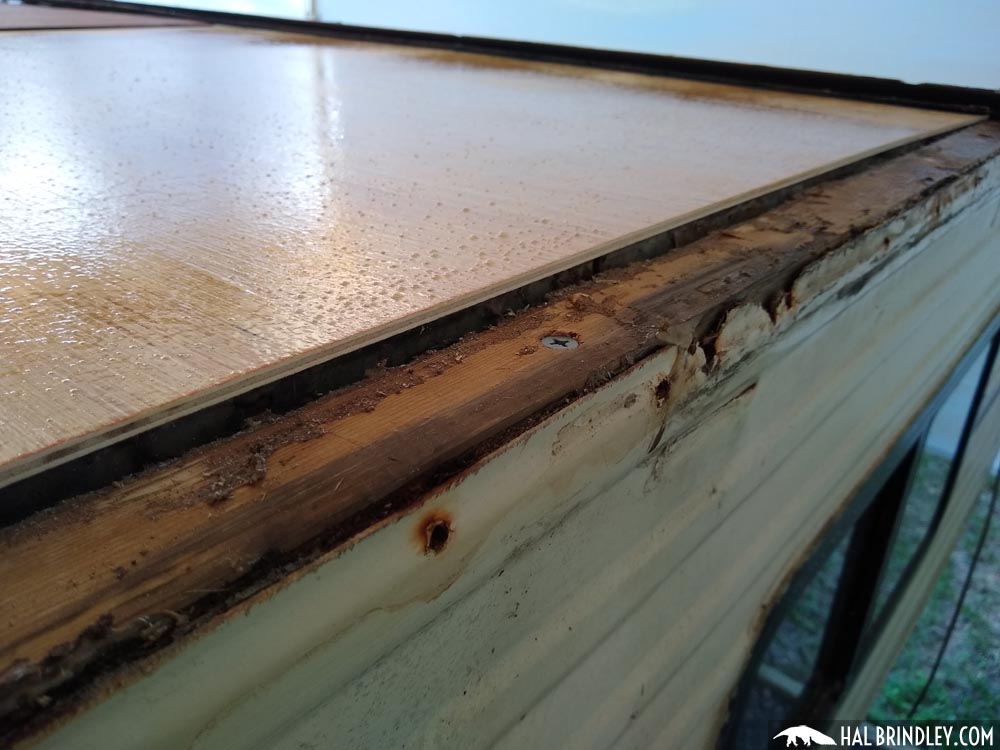
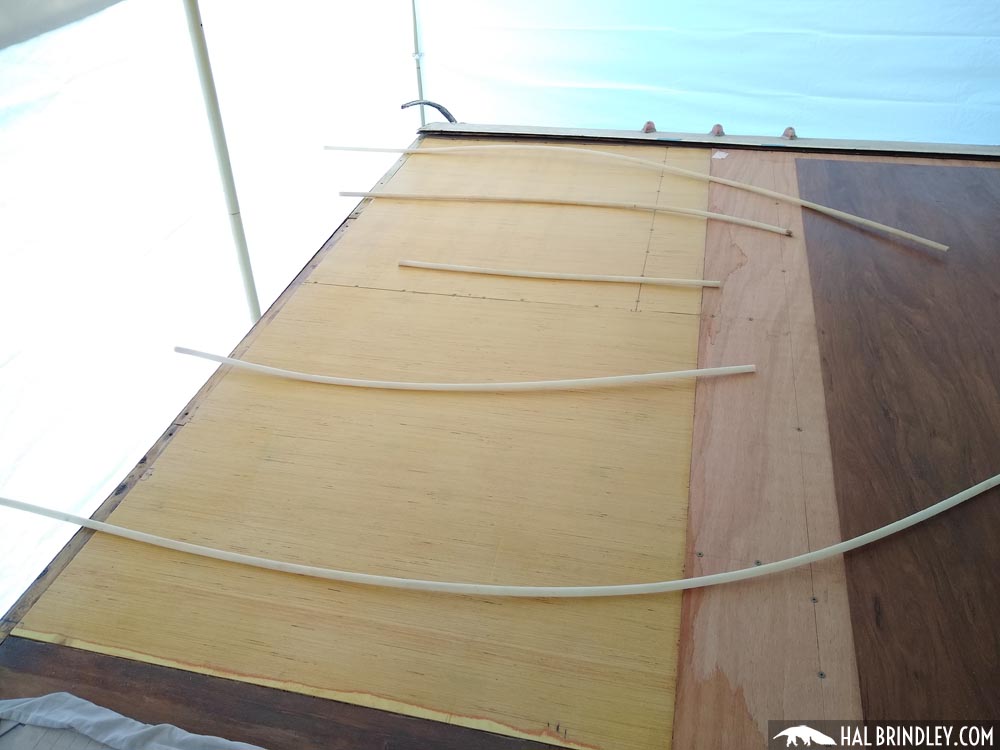
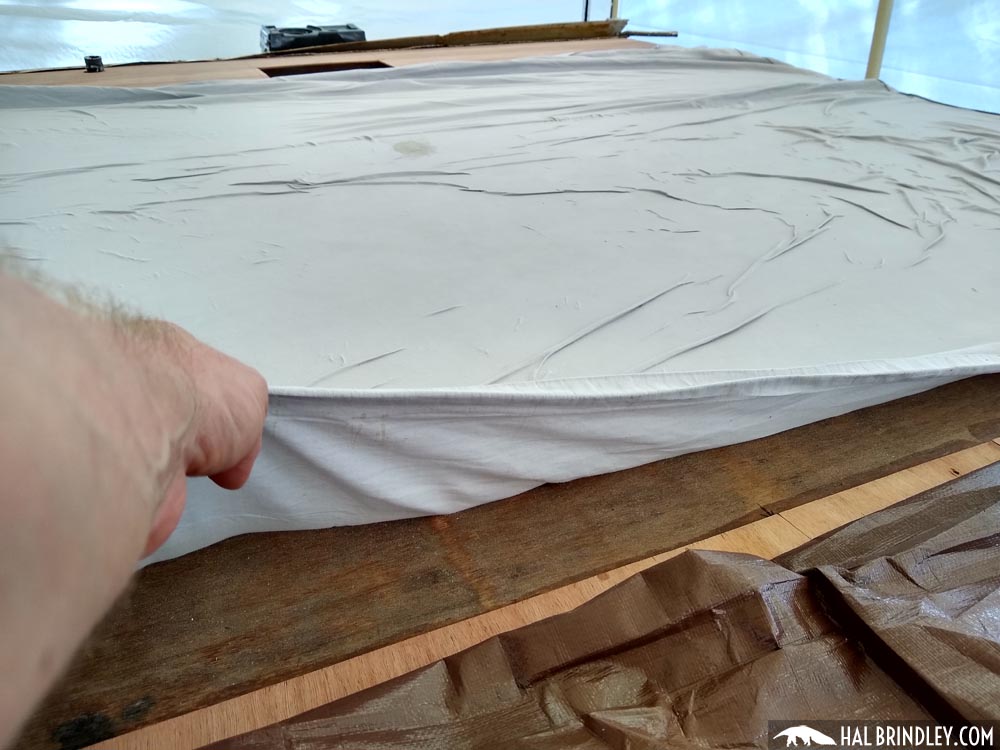
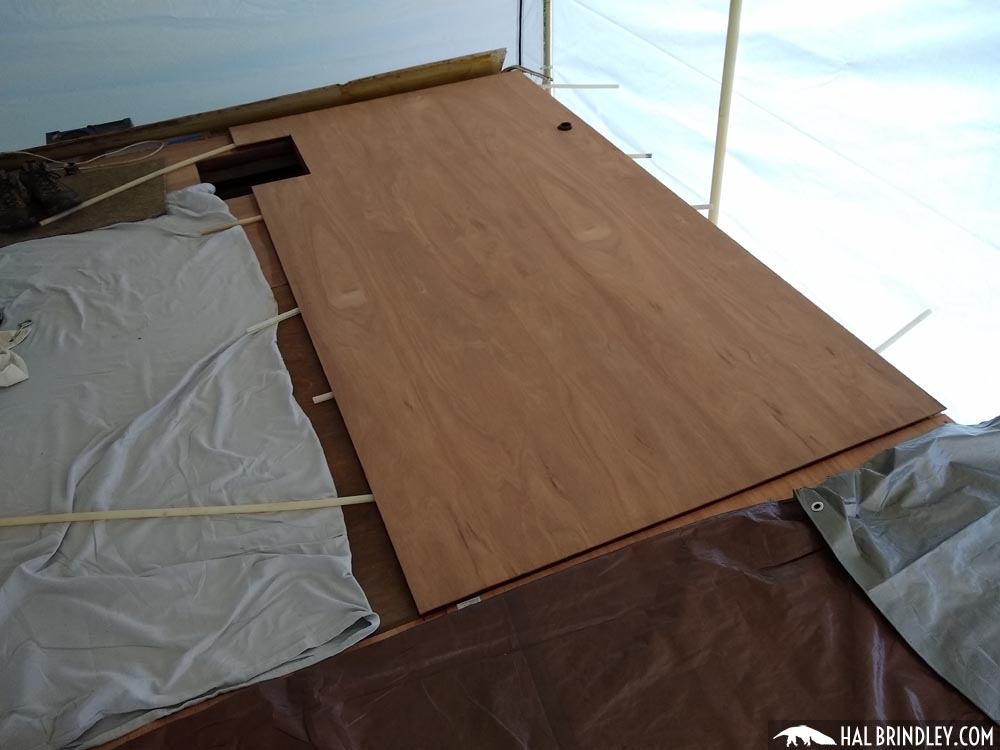
Welcome to my RV Renovation Series! On my previous step I replaced the RV marker lights in the back. Now I’m going to add a second layer of plywood to the roof because I feel it needs more strengthening.

WARNING: This is really just a rough draft of the post, a collection of photos (possibly with captions). I’ll be on the road for a few months and won’t have time to complete these posts until after, but for those of you who’ve written and want to see the rest of the project, hopefully this is better than nothing. Thanks for your patience until then!
For the next step I’m going to repair the front RV clearance lights (marker lights).

  1. A second layer for strength, and maybe additional water resistance (since luan is notoriously not resistant to water)?

    1. Yep, that’s exactly what I did Rollin. Although the original construction was incredibly rigid with just one layer. I couldn’t quite duplicate the factory process by working from the top only. Installing two layers seemed worth the extra weight to me.

  2. Hi Hal,

    This is incredibly helpful. I purchased a 1990 model year ( 1989 ) Escaper Ultrasport. Basically your unit with less miles and more damage! YIKES.I’m really challenged by the roofing truss system. I have areas that have sagged so I too am planning a second layer of marine grade plywood. Wondering if you had any sag areas and how you addressed them? The front overhang section is also scary…Oh well like you say just dive in and keep swimming. Thanks for the posts!

    1. Hi Chris,
      With my camper, sagging areas meant delamination (ungluing) between the layers of luan and styrofoam. That lamination of layers is what created the structural strength between the metal cross beams (which are about 4 feet apart). It’s shockingly solid when the lamination is intact and totally saggy when some of the layers unglue from water damage. Your best bet is to recreate that lamination strength by trying to get ceiling and roofing layers glued thoroughly back to the styrofoam in-between. Otherwise I suppose you have to simulate structural strength with more ply (like I did) or by contriving some cross beams (which wouldn’t be terribly strong in 1.5″ thick roof framing like mine unless you welded in more steel cross beams.) Disclaimer: I’m no expert! This is just what I experienced with my camper!

  3. I know this article was written a few years ago, but I’m hoping you still read and reply to these comments!!

    I found all the info about redoing your RV roof so incredibly helpful!! I stumbled upon your site because my RV awning has not been rolled out in a long long time (the material is actually shredded all across the top where the sun has destroyed it) and basically I wanted to know the best way to get the whole awning taken off, found perfect instructions to do just that!

    Also, my roof has seen better days but I never really knew where to start a full repair so I have just been trying to patch and repair a few spots while also trying to minimize any further damage ‍ I’m definitely not formally educated in remodeling, let alone RV remodeling, but I am confident in my common sense, my ability to follow instructions, and my ability to work a power tool the step by step pictures are amazing, super helpful, my question to you is:

    Any chance you could please go back thru and caption some of the more descriptive pictures?? I can mostly clearly see what I’m supposed to do from picture to picture, but there are a couple parts where I could see myself getting confused. I can take screenshots if you don’t want to caption each picture!

    Sorry for the whole damn novel I wrote! Lol but seriously, thank you again for the time you put into showing your work! I appreciate you!

Your email address will not be published. Required fields are marked *