Welcome to my RV Renovation Series! On my previous step I cut a new hole for an RV vent fan. Now I’m going to order all the supplies for my RV rubber roof replacement.
WARNING: This is really just a rough draft of the post, a collection of photos (possibly with captions). I’ll be on the road for a few months and won’t have time to complete these posts until after, but for those of you who’ve written and want to see the rest of the project, hopefully this is better than nothing. Thanks for your patience until then!
I realize this post is pretty pointless without a full description and links but for now, here is a quick list of the supplies I bought:
- Dicor rubber roof membrane (ordered from an independent dealer on eBay)
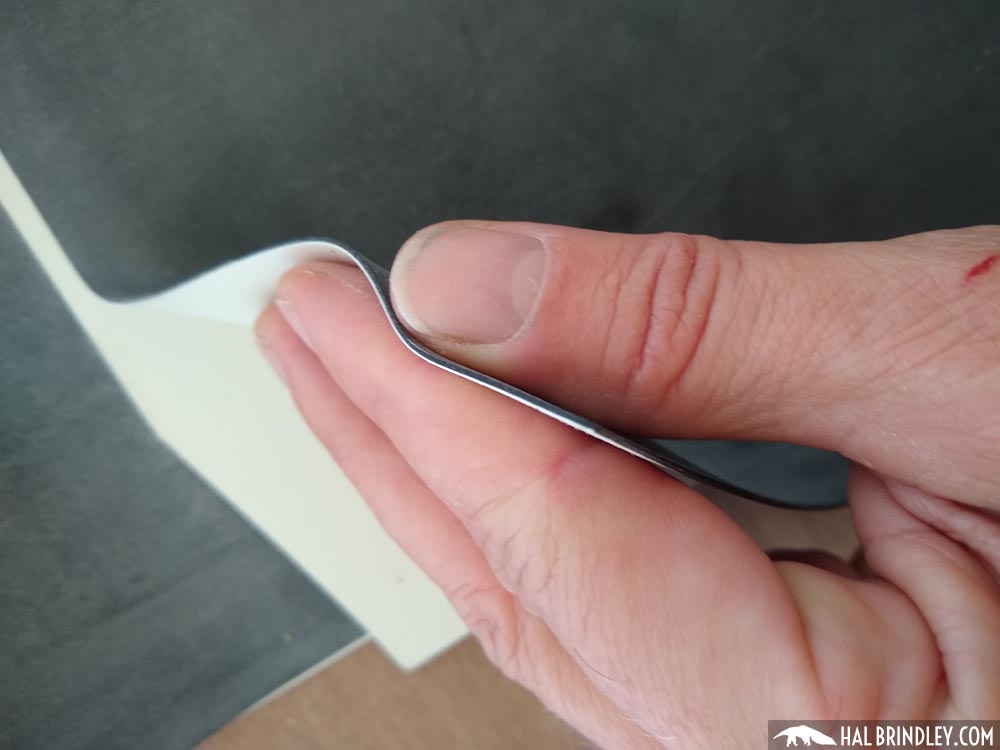
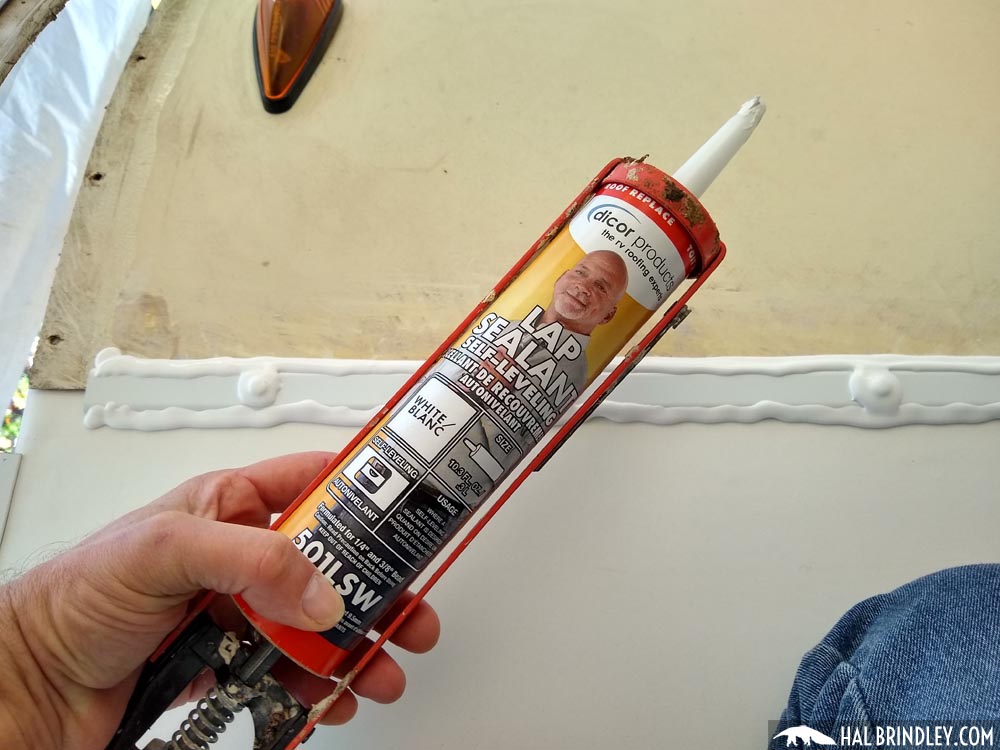
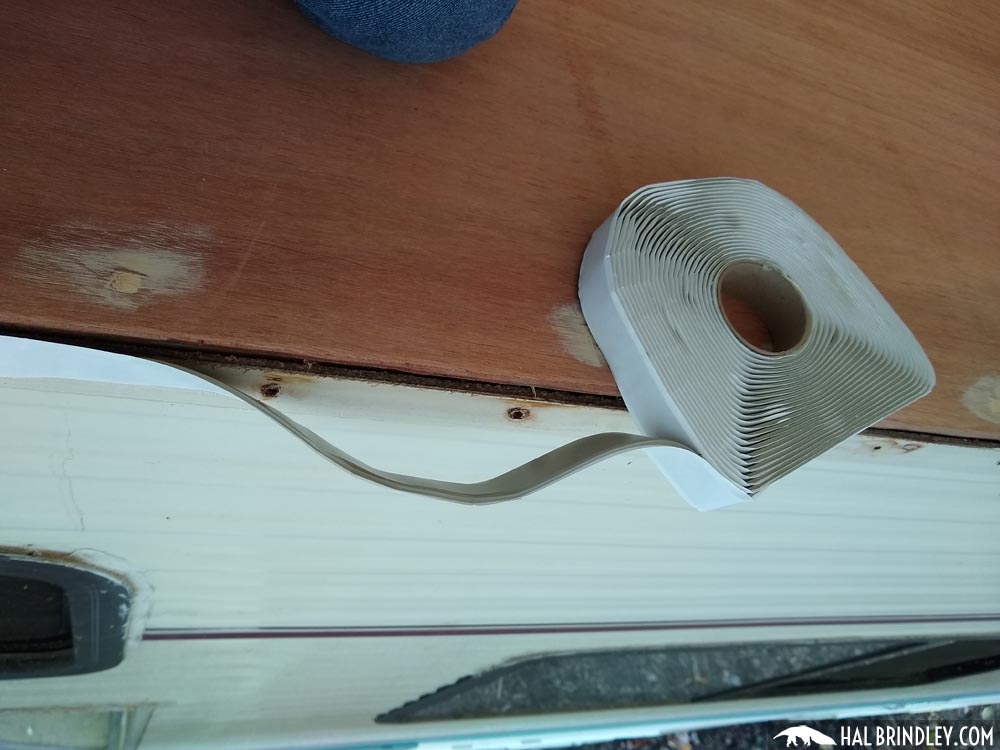
- Dicor rubber roof installation kit (includes Dicor 901-BA bonding adhesive, Dicor self-leveling lap sealant, & butyl tape)
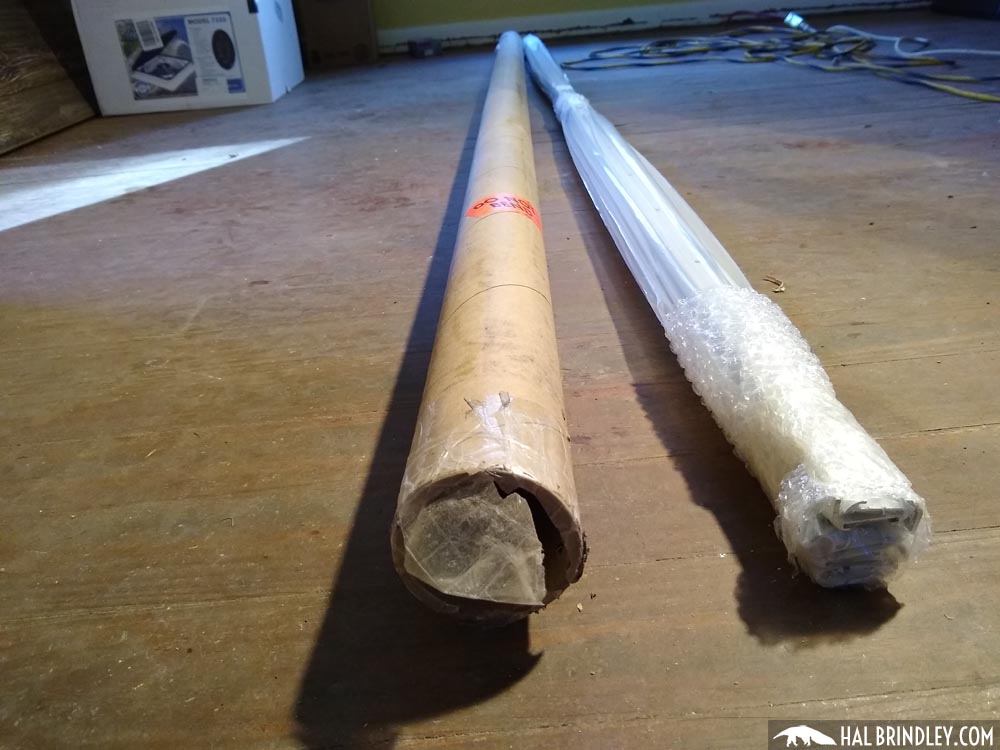
- RV roof trim (flat trim, channel trim for awning, corner trim) ordered from Panther RV
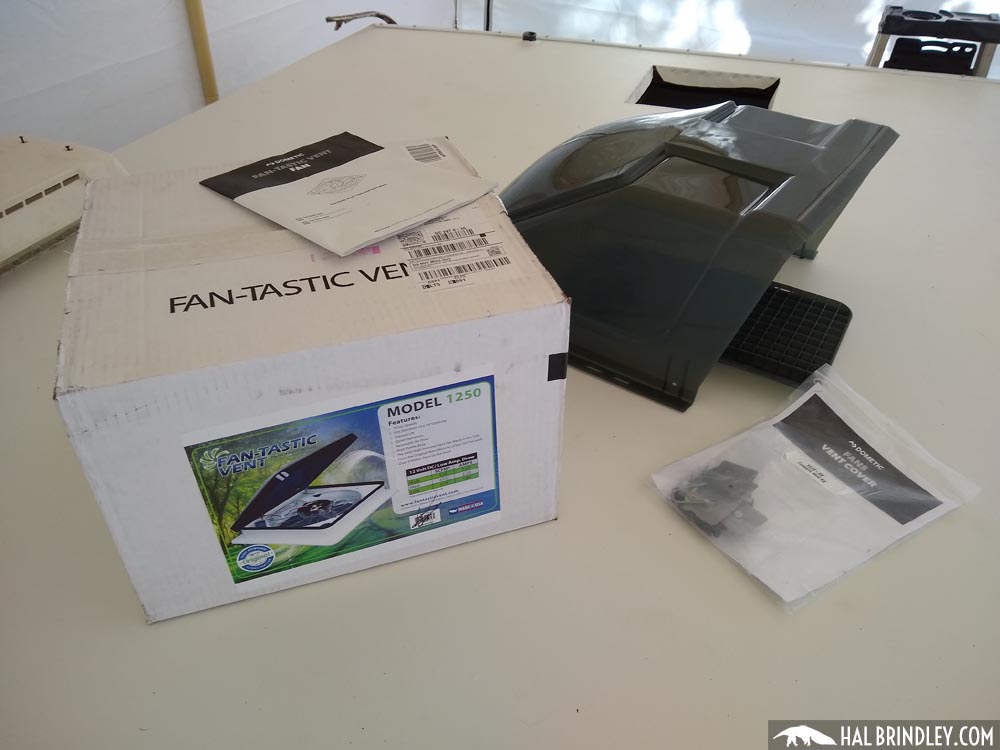
- FanTastic Vent Fan model 1250 (for bathroom) and model 7350 for bed area
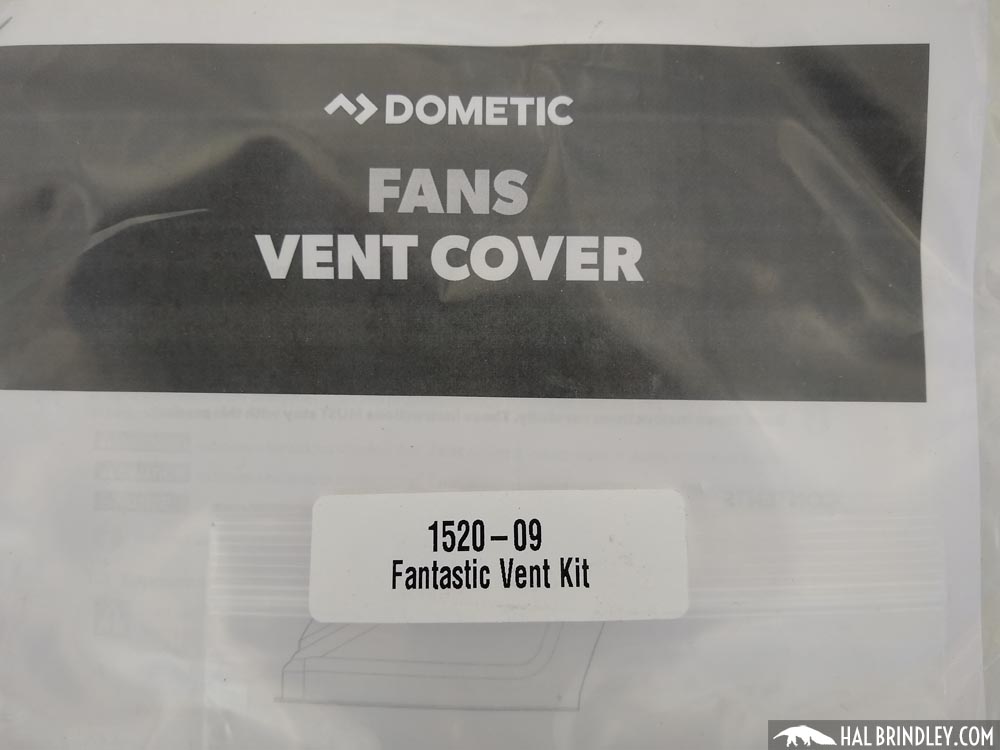
- 2 FanTastic Vent Covers (model 1520-09)
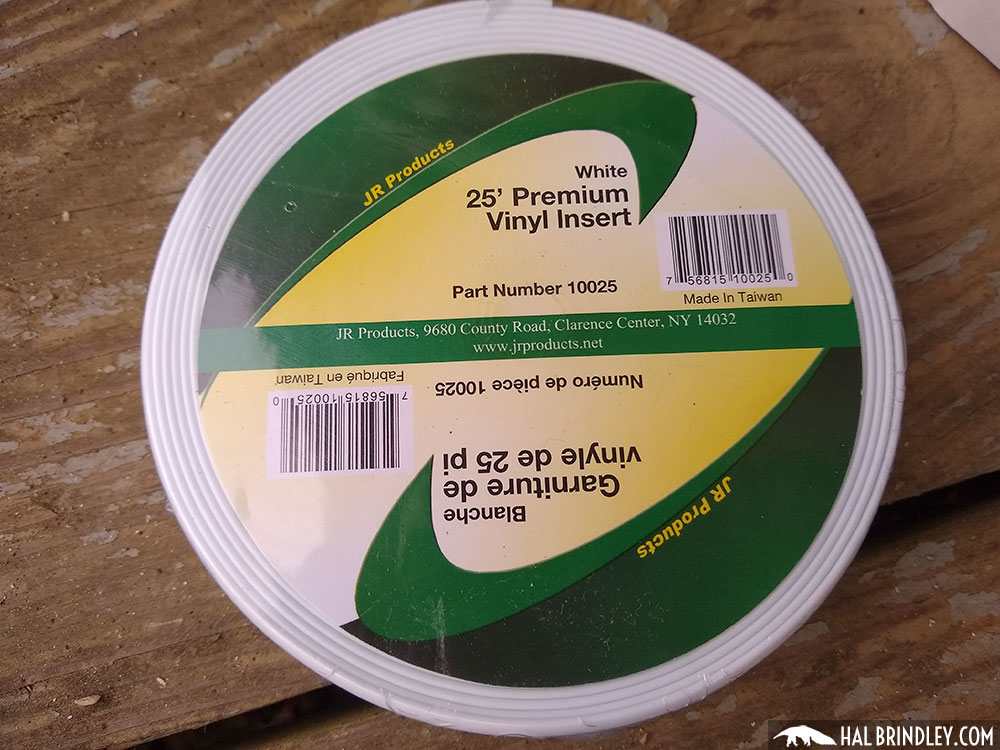
- Vinyl trim insert
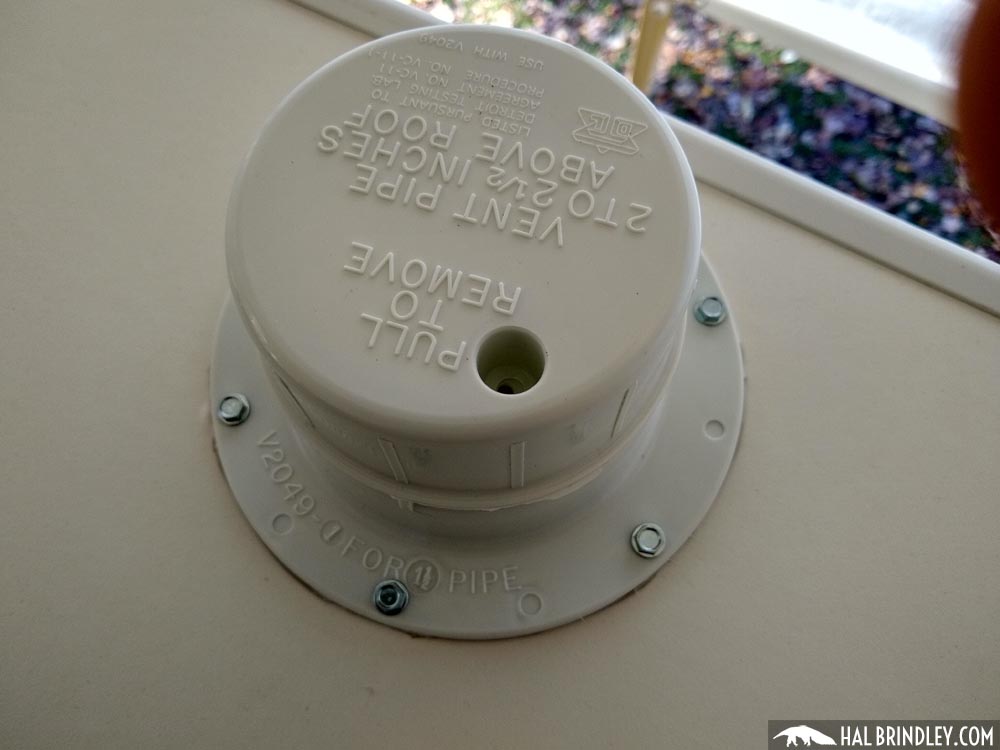
- 2 vent pipe covers
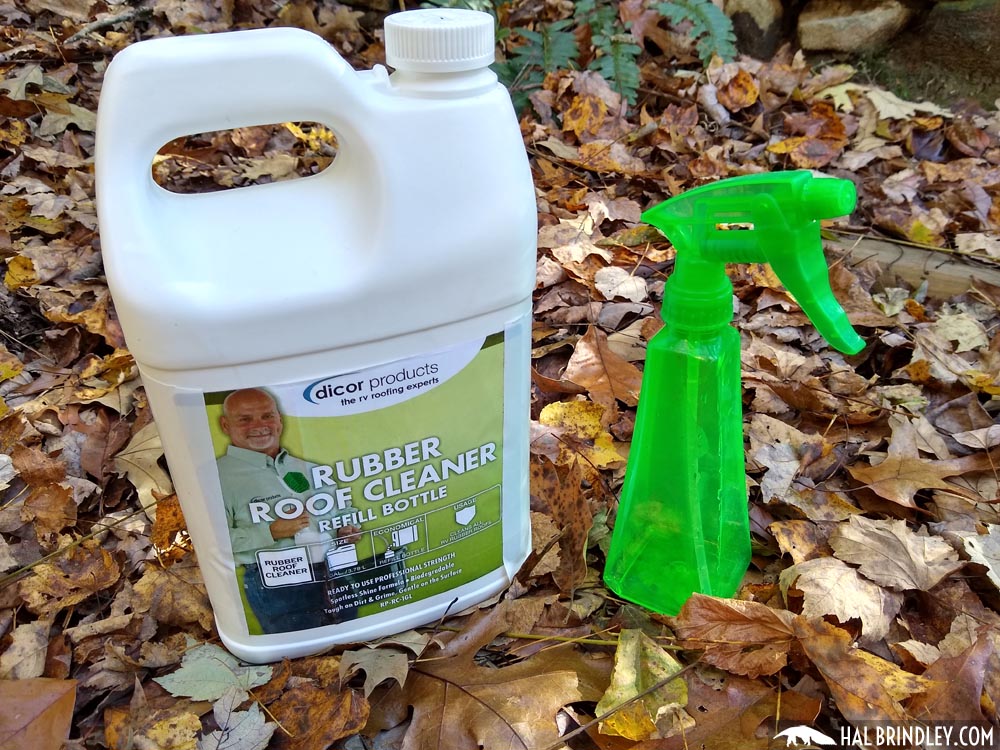
- Dicor rubber roof cleaner
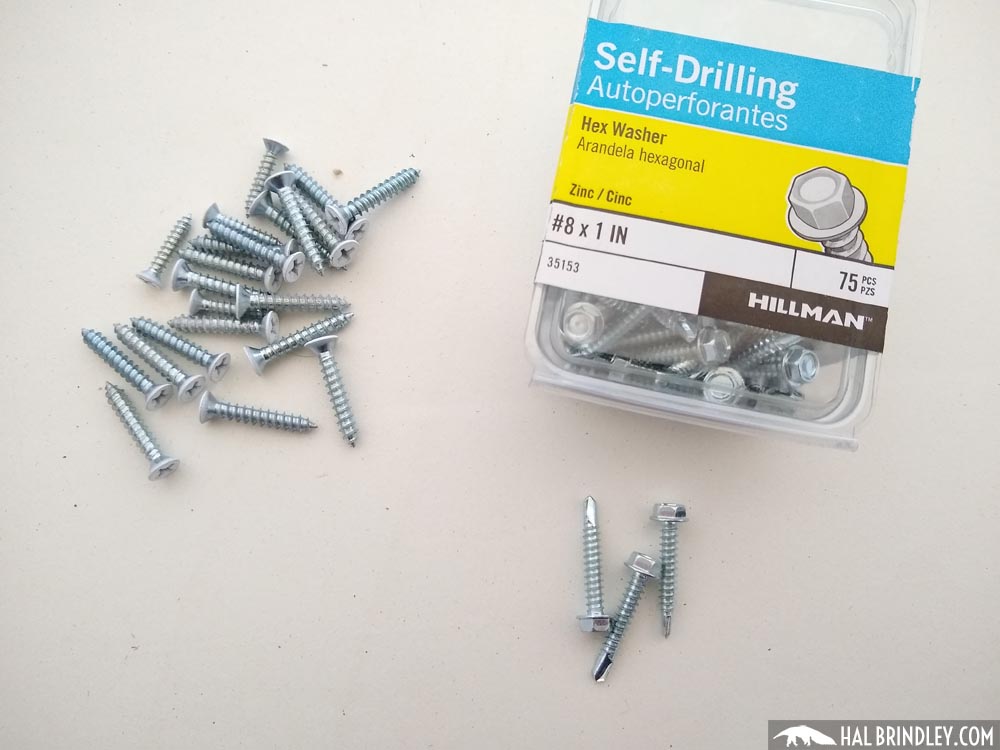
- Assorted hardware (self drilling hex head screws)


Next it’s time for all the final roof preparations before installing the rubber membrane.