Welcome to my RV Renovation Series! I’m on day step 4 of repairing the roof of my ’93 Fleetwood Jamboree Searcher camper. Now that I’ve removed the rubber roofing and removed all the roof fixtures and removed the air conditioner, I need to remove all the trim molding from around the edges of the old EPDM rubber roofing, and the last bits of rubber beneath them. Sometimes called ‘termination bars’, these aluminum strips secure the edges of the roof membrane to the camper with a bunch of screws. The trim strips that lie flat on top of the camper (at the front and back) are generally covered with an RV lap sealant, just like the screw heads on all the roof fixtures. On the sides, the rubber roof wraps around the side of the camper and the trim strip is fastened to the side of the camper on top of the rubber. These side trim moldings usually have a vinyl trim insert covering the screw heads because they are less susceptible to water penetration. Here’s how to remove the roof trim molding during an RV roof repair project! Since one of the side trim moldings is also the awning rail (which holds the edge of the awning canvas to the camper) I’ve split this into two posts. The second one will show you how to remove an RV awning.
How to Remove RV Roof Trim Molding
Tasks Covered Today:
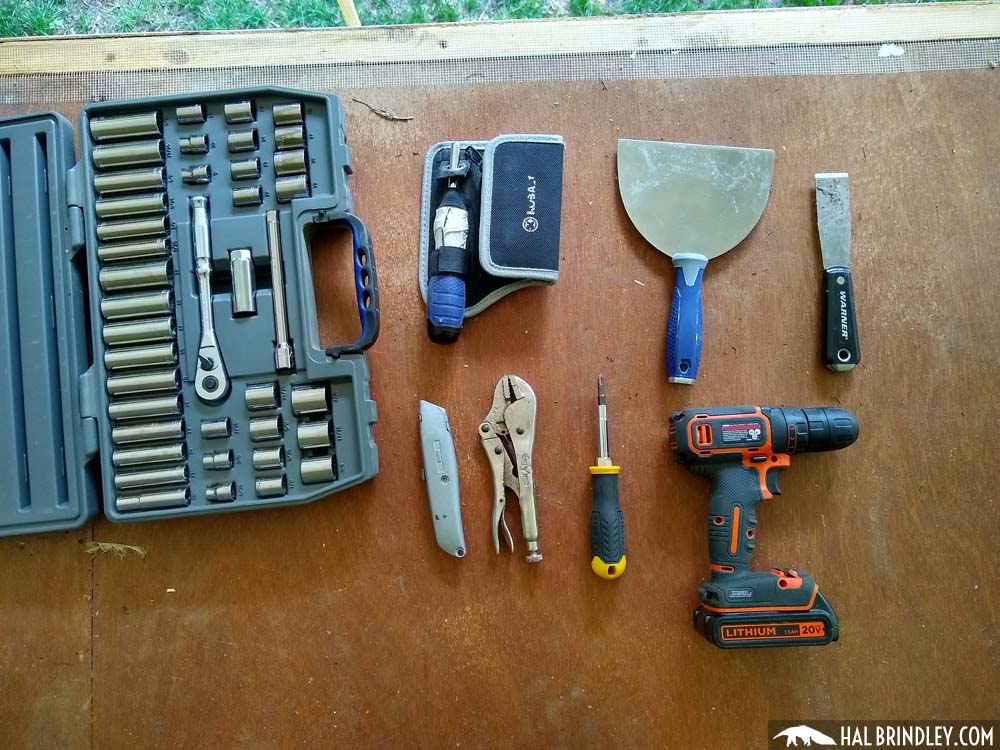
Tools I Used Today
- Socket wrench set
- Ratchet screwdriver set
- 6″ stiff knife
- Stiff scraper
- Utility knife
- Vise grip pliers
- Screwdriver
- Cordless drill
How to Remove the Rear Termination Bar on an RV Roof
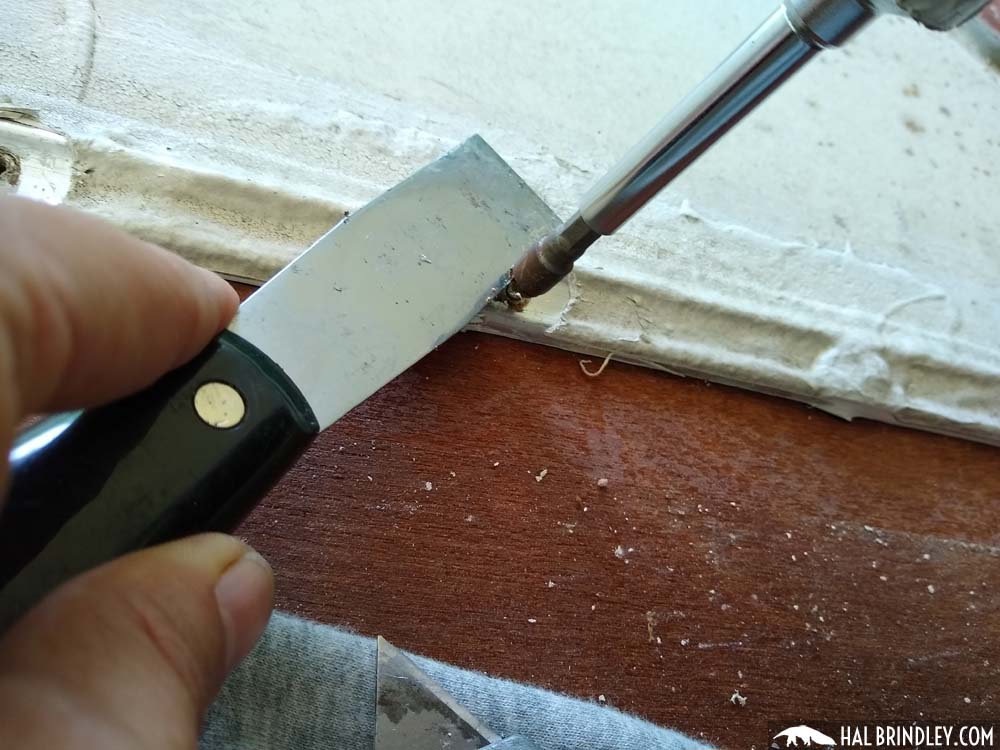
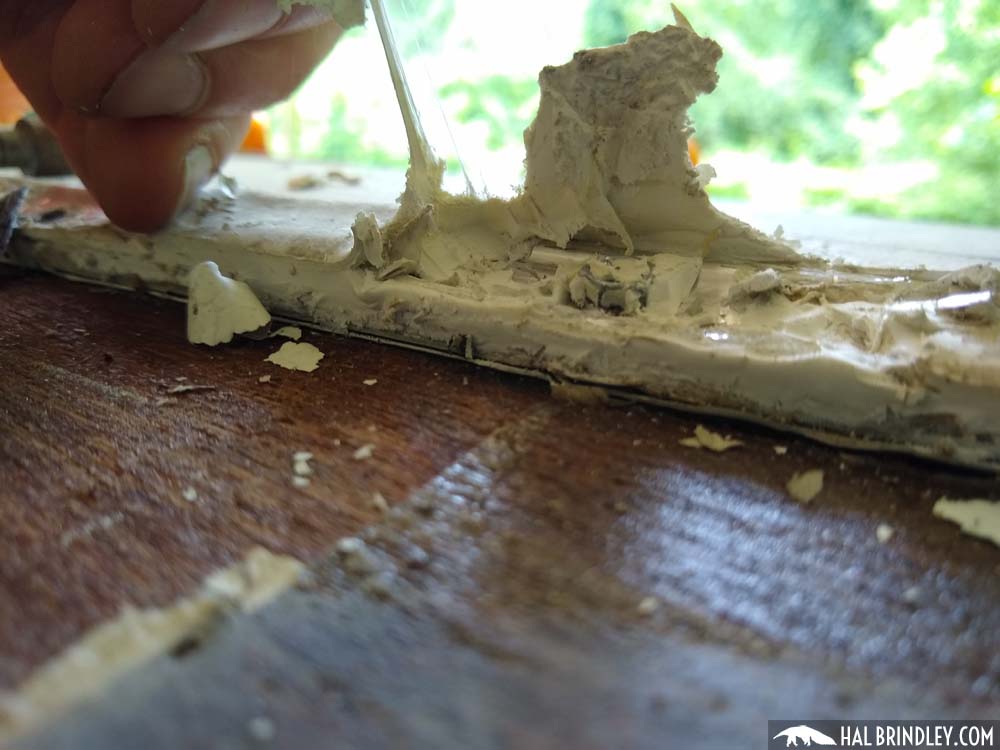
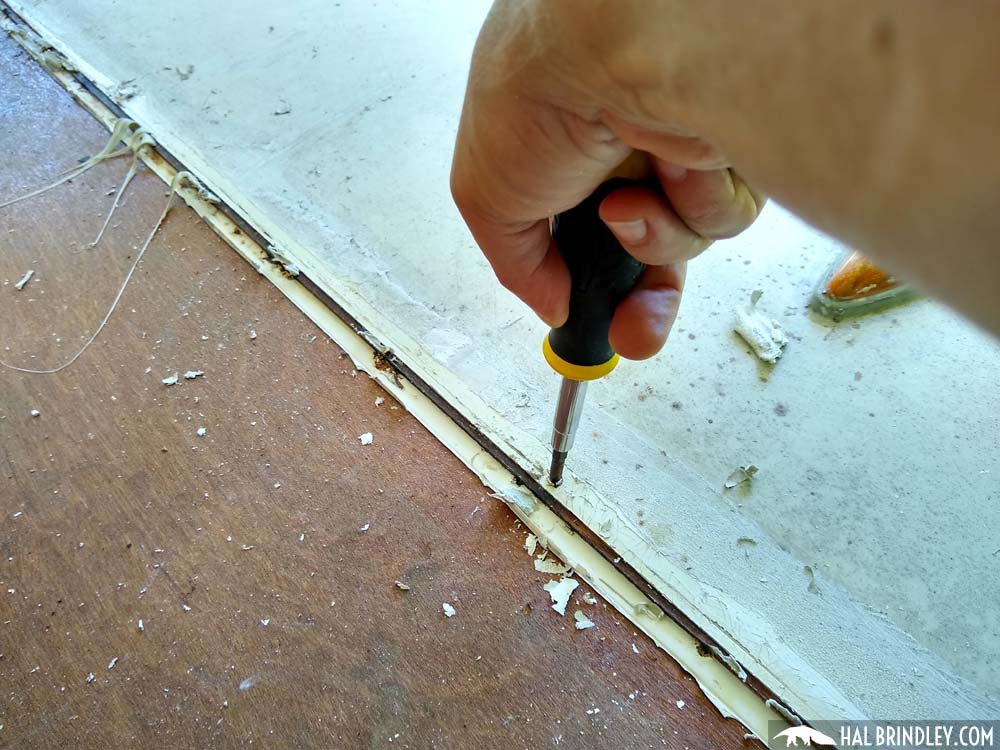
I chose to start with the back termination bar. As you can see it is totally buried in lap sealant, RV roof coating, and various caulking jobs from over the years. You can hardly tell it’s there! Time to start digging. As usual, I begin by cutting away any remaining rubber roof with a utility knife, right up to the edge of the trim. This makes it easier for me to get a stiff scraper under the edge of the lap sealant and start prying it up to expose the screw heads.
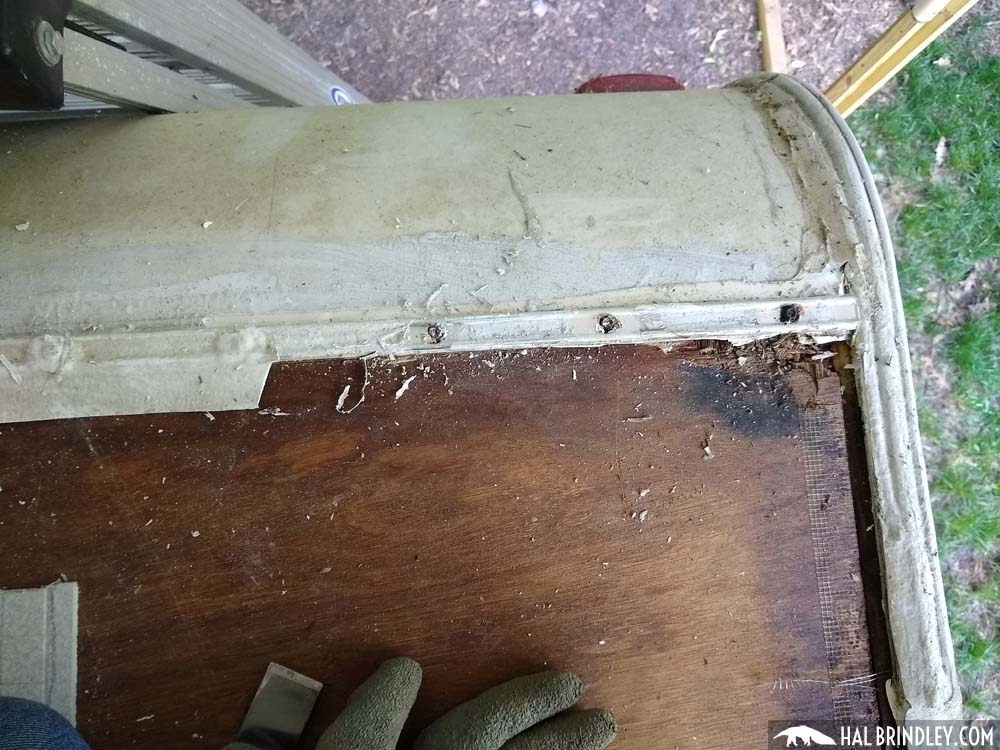
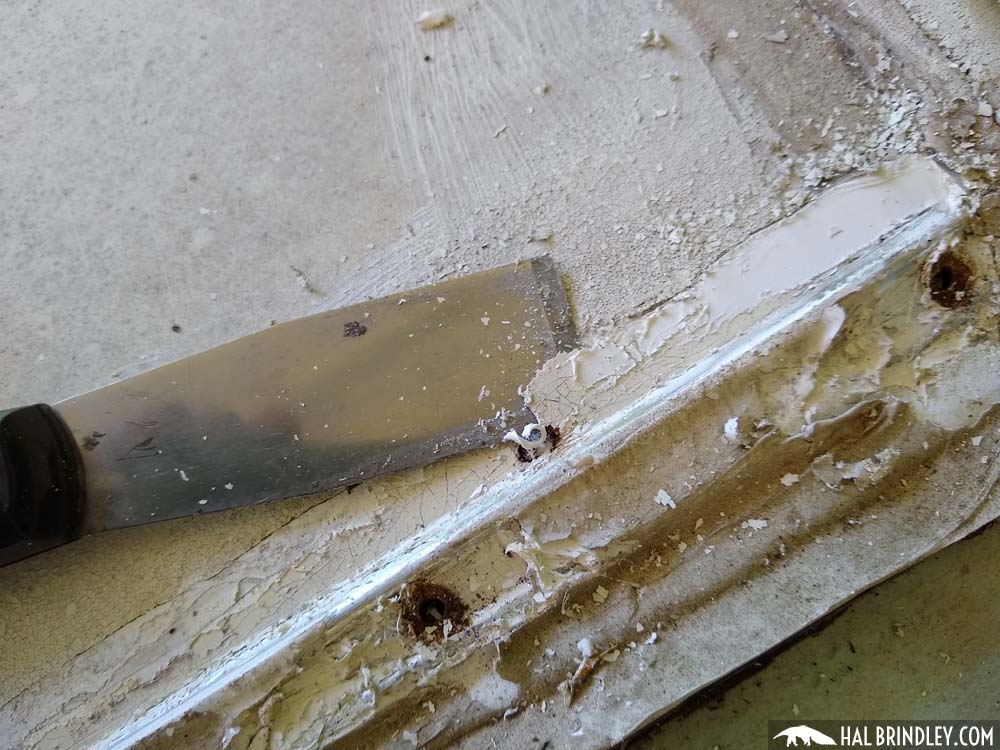
Once you’ve exposed some screw heads and removed some screws you can start lifting the trim strip. You’ll notice that at the back of the camper, the rubber roofing overlaps on top the fiberglass panel at the back transition. (You’ll find at the front of the camper it goes underneath.)
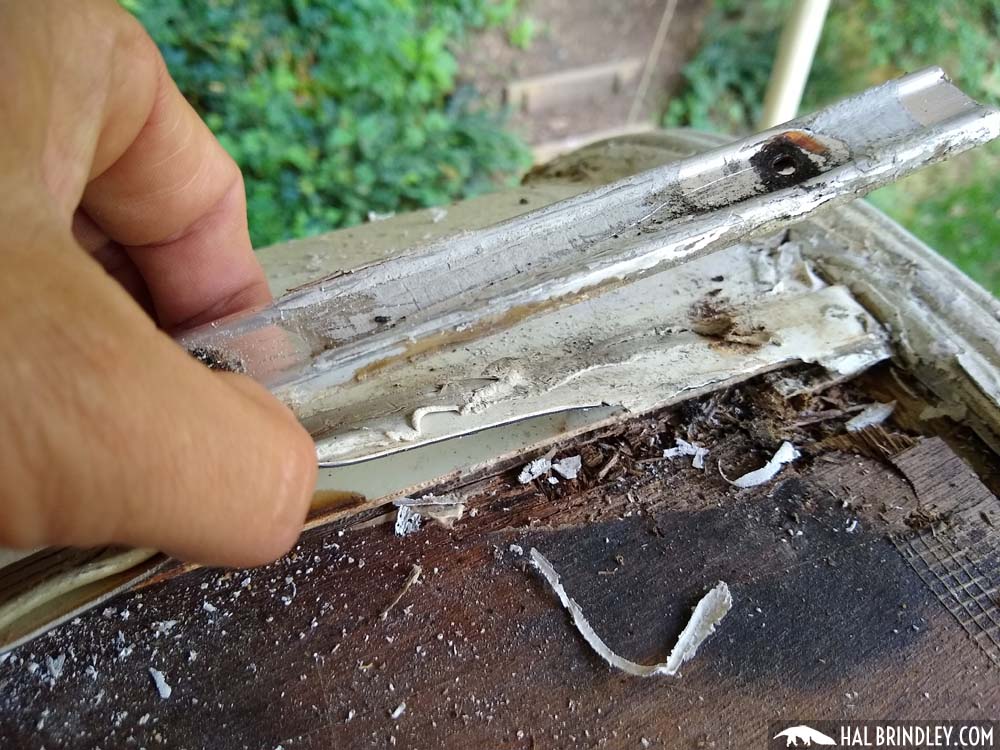

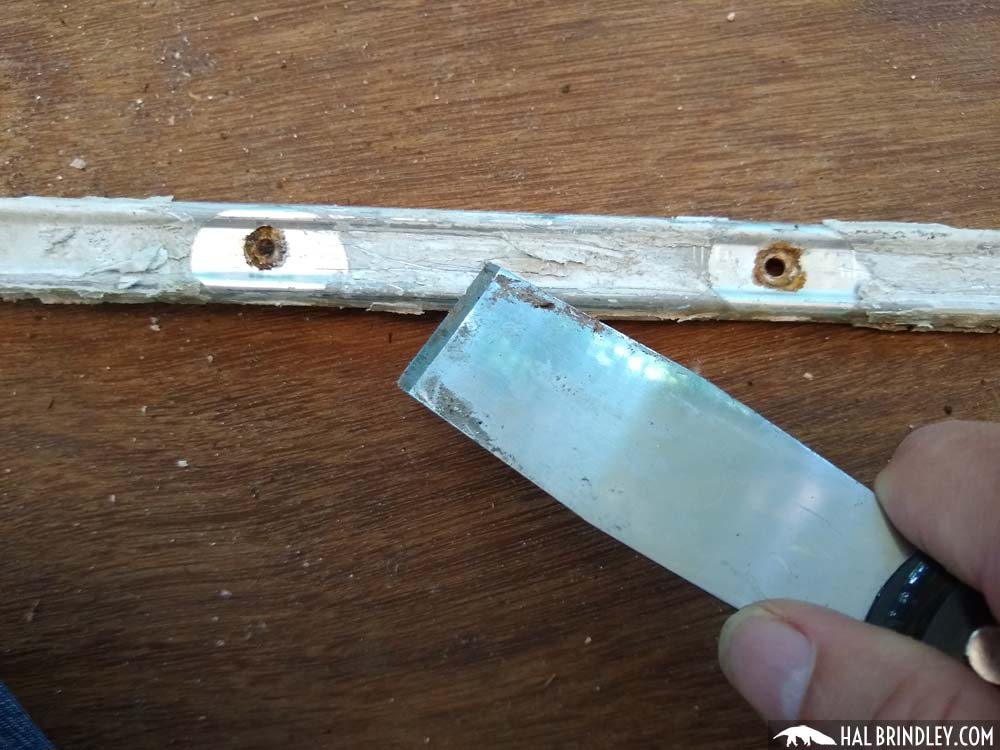
Some of the screws will be rusty and hard to turn or just spinning in their hole. You’ll need to use a variety of techniques to get them out. Sometimes I pry the up with the scraper while unscrewing them with a socket hex head driver. Sometimes I use pliers. Once I got all the screws out and lifted up the trim molding, I tried scraping away some of the RV roof coating that had painted over it. It was nearly impossible. I’m going to leave it for now and decide later if it’s worth my time to try to clean it up or replace it with a new piece of trim molding. Keep in mind, an 8 foot section of flat trim molding costs $15 to $20 and they’re tough to find online. I hate to waste useable materials but it’s up to you to decide how much your time is worth!
How to Remove the Front Termination Bar on a Camper Roof
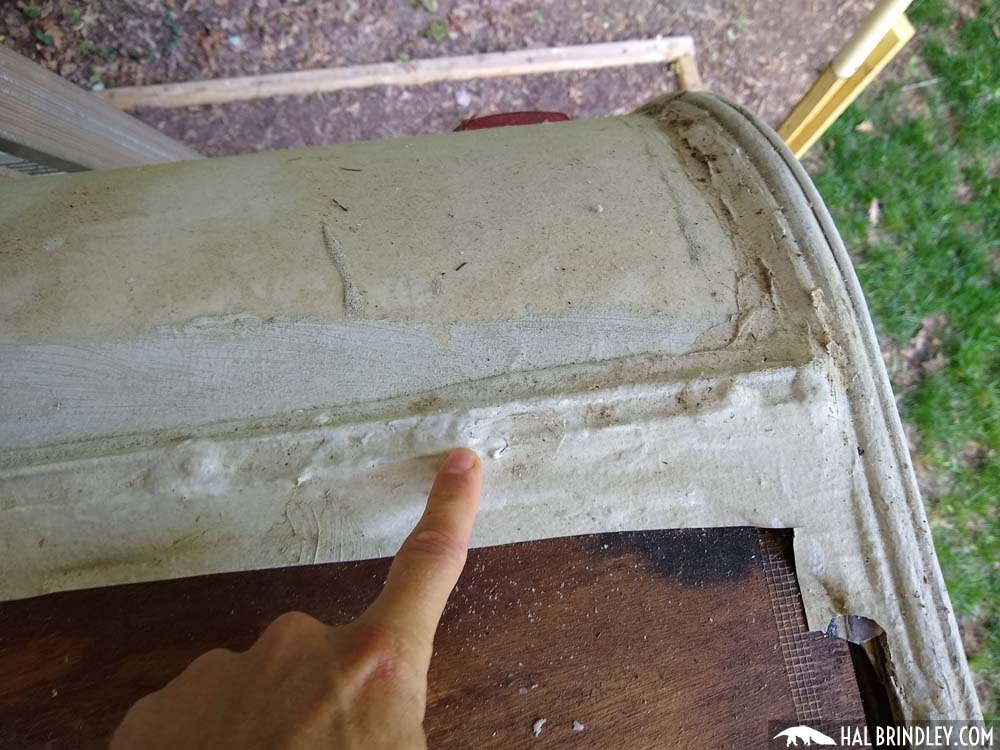
Moving on to the front termination bar (flat trim molding) of the rubber roof. Pretty much the same deal as the back one. I cut away any remaining rubber and started prying up sealant from the screw heads.
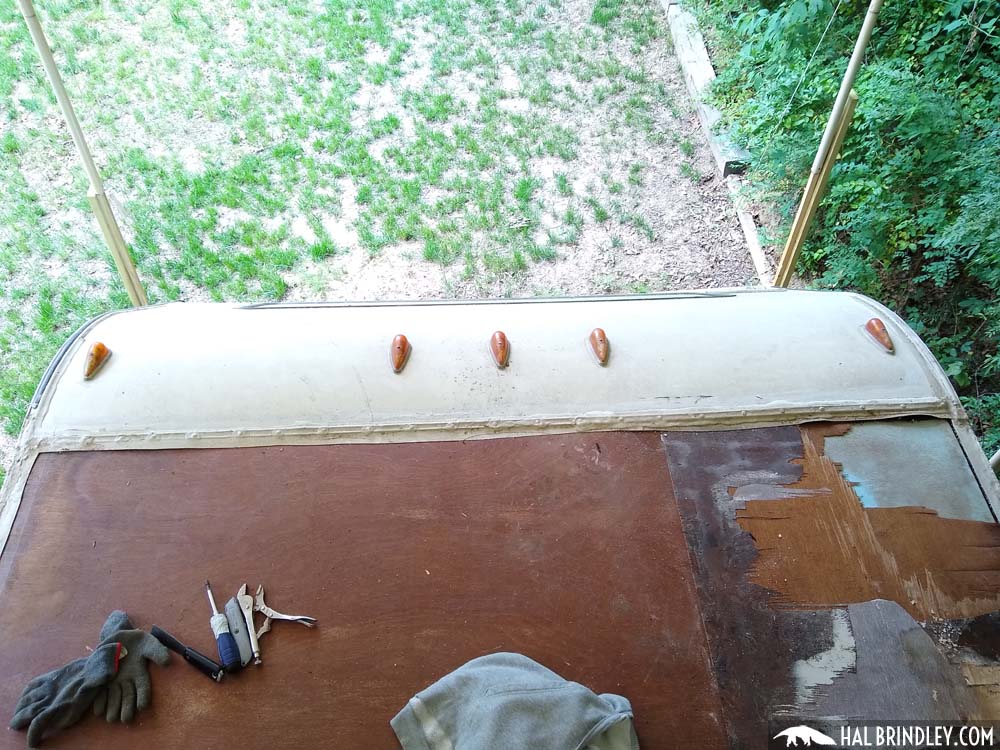
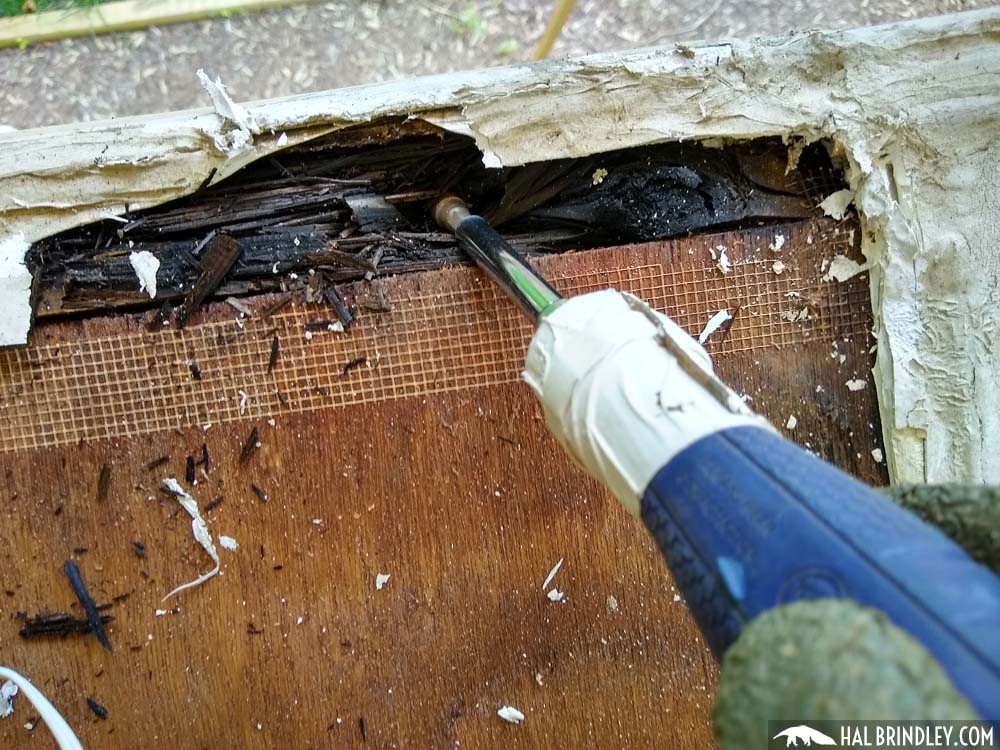
HEADS UP! Be careful not to crack or chip the fiberglass panel that wraps over the front of the camper. It is brittle and fragile! I jammed my scraper into a screw hole and cracked it. That will have to be covered carefully later with a self leveling lap sealant or a sealing tape, or both!
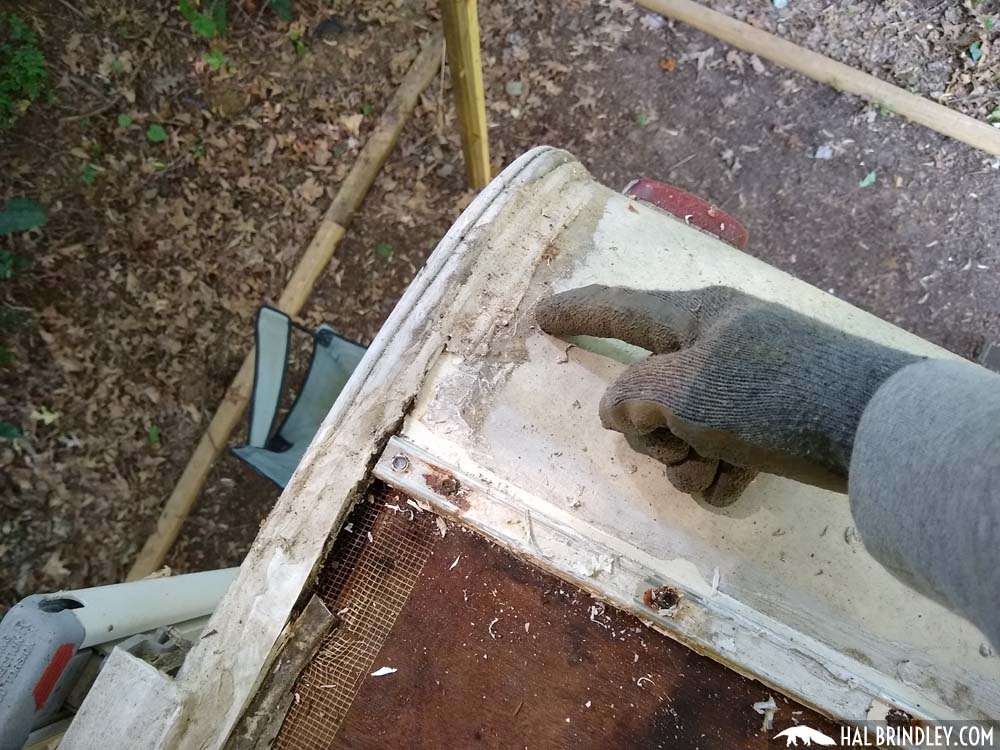
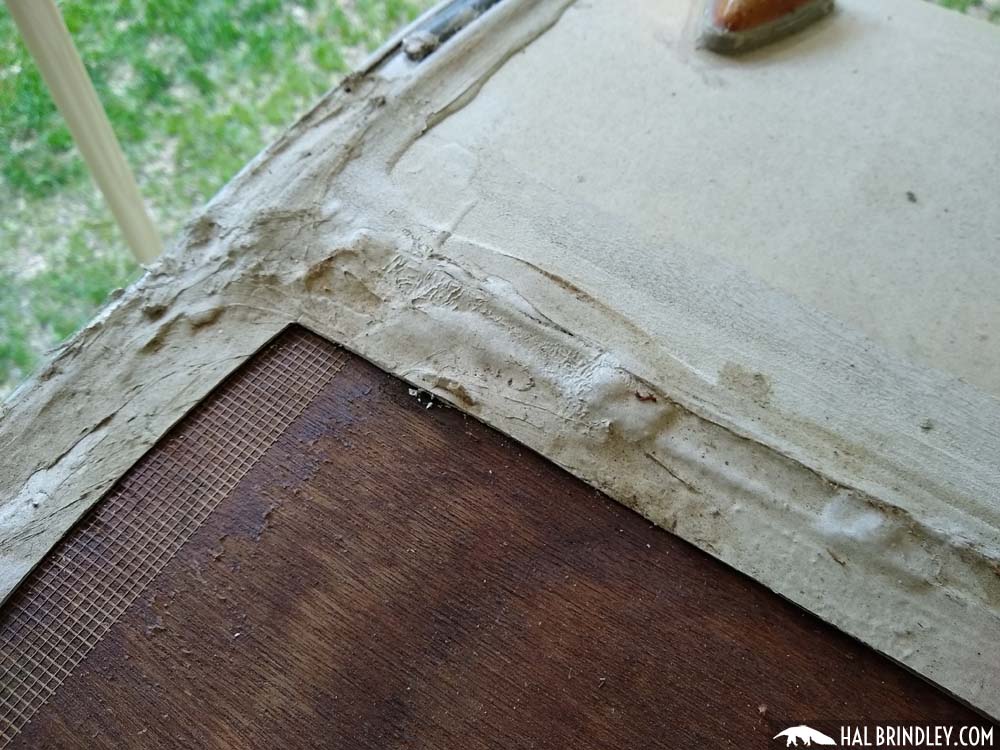
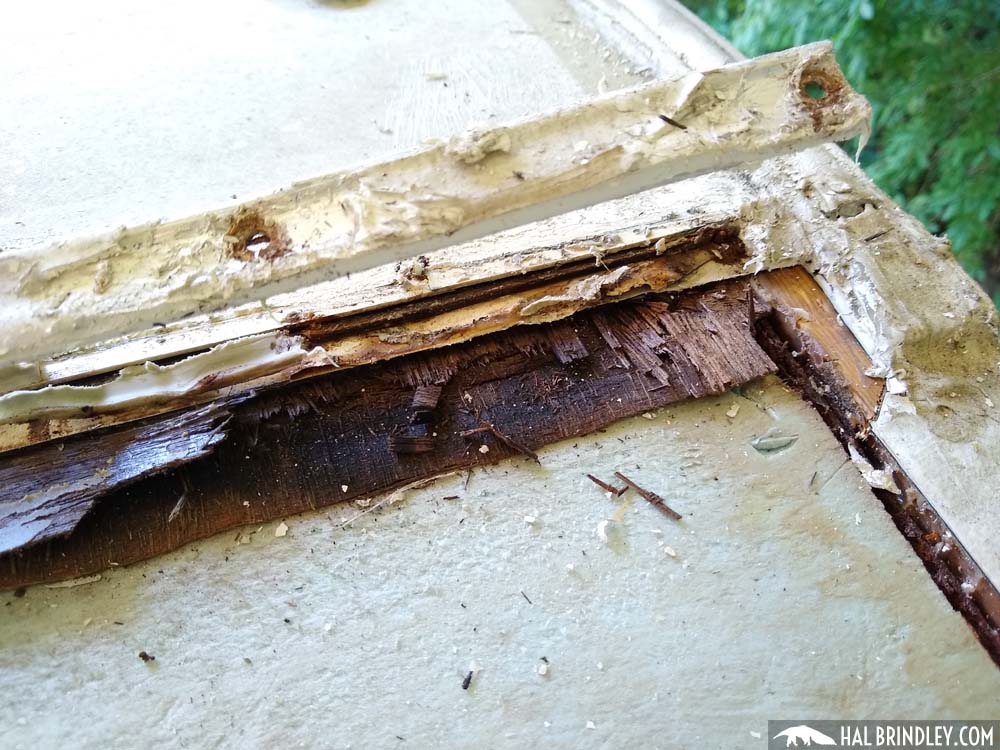
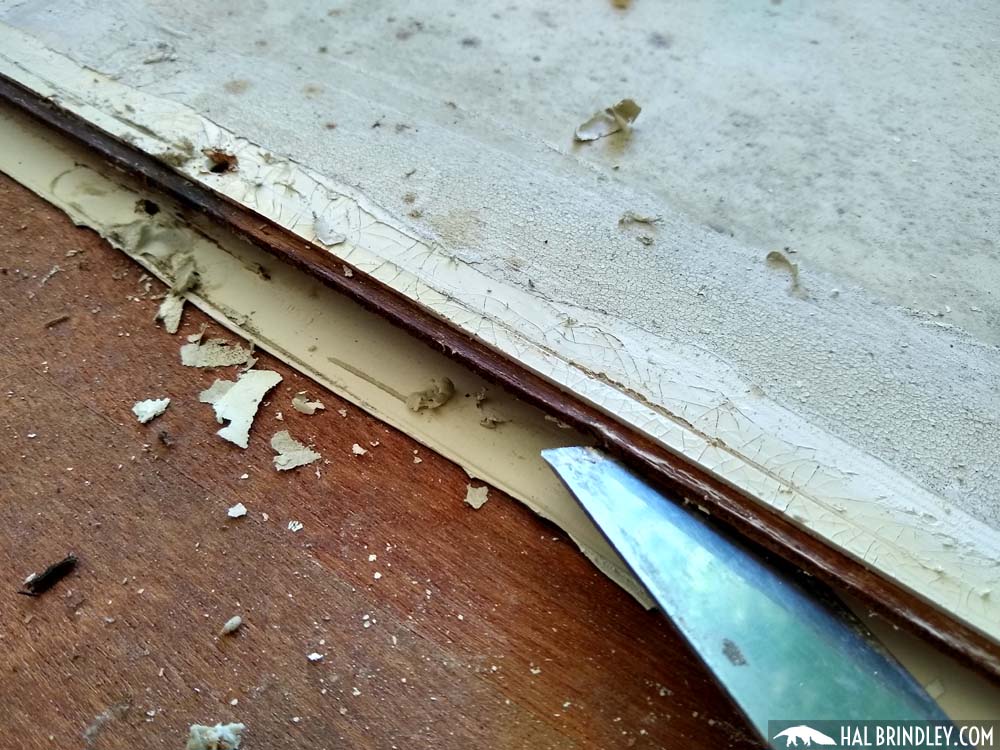
Once all the screw heads are exposed and removed, I peeled up the termination bar and saw how the layers were stacked beneath. The edge of the rubber roof goes underneath the vinyl panel at the front of the camper.
How to Remove the Side Roof Trim Molding on an RV
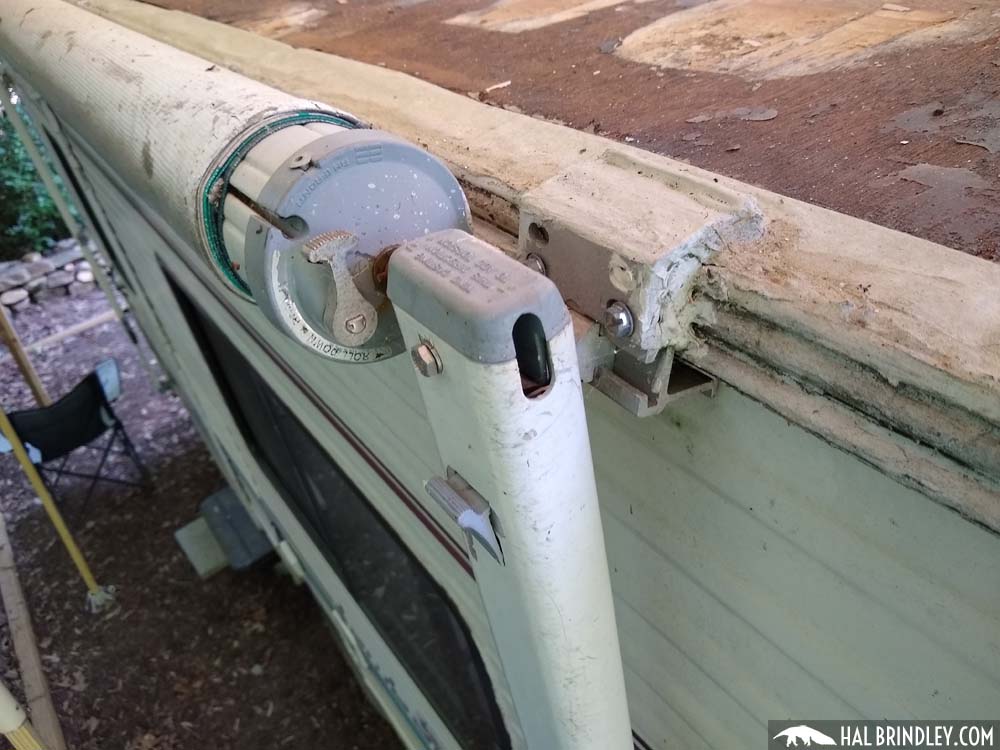
After removing the front and back roof trim molding, the side trim seems like a breeze. That’s because there is no lap sealant on the screw heads! Instead there is a vinyl trim insert that fits inside the trim molding and covers the screw heads. These are hard to reach from the roof top so I had to grab my 10 foot step ladder to work on removing this piece.
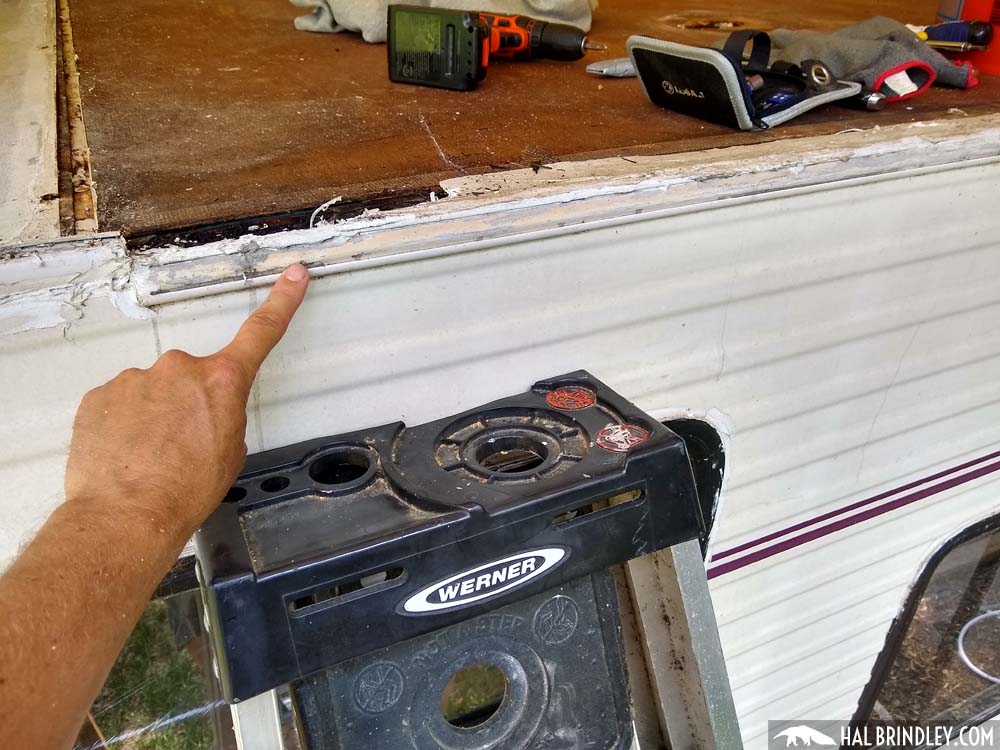
When I started trying to pry up the vinyl insert from the trim, it wouldn’t budge. Thats because it was wrapped around beneath the end and pinned down with the trim strip. So I cut it with a utility blade and then started pulling out the vinyl trim insert from the molding. Hurray! Clean screw heads!

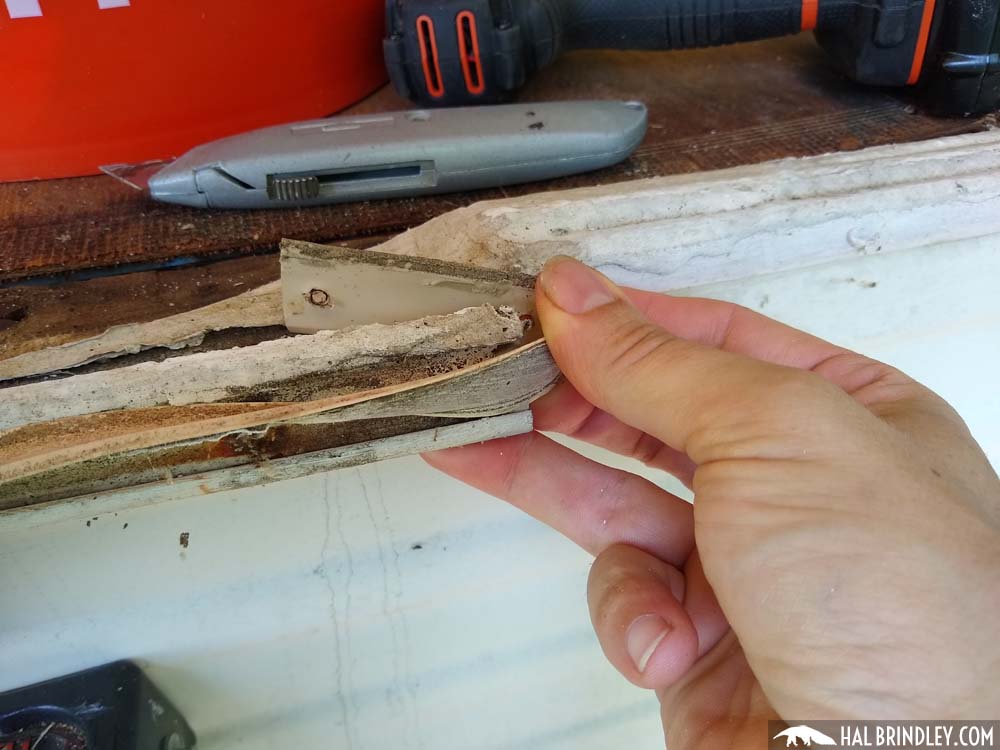
Here’s a look at how the vinyl insert is wrapped around the end of the trim strip and behind it.
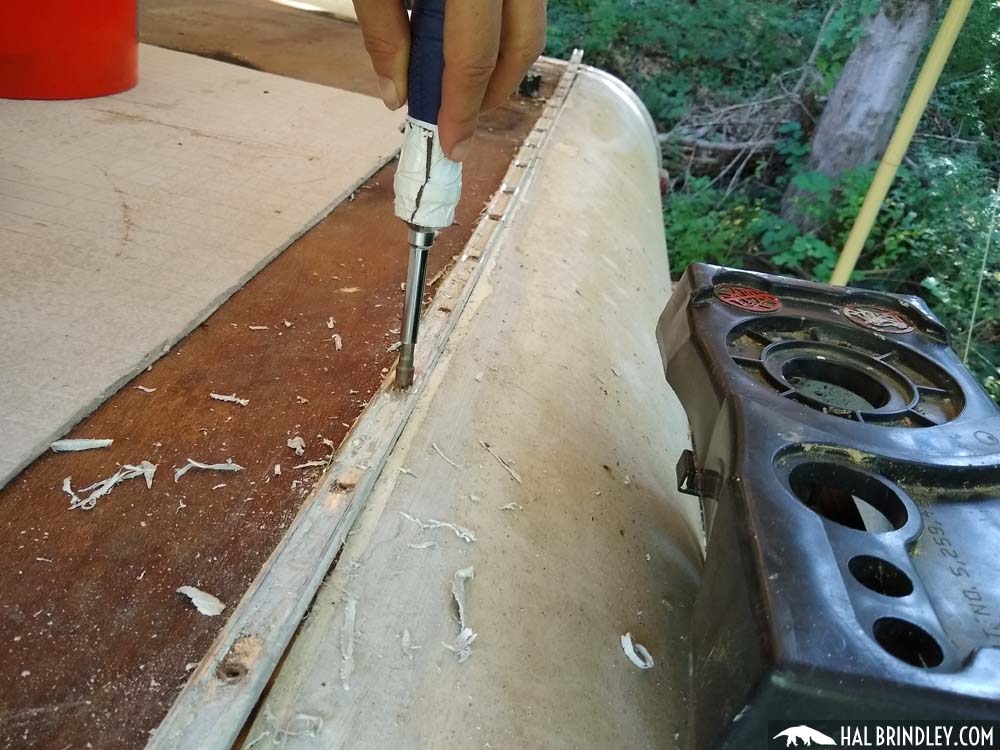
Once the vinyl screw cover insert was yanked out I removed all the screws with a cordless drill and the socket head from my ratchet screwdriver set. This goes really fast when the screws are in good shape!

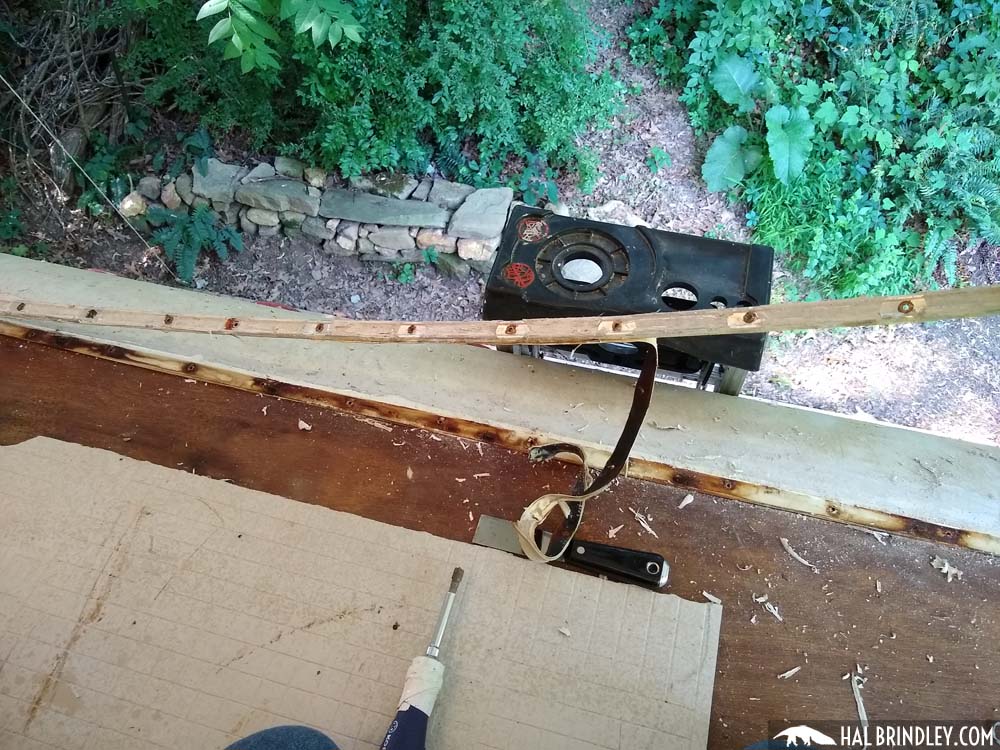
Once the screws were out I peeled up the trim and all the remaining rubber roofing popped up with it.
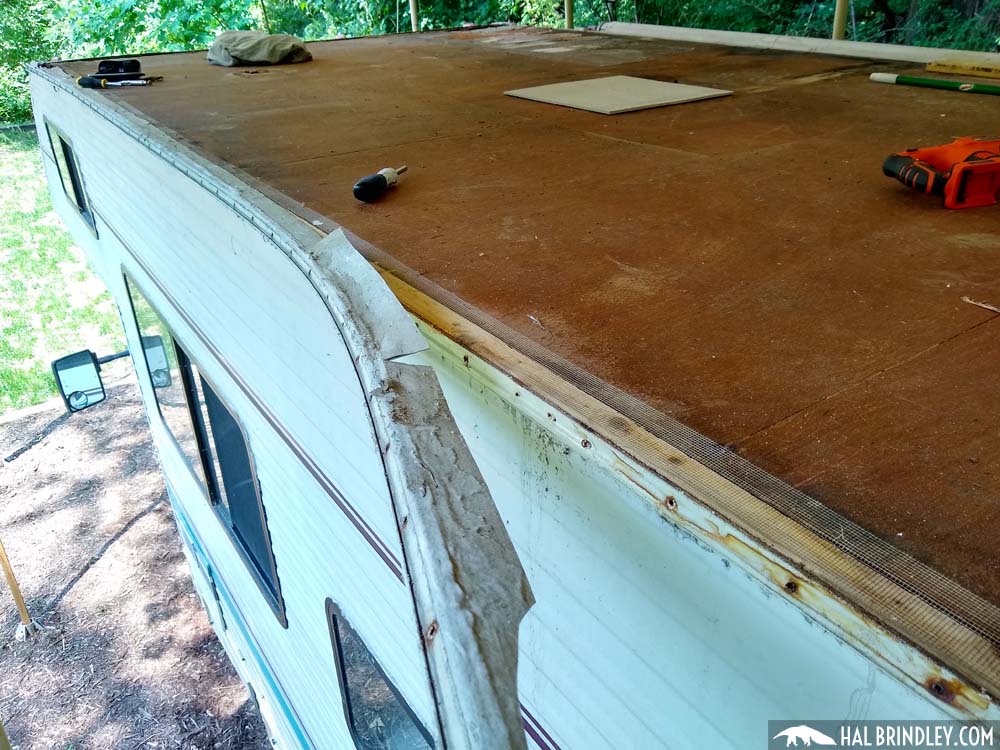

So now there is only one piece of roof trim molding left to remove: the one on the other side of the camper. However, this one is a little more complicated because this trim piece also happens to double as the awning rail which anchors the canvas of the awning to the side of the camper. Since this has a bunch of steps involved I’ve made a separate post about how to remove an RV awning. Head on over!