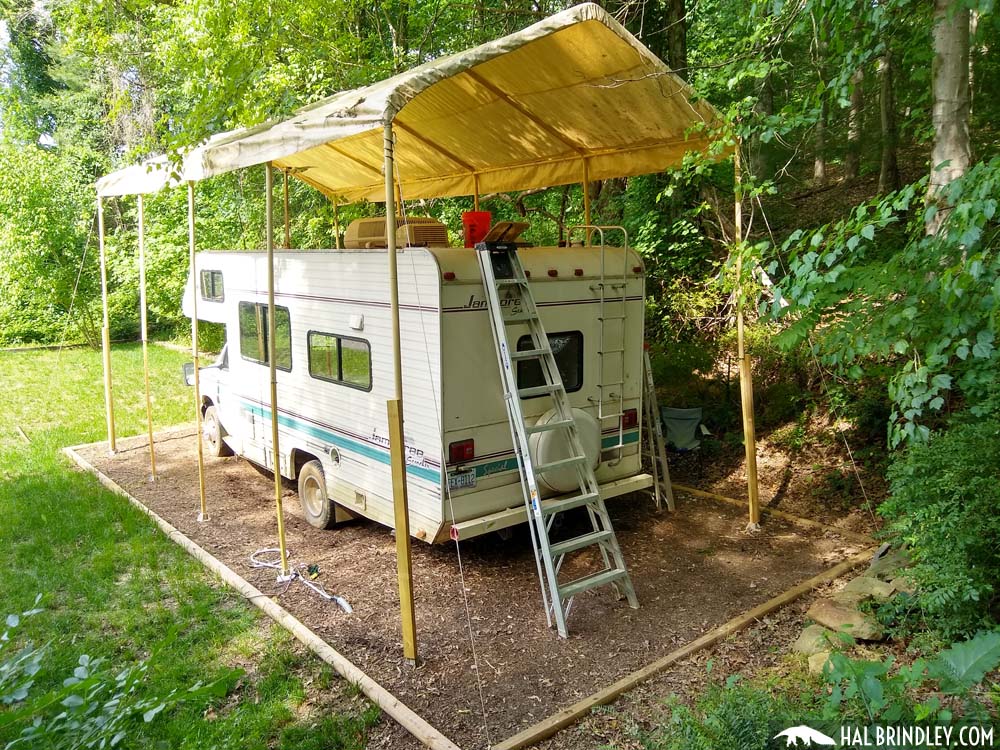
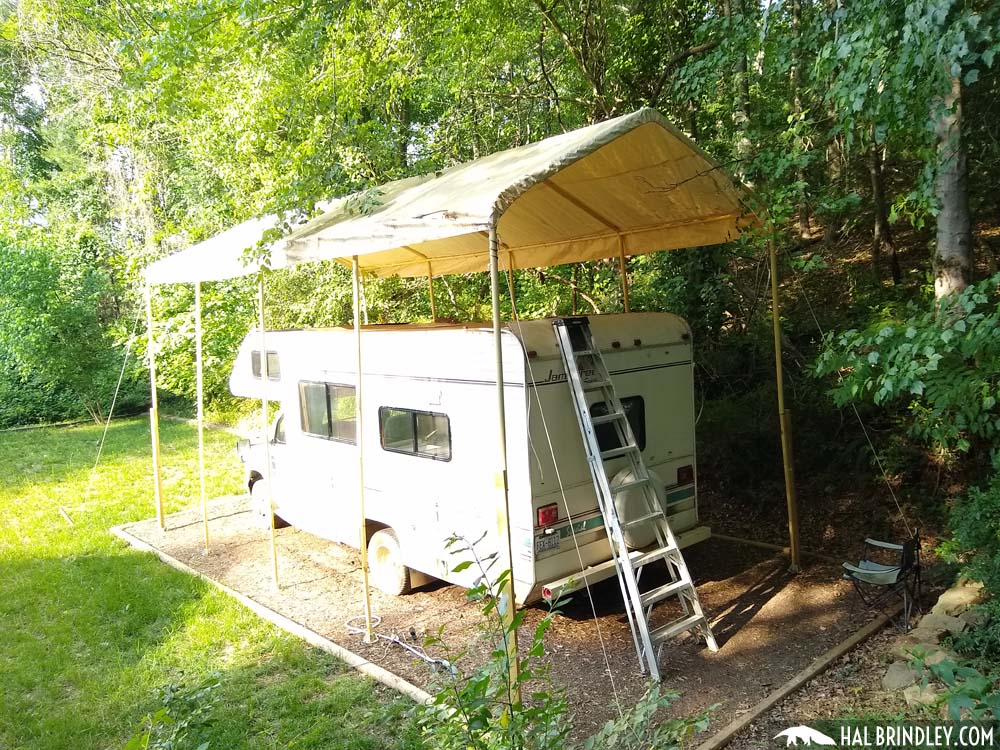
So you’ve got an old camper that needs a makeover but you’re a little nervous to dive in? I was too! But I decided to go for it and so should you. Follow along on my RV renovation project as I complete a camper remodel inside and out. From RV roof repair to a complete interior remodel. My in depth guide will show you every RV repair that I complete and give you tips and tricks on how to pull it off yourself.
Each post includes a tools & materials list, an index to get you to the steps you need quickly, plus tons of photos and a HEADS UP when there’s something to watch out for! What are you waiting for? Let’s get to it!
WARNING: My project has stalled out since the COVID-19 pandemic began and I’ve been scrambling to create a new source of income (primarily my new clothing brand Truly Wild). So please excuse the massive gap in this project. I hope to get back to it spring of 2021.
About Me and My Camper
I bought a 1993 Fleetwood Jamboree Searcher for $5000. It had only 55,000 miles and all the appliances worked and I loved the layout. The catch? Water damage! I’ve never worked on an RV before and I have to admit, I was scared. I’ve done a lot of house remodeling and I was still scared. That’s because this is all new to me and I have no idea what to expect. Hopefully, if you’re considering doing this yourself, you can follow along on my RV renovation project and get the courage you need to dive in!

RV Roof Repair
So you want an RV but can’t afford a new one. If you’re like me and have more time than money, then perhaps your best option is to buy an old RV and fix it up. If you happen to find a really good deal, then chances are it has water damage. All old RV’s do! Time to tackle an RV roof repair!
I know, an RV roof replacement can seem like an impossibly difficult task, but once you understand the basics, it really is do-able for a do-it-yourselfer.
Follow along on my camper roof repair and get the confidence you need to go for it.
PART 1: REMOVING THE OLD ROOF
- Step 1: Remove Old Rubber Roof & Vents
- Step 2: Remove Rest of Roof Fixtures
- Step 3: Remove RV Air Conditioner
- Step 4: Remove Roof Trim Molding
- Step 5: Remove RV Awning & Roof Deck
- Step 6: Preparing for Rain & Making Decisions
PART 2: REPLACE WOOD & FIX LIGHTS
- Step 7: Remove Damaged Wood
- Step 8: Install Roof Substrate
- Step 9: Rear Transition & Marker Lights
- Step 10: Roof Substrate Layer 2
- Step 11: Front Marker Lights
- Step 12: Cut & Wire New Vent Hole
- Step 13: Order Supplies
PART 3: INSTALL NEW ROOF
- Step 14: Prepping Rubber Roof Install
- Step 15: Install Rubber Roof
- Step 16: Install Trim
- Step 17: Install Roof Fixtures
- Step 18: Install Fan-Tastic Vent 1250
- Step 19: Install Fan-Tastic Vent 7350
- Step 20: Apply Lap Sealant
- Step 21: Reattach Curved Trim (Note: this and steps below haven’t been completed yet!)
- Step 22: Reinstall Ladder
- Step 23: Reinstall Awning
- Step 24: Last Steps
